So we are going to start with installing ESX on the hosts. I am using 4x Dell R640 hosts so this will be done using iDRAC and the ESX 9.0.2 ISO
Attach ISO
Login to your management interface (If applicable)

Select the Virtual Console

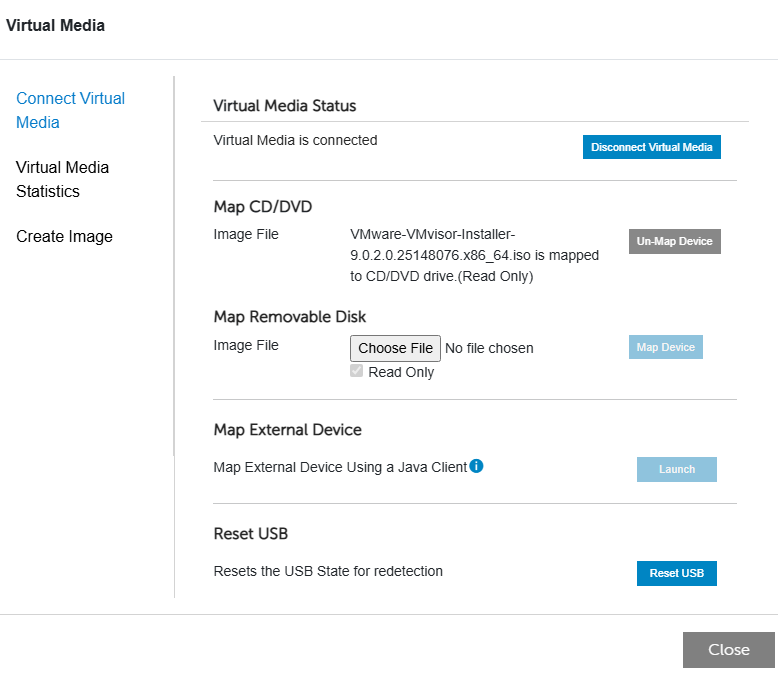
Select Virtual Media
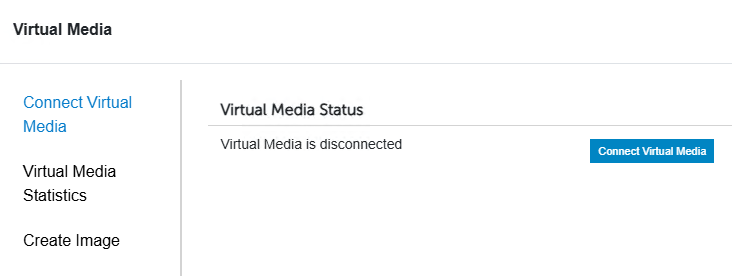
Select Connect Virtual Media
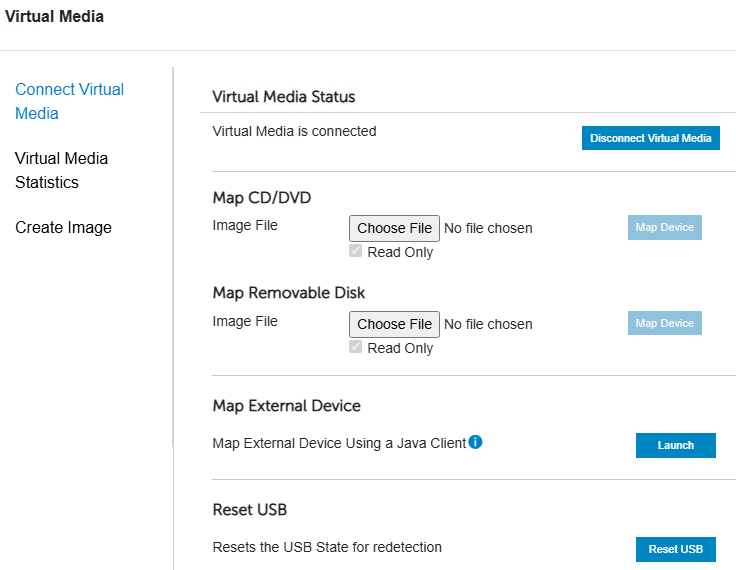
Under Map CD/DVD select Choose File
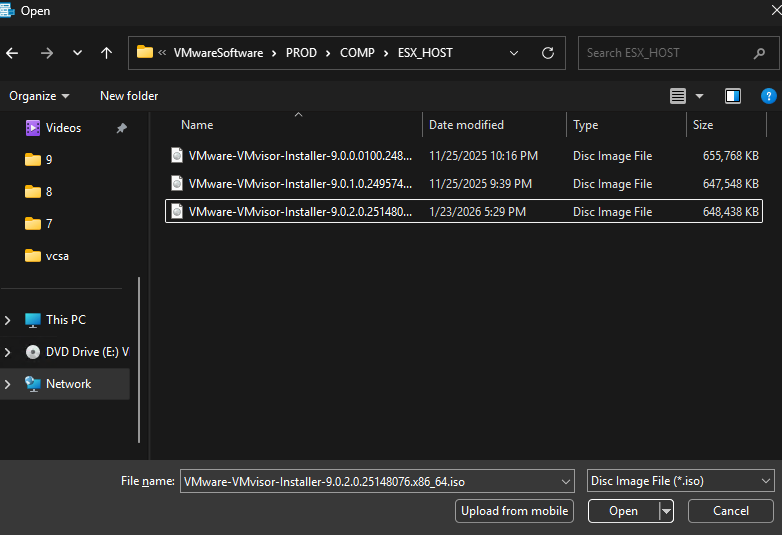
Navigate to your ESX ISO and select Open
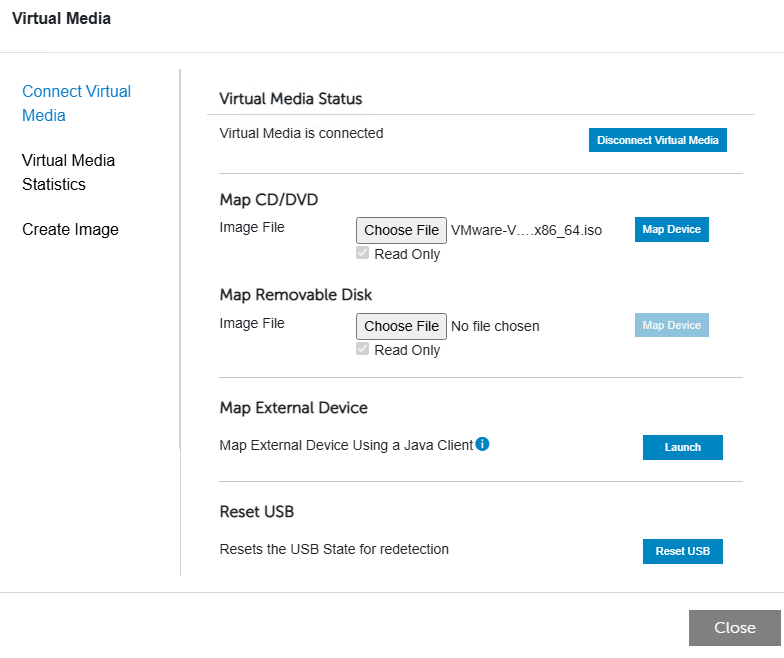
Select Map Device and then close
Set Boot
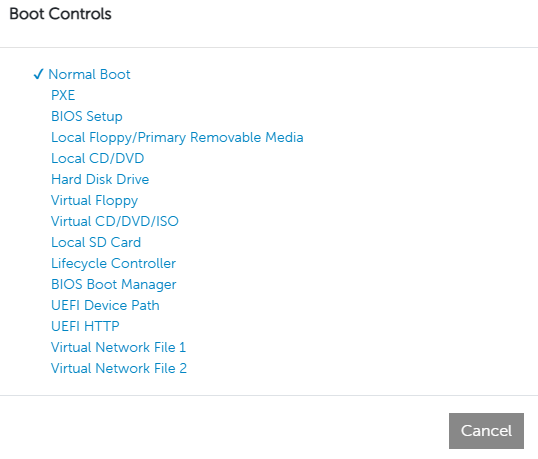
Select Virtual CD/DVD/ISO
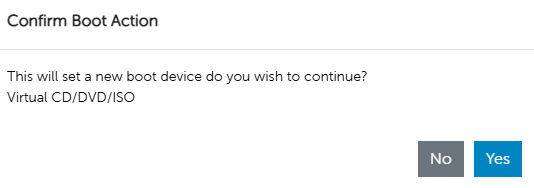
Select Yes to confirm the boot device

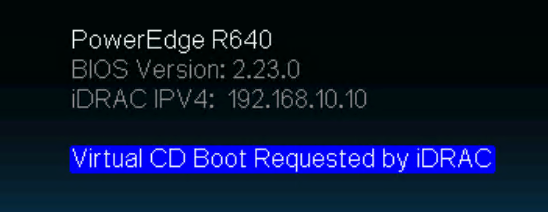
You should see this banner if the attachment was successful
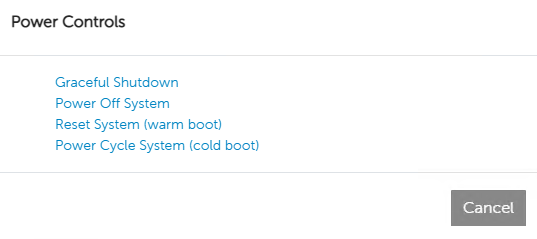
Select whichever option you prefer. I will be doing Reset System (warm boot)
You should see this if the automatic boot selection worked
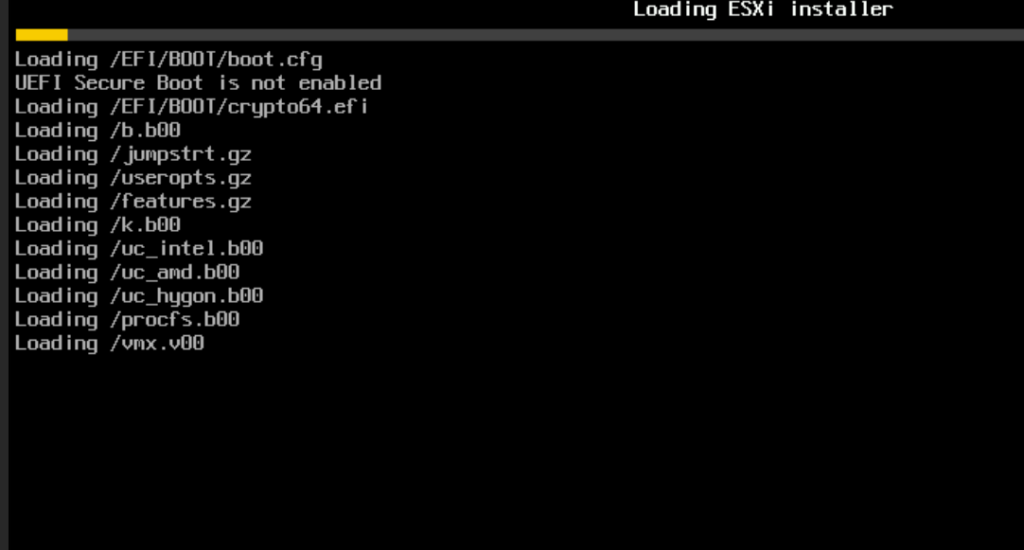
You will see this as the ISO is launched to prep for installation
Install ESX
Press enter to start the installation process

Review and Accept the EULA if you agree
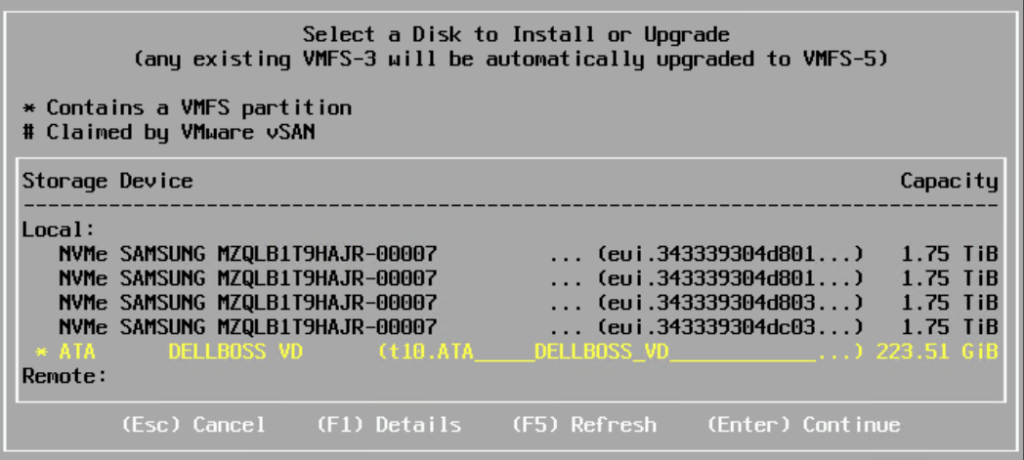
Select the drive you want to install to and hit Enter
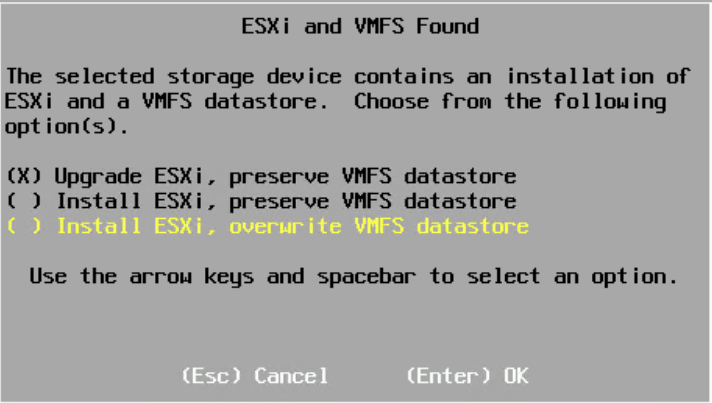
I am overwriting an existing install of ESX so you may not get this window.
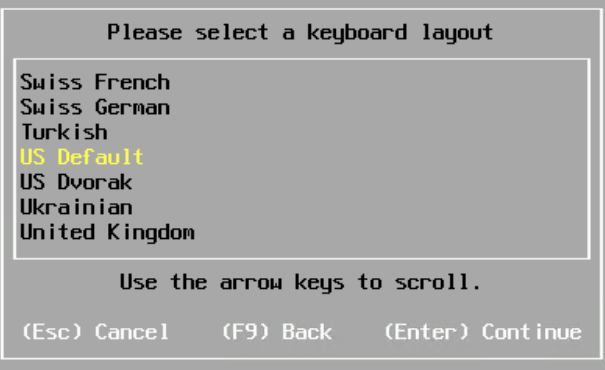
Select your language and Enter to continue
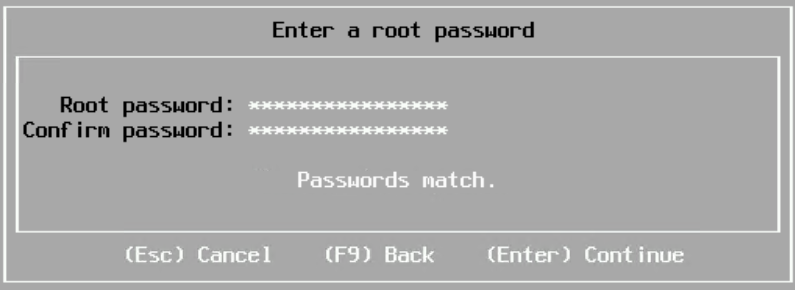
Enter your root password and hit enter
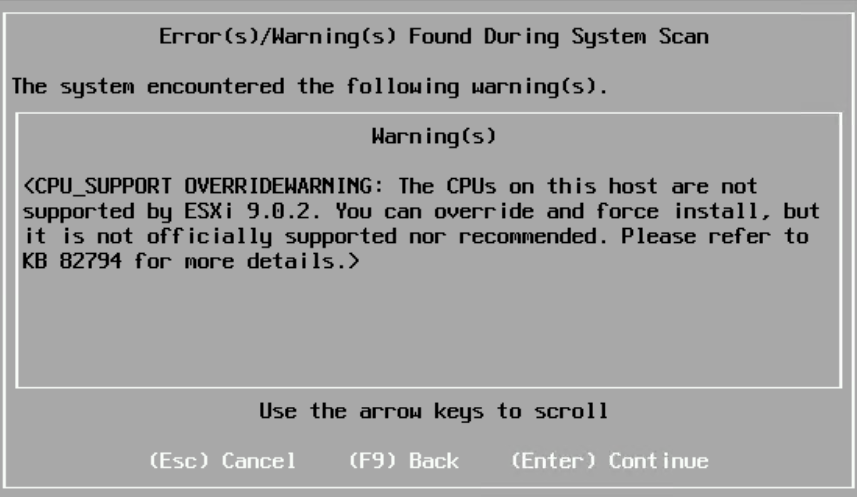
My CPU’s are one generation out of support (Intel Gold 6152) so I get this warning. I will hit enter to continue.
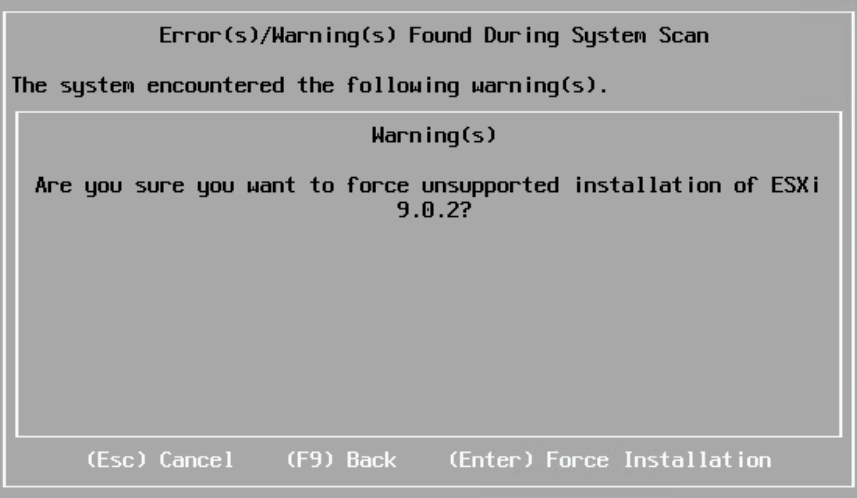
It will ask again to make sure I want to run in an unsupported configuration. I am sure.
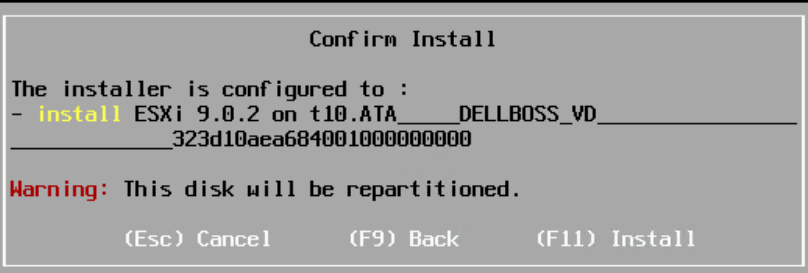
You get another chance to make sure you selected the right drive for the install. If its correct, hit F11 to start the install
You will then get a progress indicator for the install. This should go pretty fast
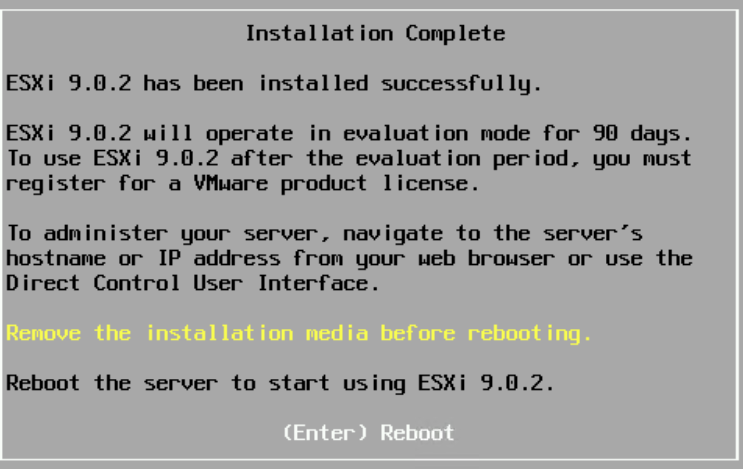
Once complete you will be prompted to remove the Virtual CD\ISO before rebooting
Detach ISO

Select Virtual media
Select Un-Map Device
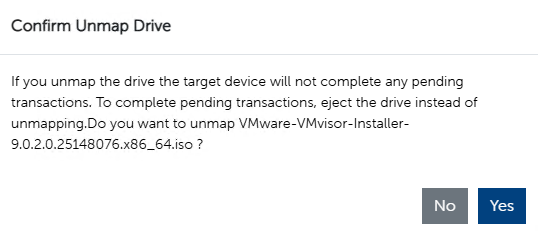
Confirm you want to unmap the drive
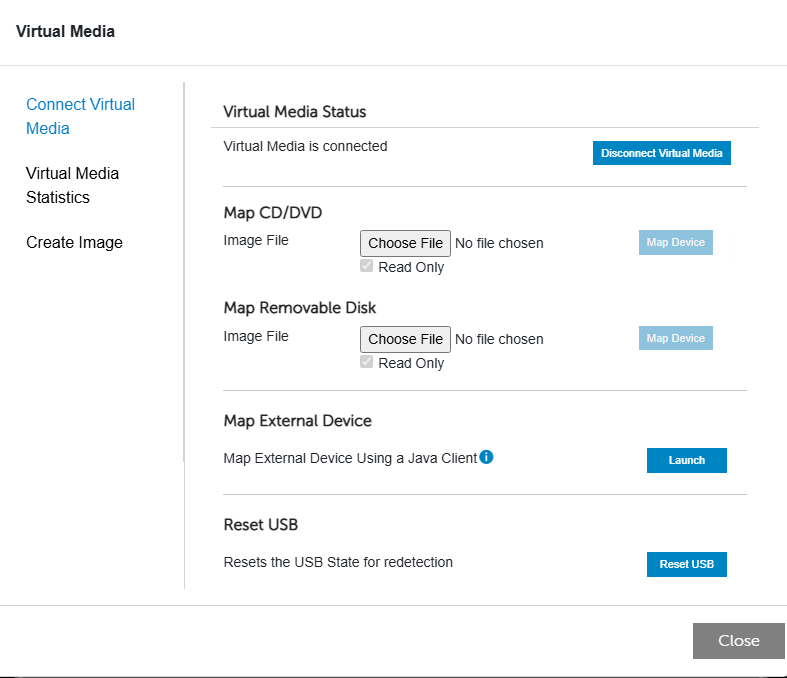
Select Close
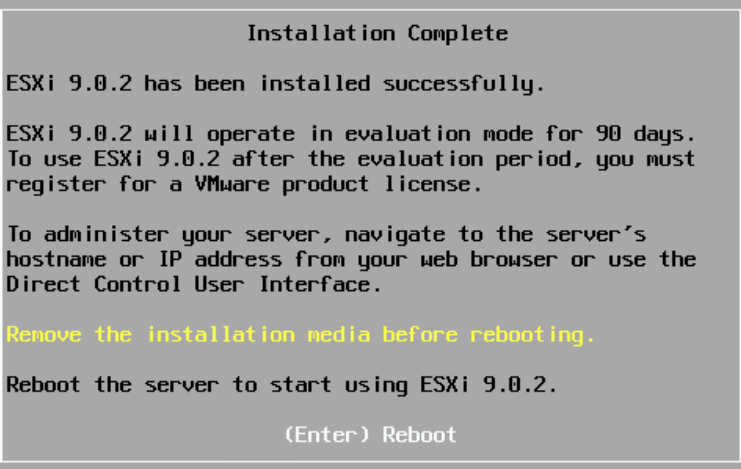
Go ahead and hit Enter to reboot
Configure ESX
Once the host has rebooted you will get this screen, press F2 to login
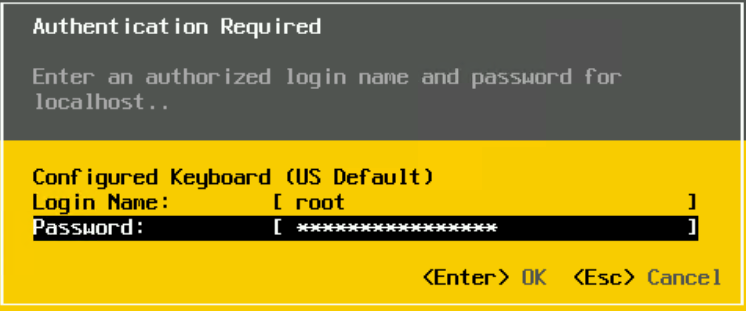
Enter your login information and hit enter
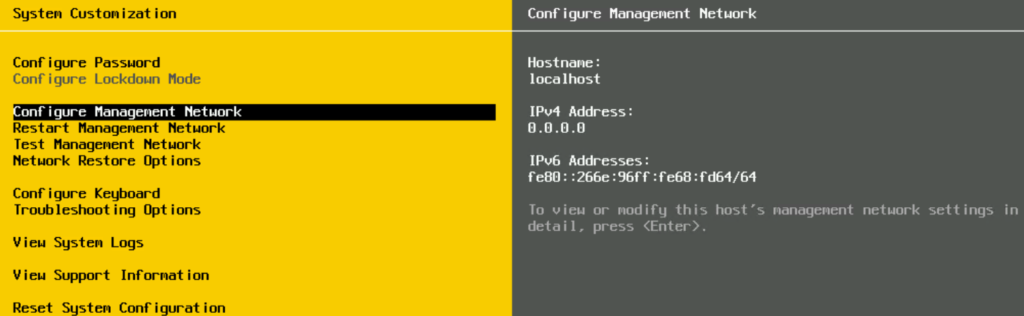
Select Configure Management Network

Select Network Adapters
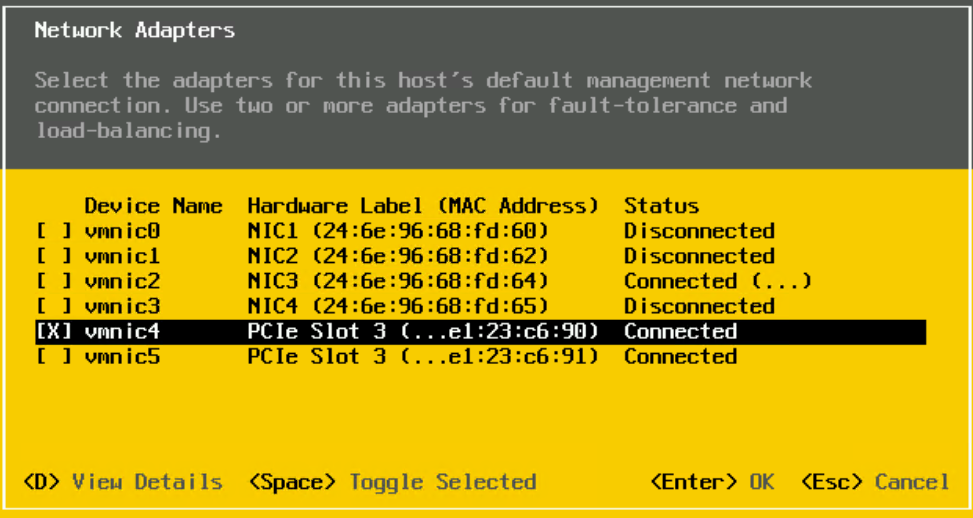
Choose only one adapter as VCF Installer will add other links as part of the installation.
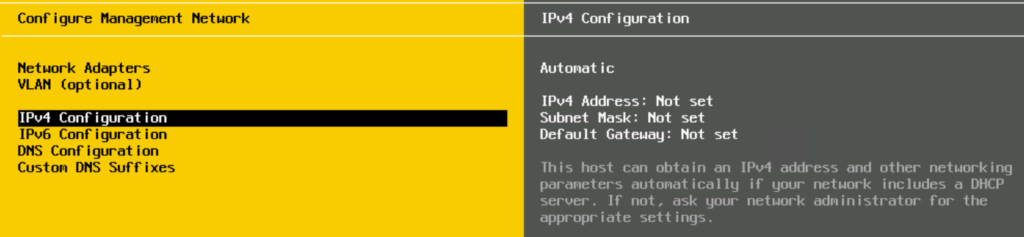
Select IPv4 Configuration
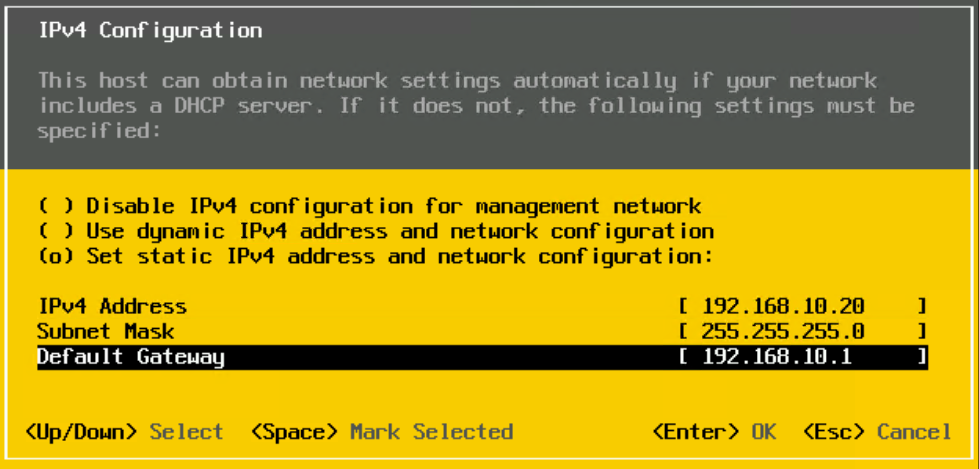
Enter your information and hit enter
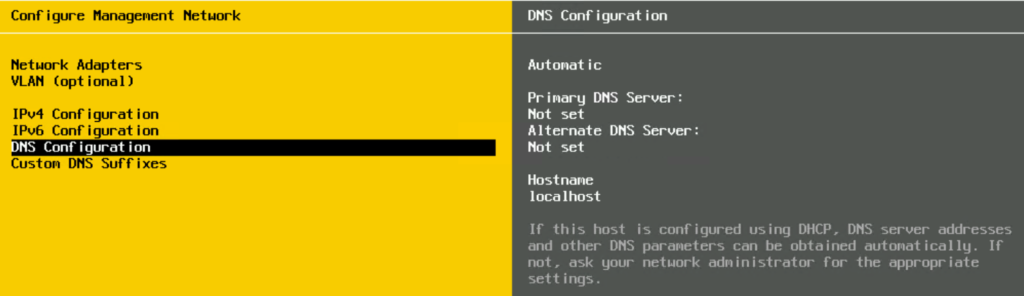
Select DNS Configuration

Enter your DNS servers and the ESX hostname
Note: Use the FQDN for the hostname
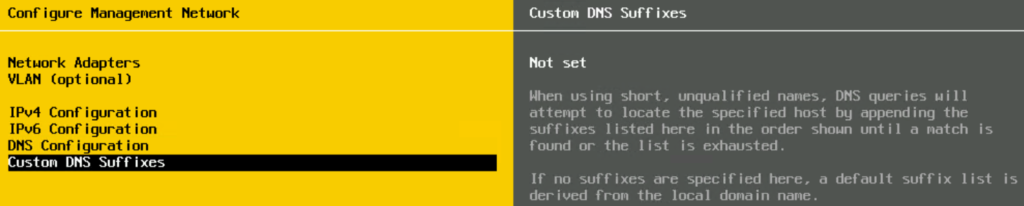
Select Custom DNS Suffixes
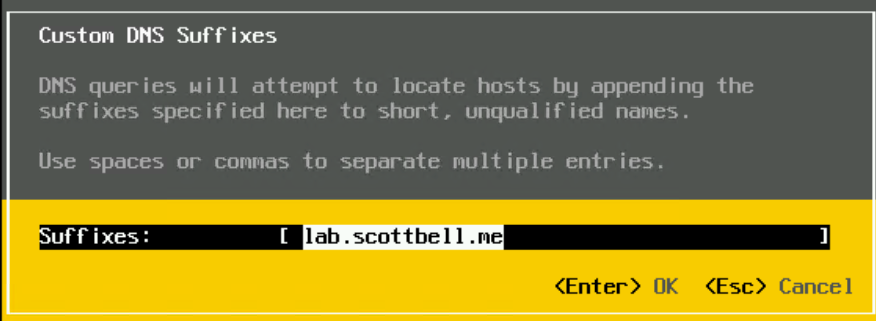
Enter the domain name for your environment and hit Enter

Hit Esc
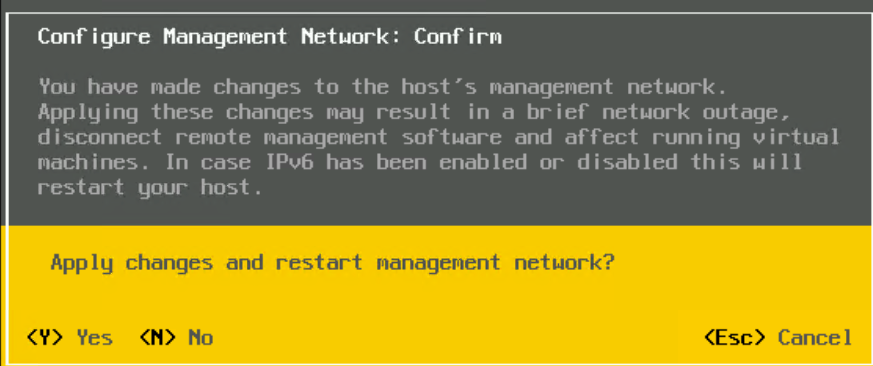
If you are good with the settings, hit Y
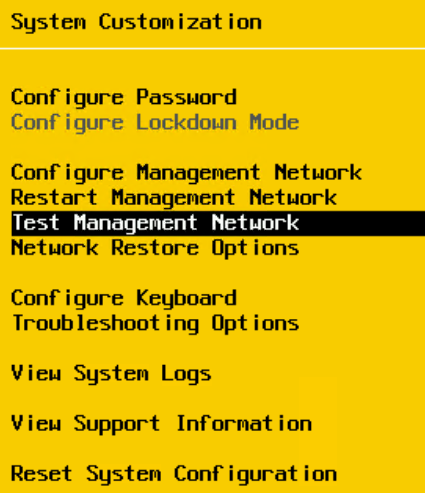
Select Test Management Network to ensure your host can communicate
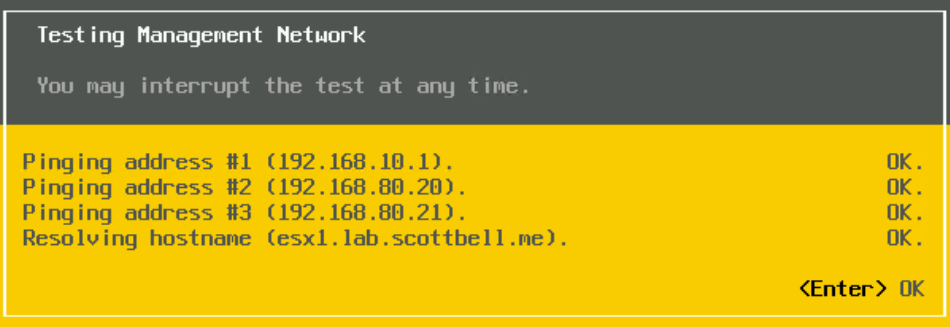
The test resolves successfully for all checks.
Now do this for however many hosts you may have
ESX Host Client Configuration
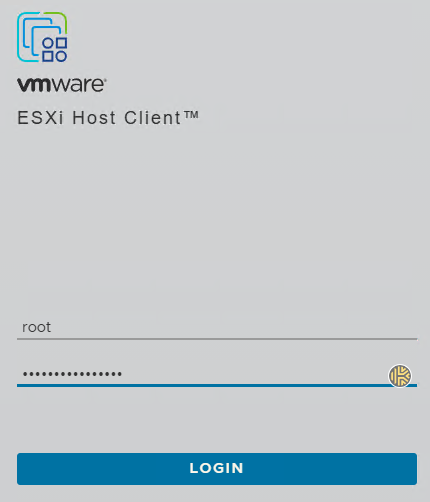
Login to your host
Make your choice for the Customer Experience Improvement Program

Select Manage on the left pane, then Time & date, and Click Edit NTP Settings
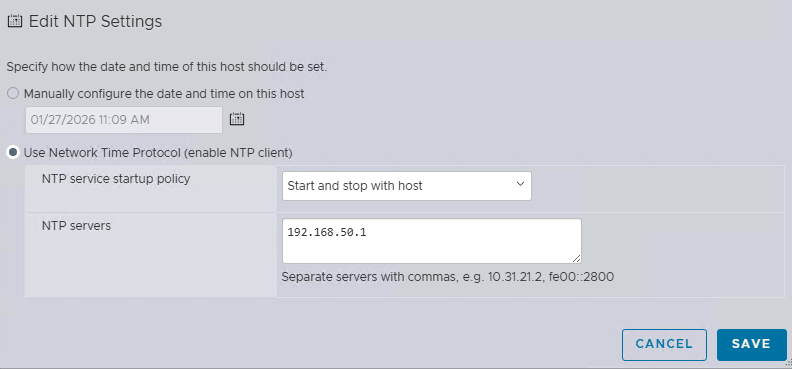
Set NTP service startup policy to “Start and stop with host” and NTP servers to your preferred source, click Save
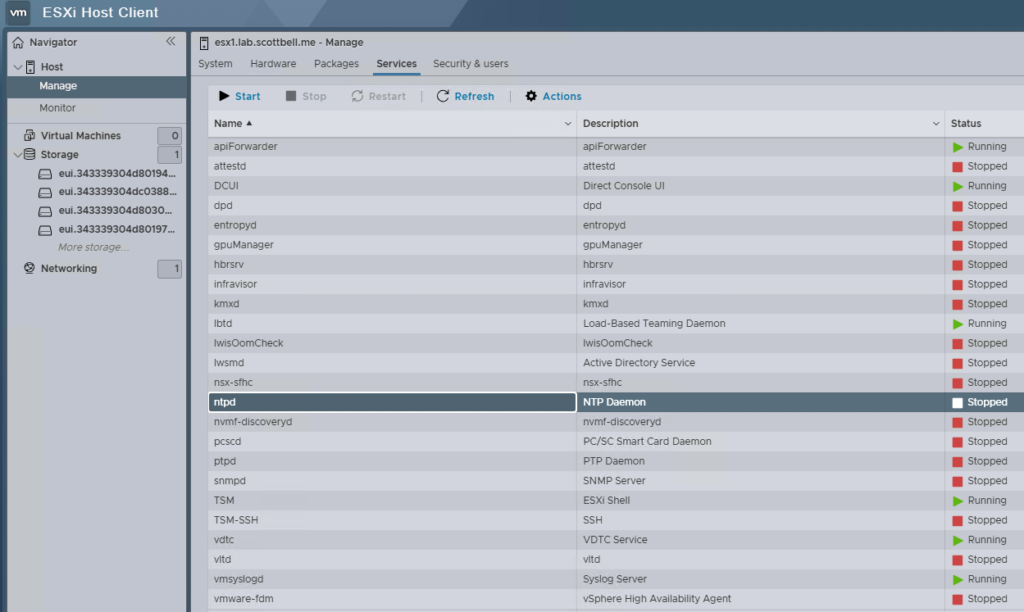
Next Select Services at the top and then click on ntpd, then select Start
Host Certificate Replacement
Your host will require a certificate, either self-signed or from a proper CA server. VCF Installer will replace the cert so I’m just going to have the hosts generate a named self-signed certificate.
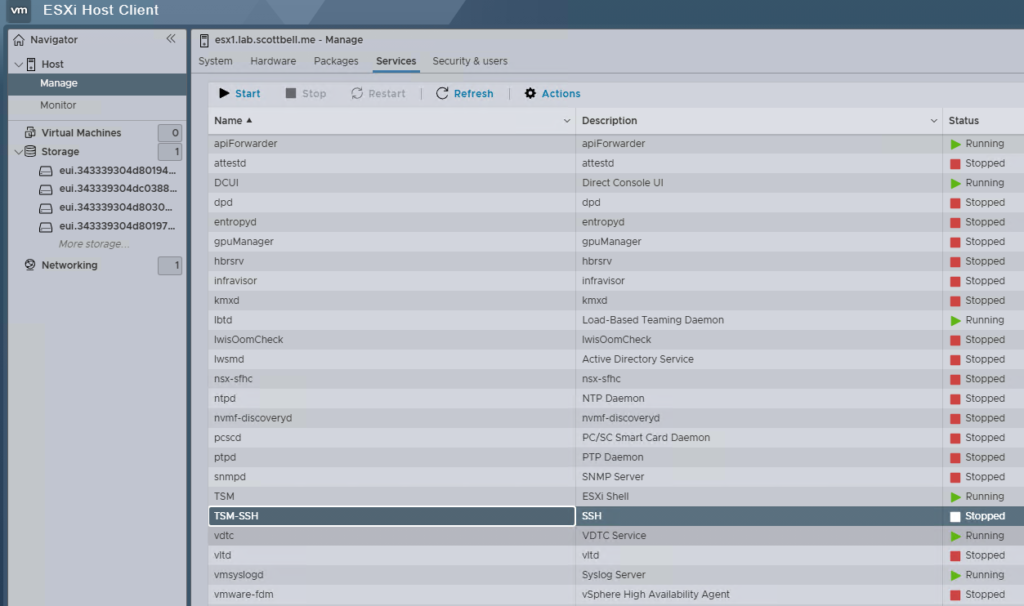
In Services, select TSM-SSH and then Start

SSH into the host using the root account with your preferred client of choice. Im using PowerShell.

Once logged in, run the following command to generate the certificate
sbin/generate-certificates

Once you have run the command, type reboot and hit enter to reboot the host to make sure the certificate takes effect. You can also just restart the management services using the following command
/etc/init.d/hostd restart
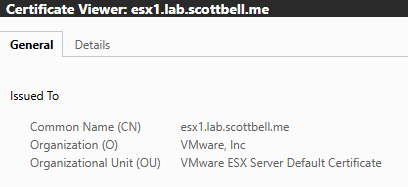
Now that the cert has been replaced, it should show the proper FQDN for the host
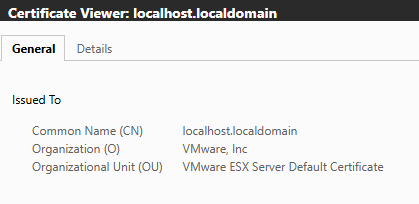
For contrast this is the default cert before being replaced. VCF Installer pre-checks won’t accept this certificate as it does not identify the host
ESX 9, ESXi, Home Lab, Homelab, VMware