Install Identity Broker
June 22, 2026 | Homelab, VCF, VCF 9, VIDB, VMware, VMware IDB, VMware Identity Broker | No Comments
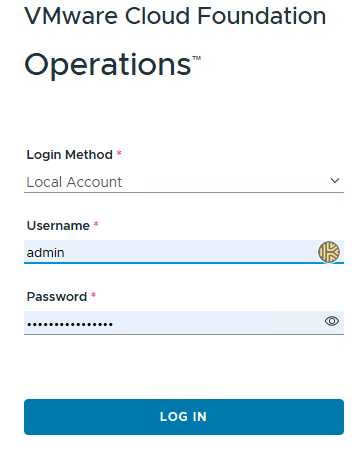
Login to your VCF Ops webpage
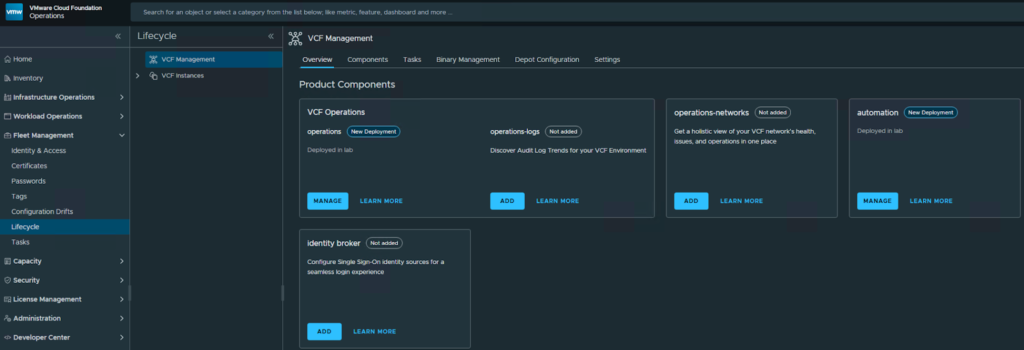
On the left pane, select Fleet Management, Lifecycle, then click on Add for identity broker
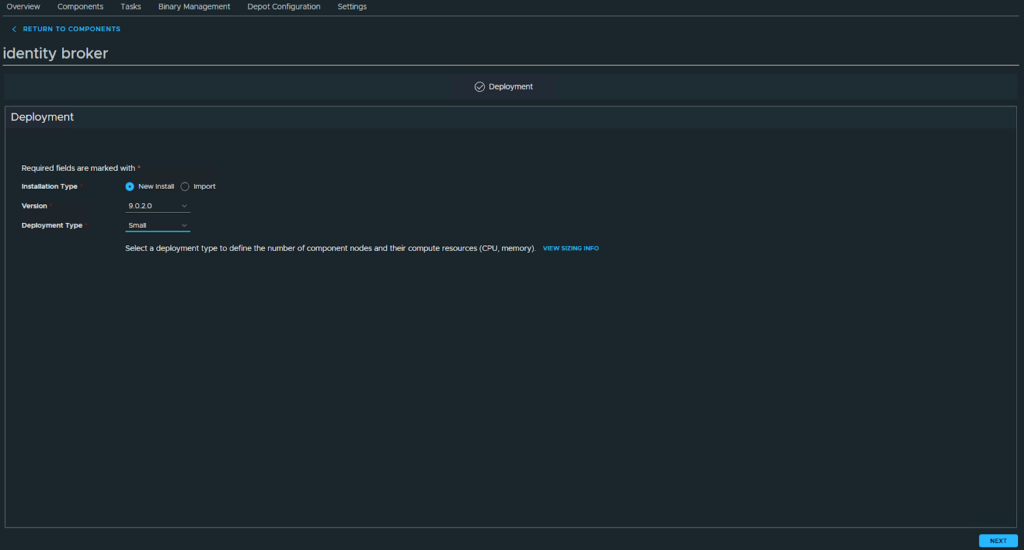
Select your version and Deployment type, as this is a homelab and not deployed for HA, mine will be Small. Click Next
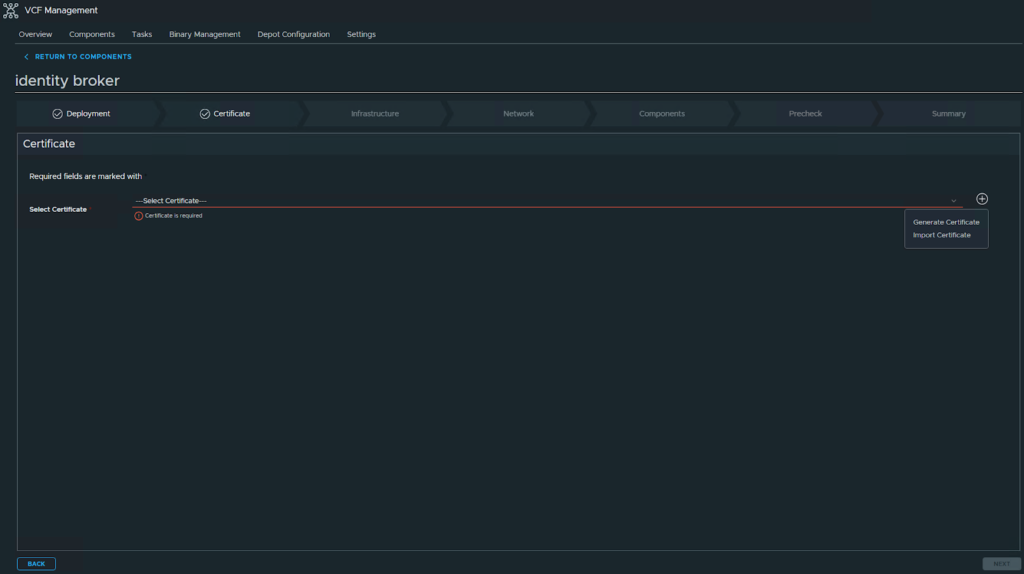
Click on the + at the end of the certificate line to Generate a new certificate, or to import one you have created. I am going to import a certificate.
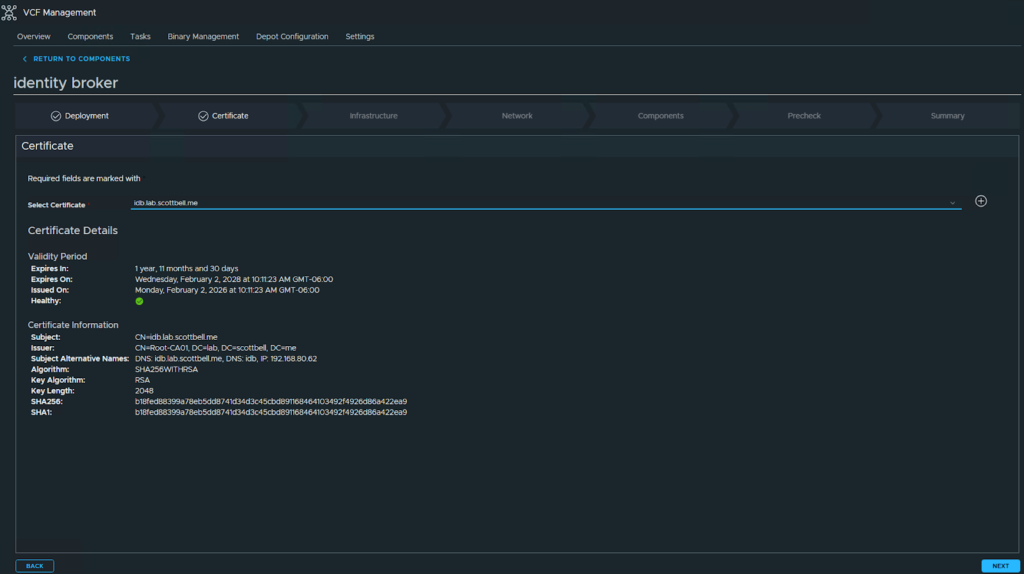
Select your certificate and then click Next
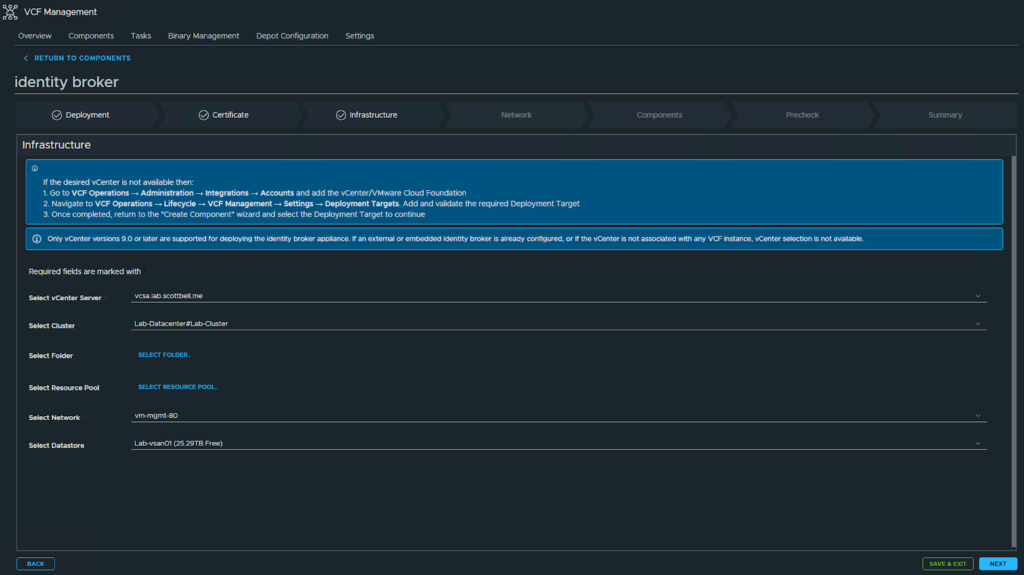
Select the Cluster, Storage and such then click Next
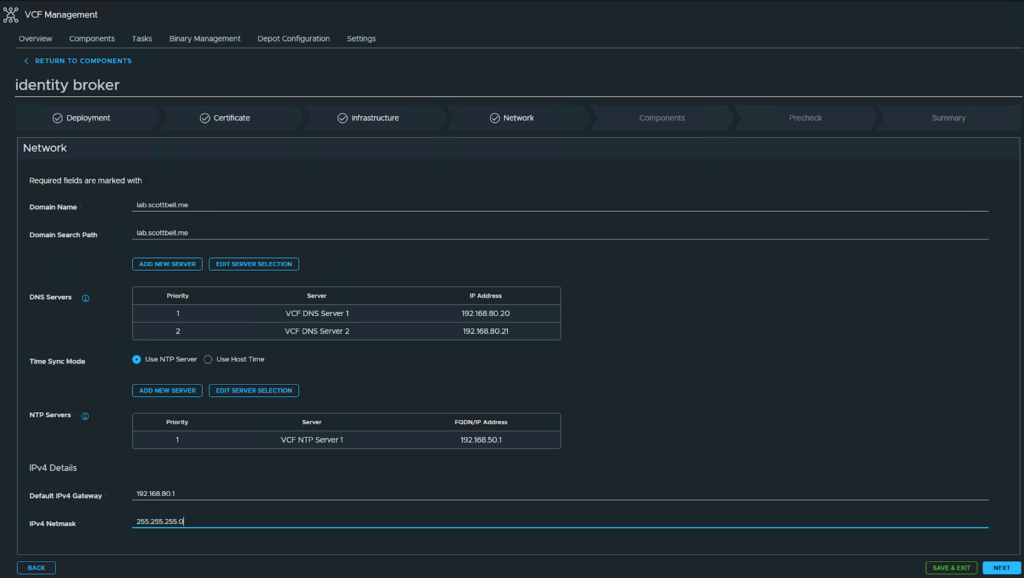
Enter the information for domain name, DNS, NTP and Gateway info then click Next
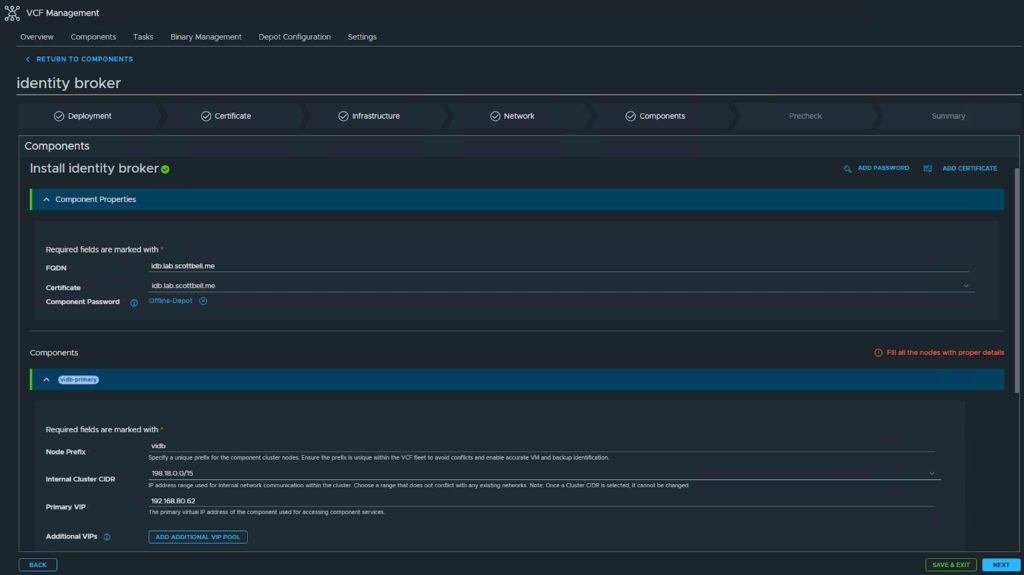
Add your information for FQDN, Password, And the component information such as the node prefix and the VIP IP.
Note that the prefix portion you control, it will generate a 4 digit ending portion, such as vidb-abcd
Click Next
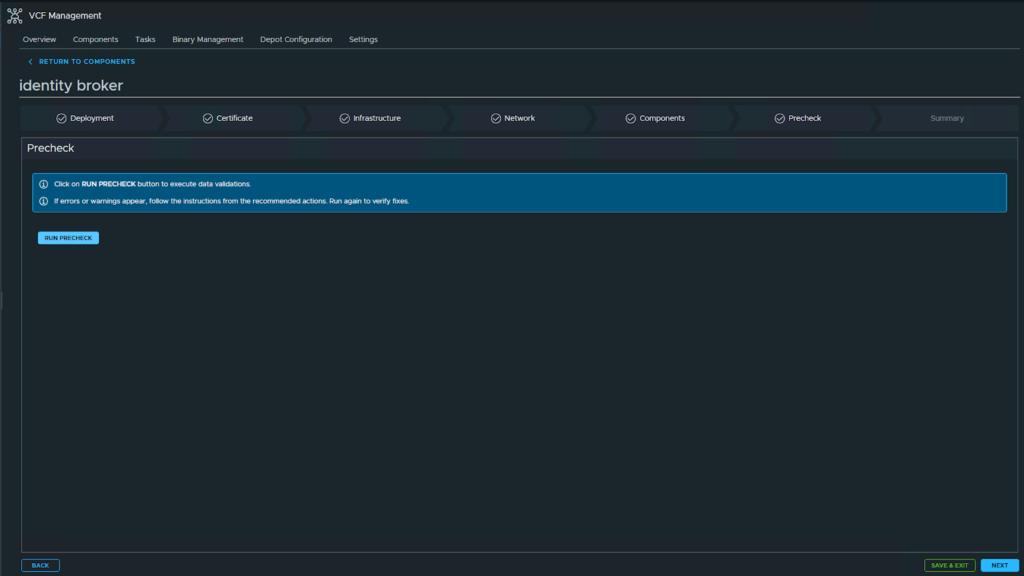
Select Run Precheck
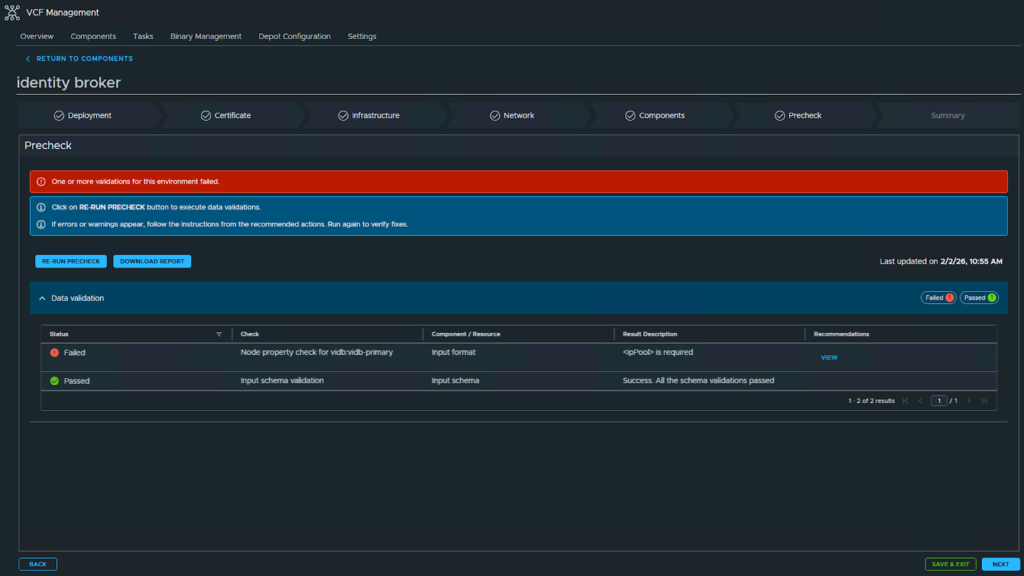
In my case the precheck failed as I did not provide an IP Pool. Click Back to add an entry for the IP Pool

Select Add Cluster Node IP Pool

Add your entry, I’m just going to add 1 IP since its a one node element
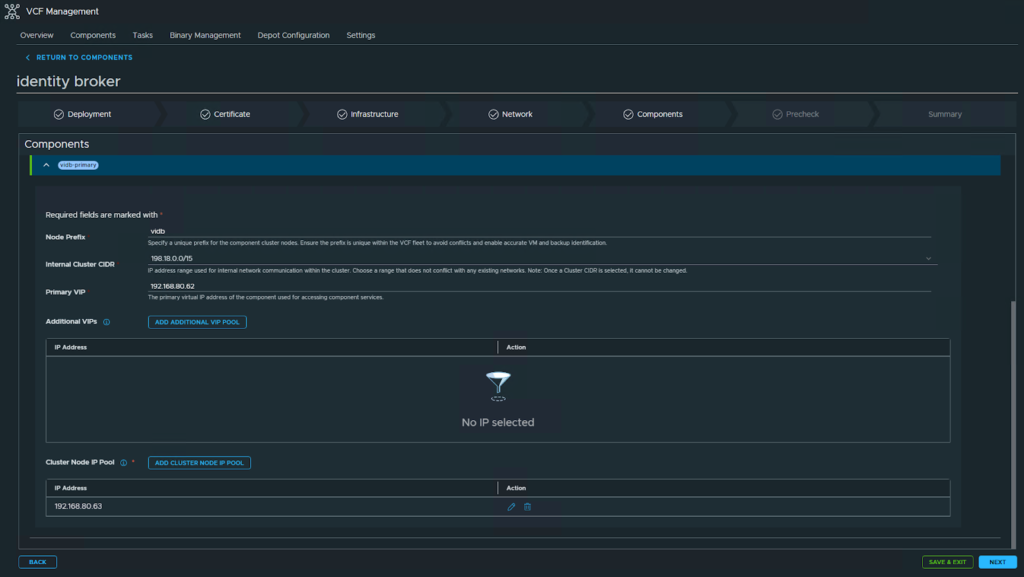
Once completed, click Next
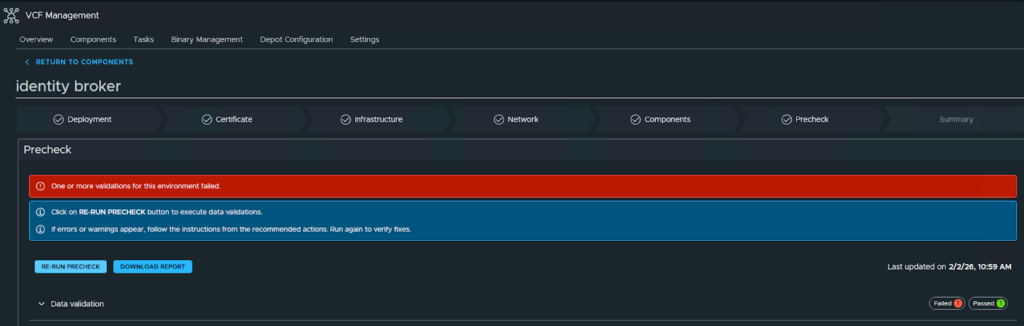
Select Re-Run Precheck
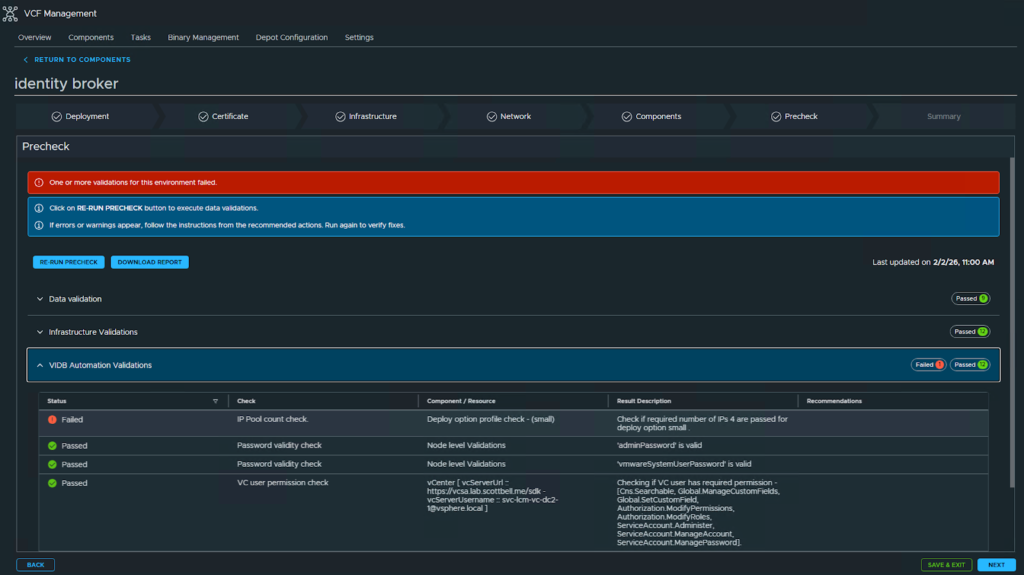
On the re-run it requires 4 IPs to be provided. I’ll go back now and adjust for 4 IPs
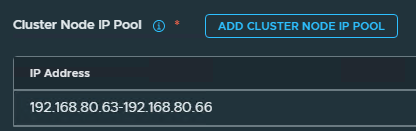
Now that I’ve expanded it to 4 IP’s I will click next and re-run the precheck
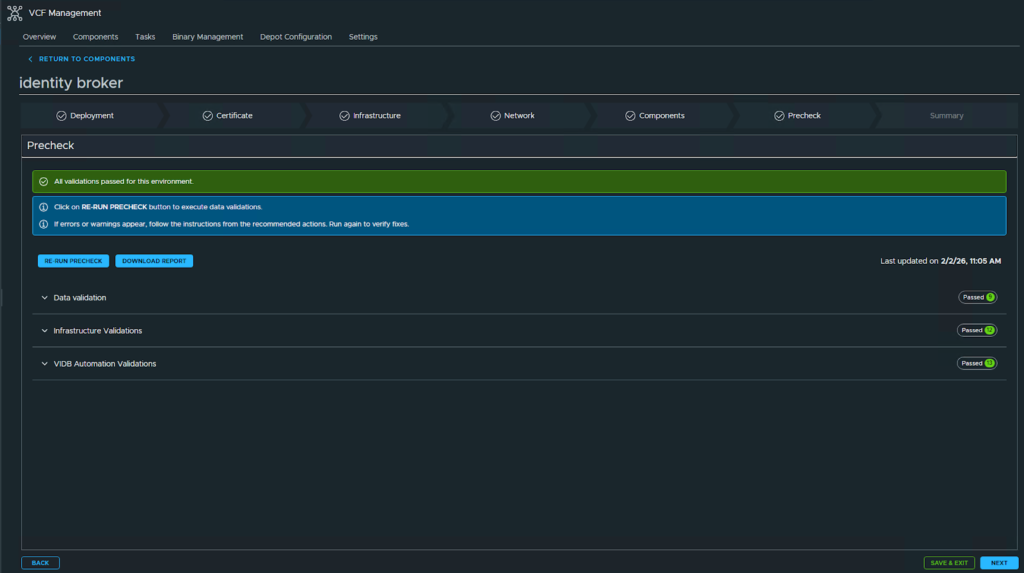
Now that the prechecks have been passed successfully, click Next
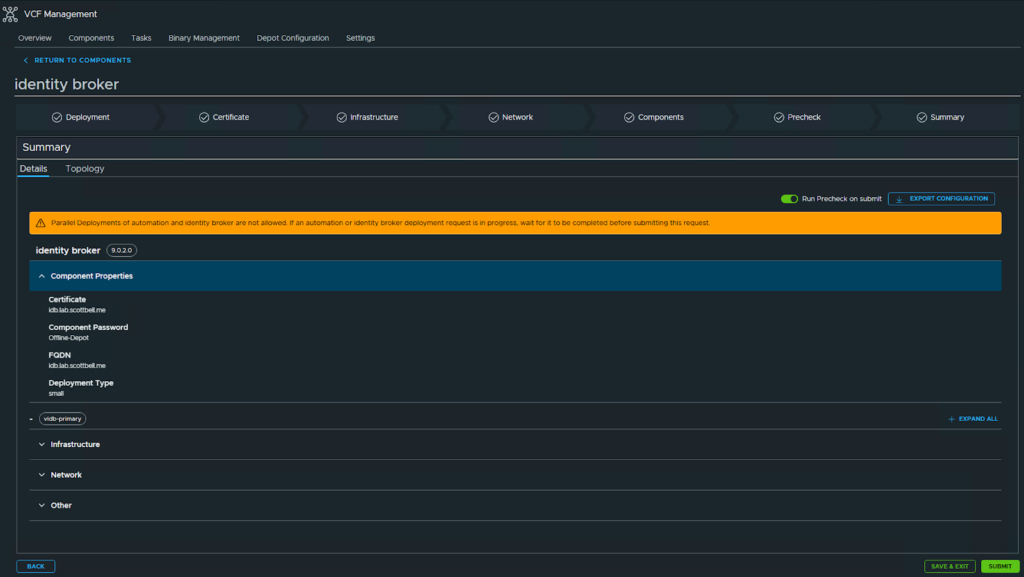
Verify your information and then click Submit
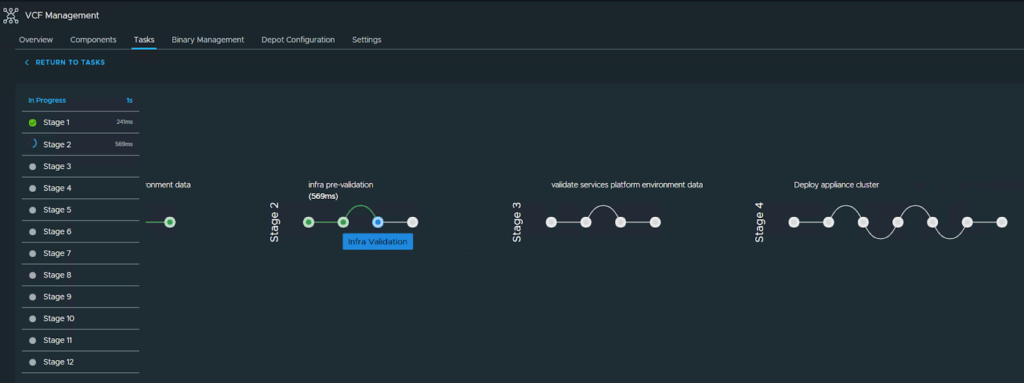
You will get this pretty workflow to show the progress for the deployment and configuration
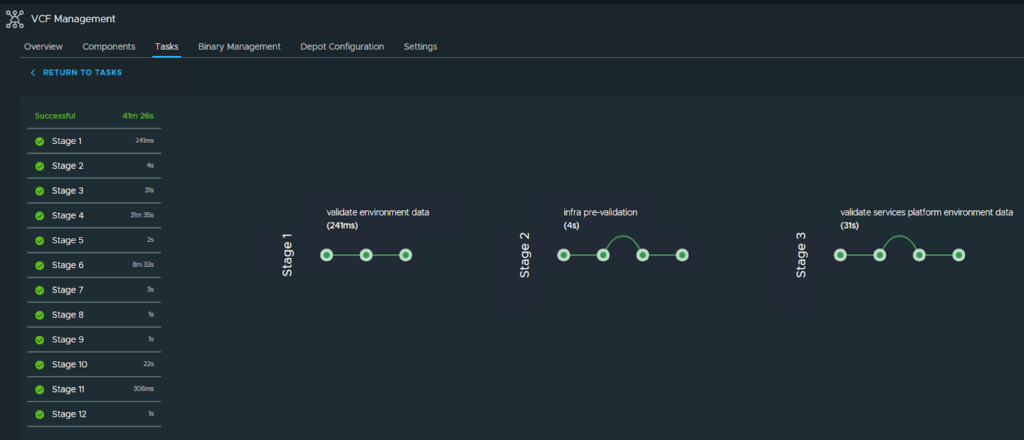
Once completed you will see all 12 stages showing a green check mark for completion.
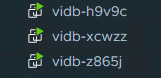
If you check your vCenter, you will now see 3 vidb-* VM’s
Home Lab, Homelab, VCF, VIDB, VMware, VMware IDB, VMware Identity Broker