Configuring Identity Broker
July 6, 2026 | VCF, VCF 9, VIDB, VMware, VMware IDB, VMware Identity Broker, VMware SSO | No Comments
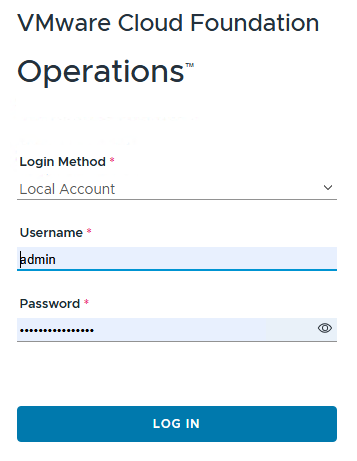
Login to VCF Operations
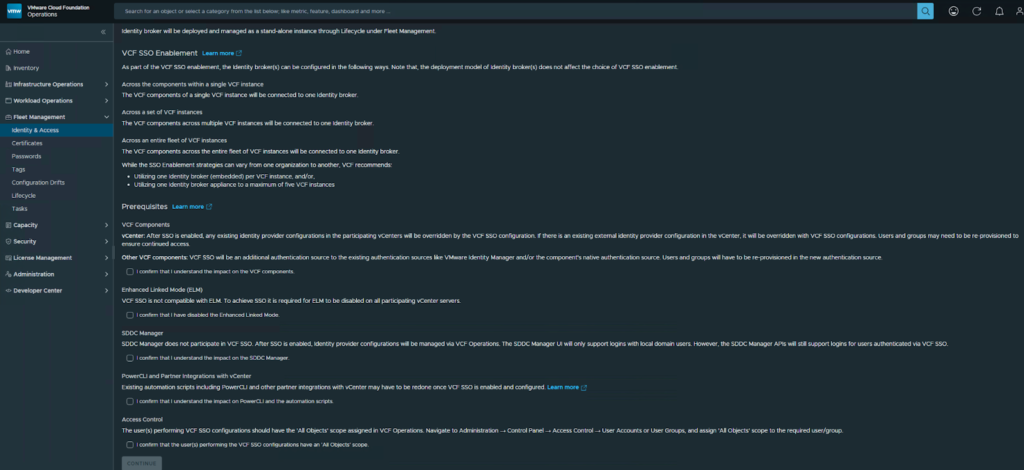
On the left pane, select Fleet Management, then Identity & Access.
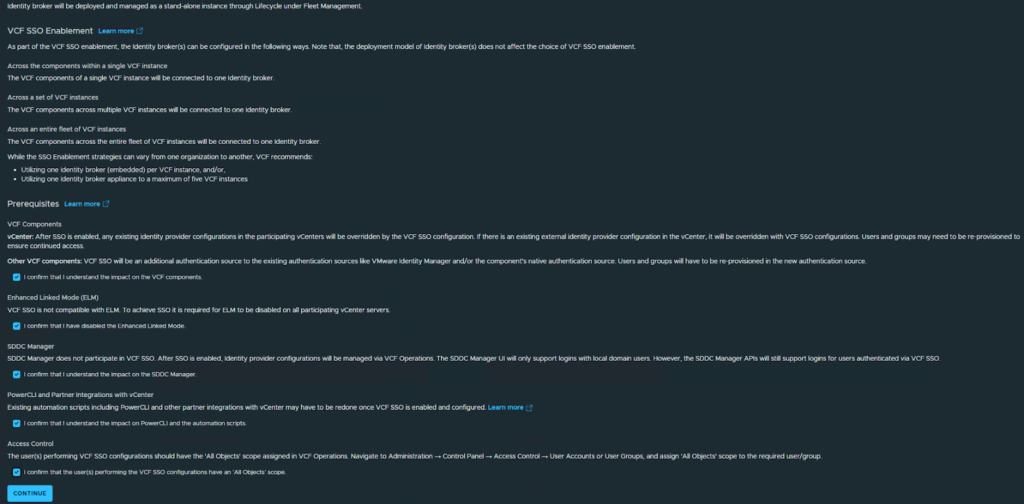
Review the information and pre-requisites and then if you agree, check the boxes and select Continue
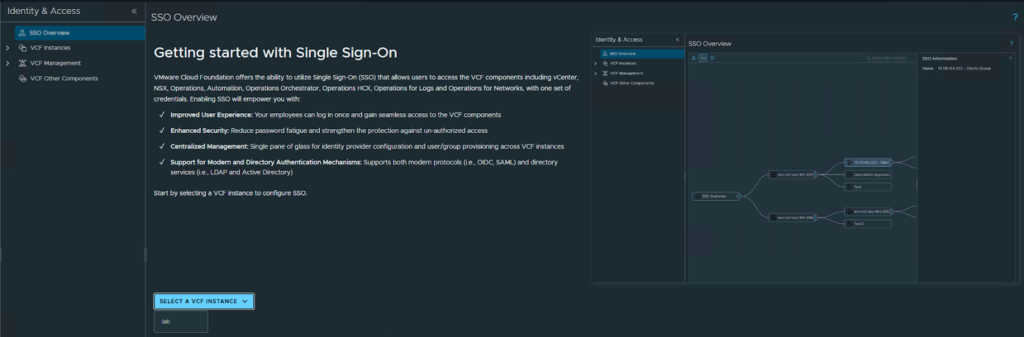
Do the drop down to select a VCF instance to configure for SSO
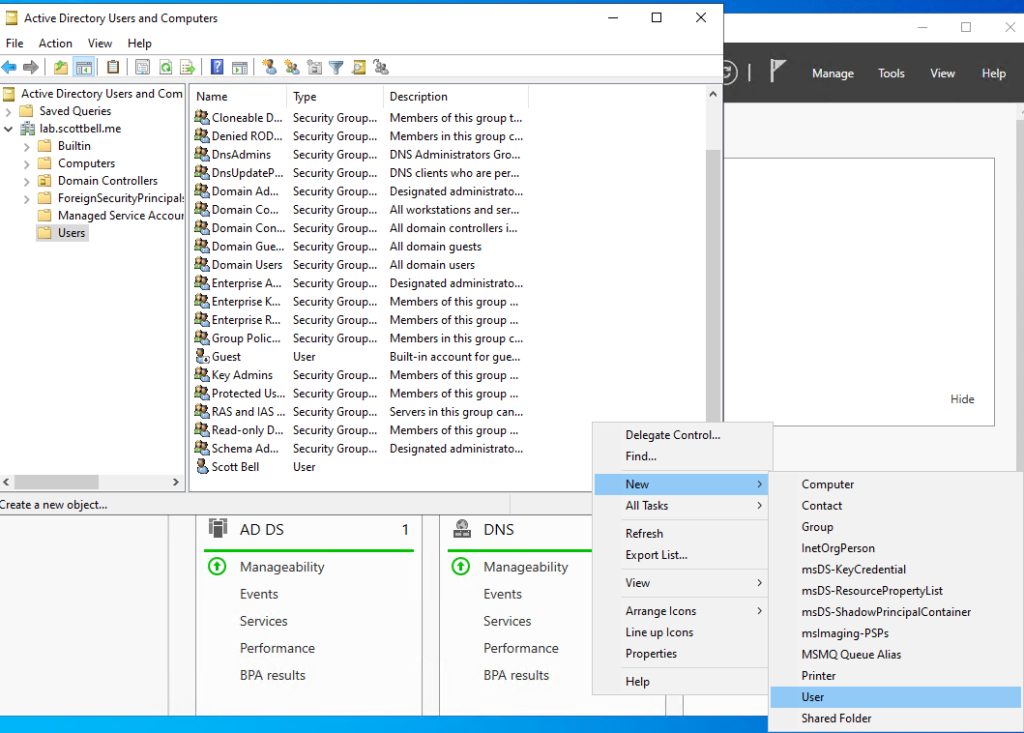
I am pivoting over real quick to create a service account for the IDB to tie-into Active Directory
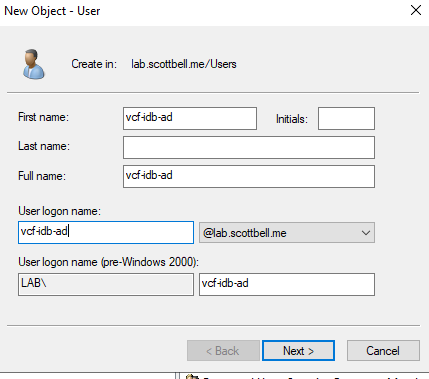
Name your account in line with your standards and then select Next
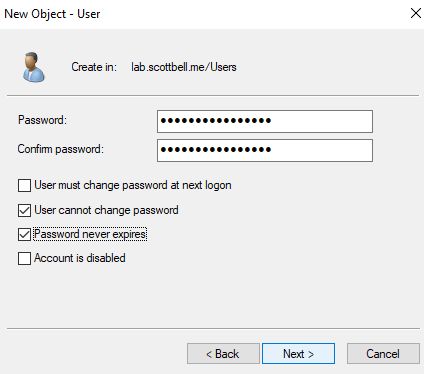
Provide the password you plan to use, I like to check the “User cannot change password” and “Password never expires” check boxes since this is a lab.
It’s not likely to make a year before the rebuild so I’m not so concerned with the accounts password policy.
Click Next
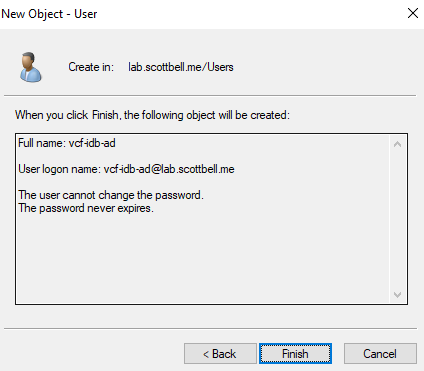
Make sure the account information looks correct and then select Finish
Note: No permissions are needed so the account process will be completed here
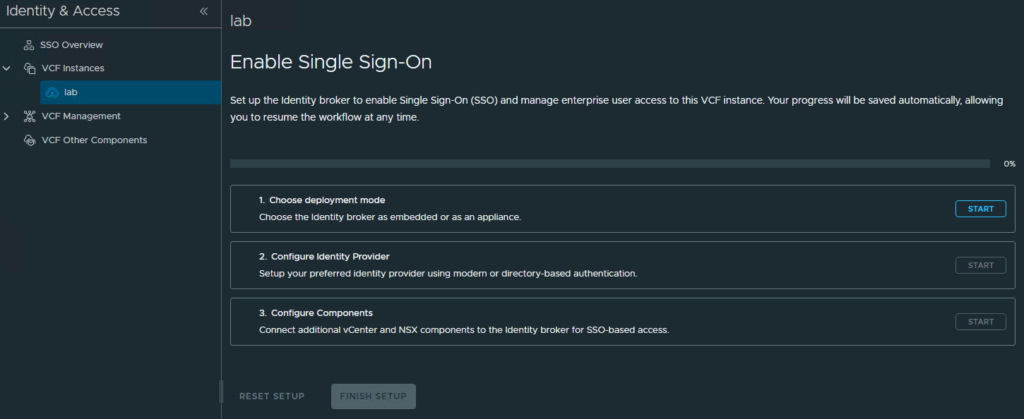
Back in VCF we will now select Start for step 1
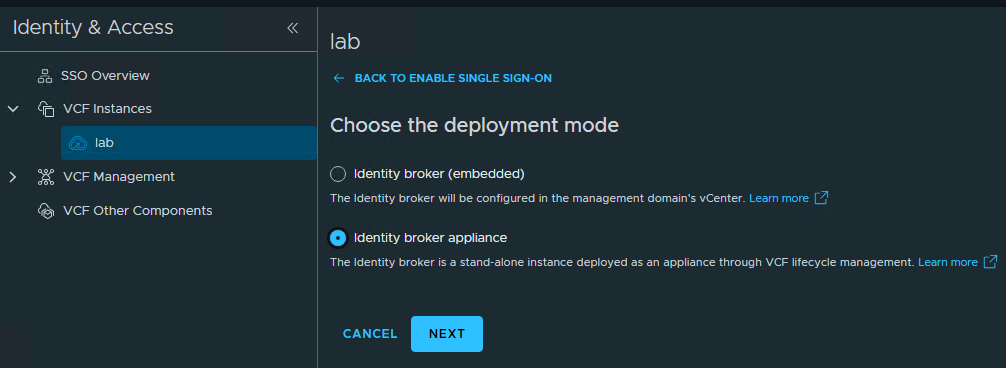
Choose the deployment mode that matches what you are doing. In my case I deployed the appliance. Select Next
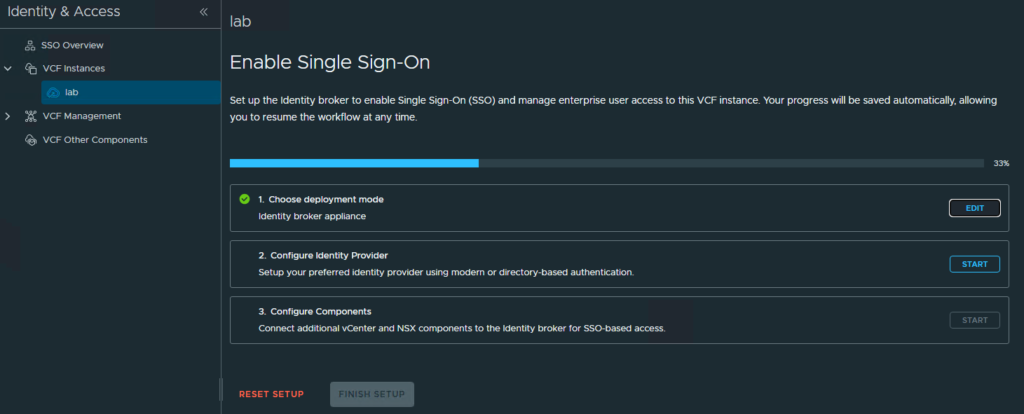
Next we will move to step 2 and configure the Active Directory instance as the Identity Provider (IDP)
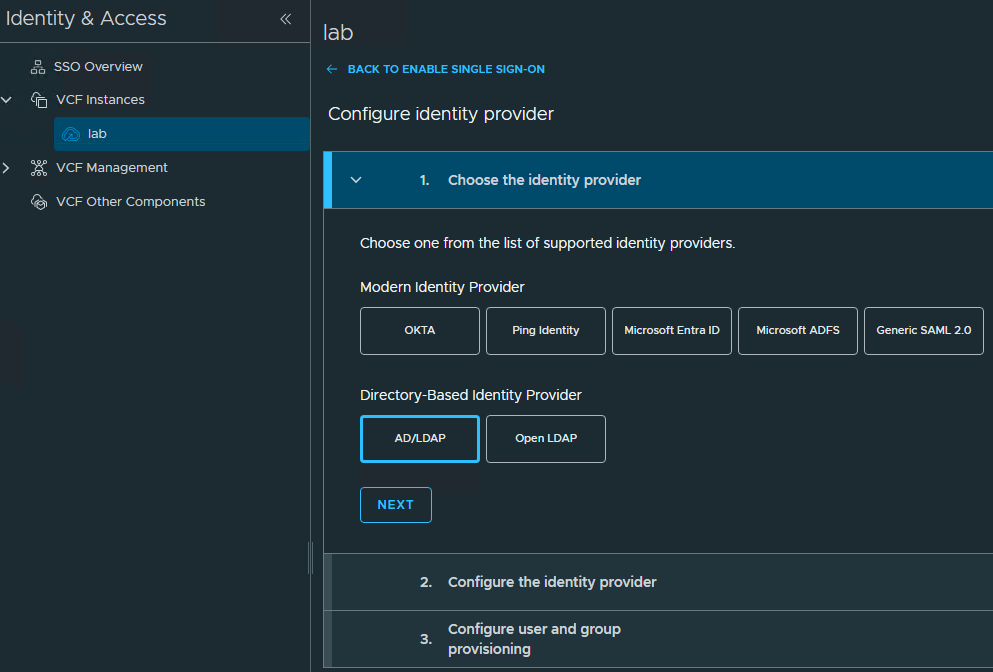
Select the appropriate provider and then select Next
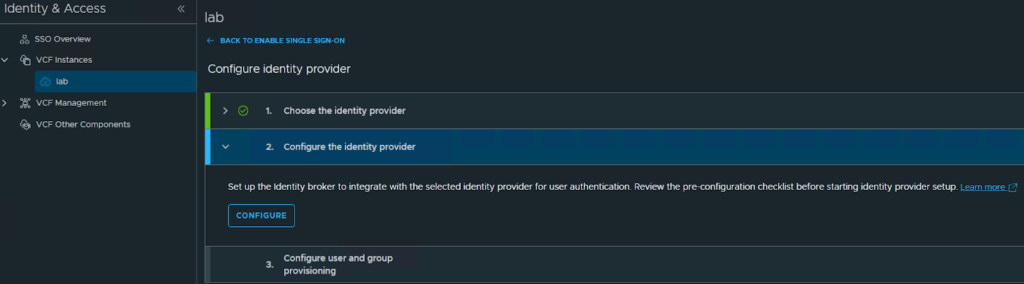
Select Configure
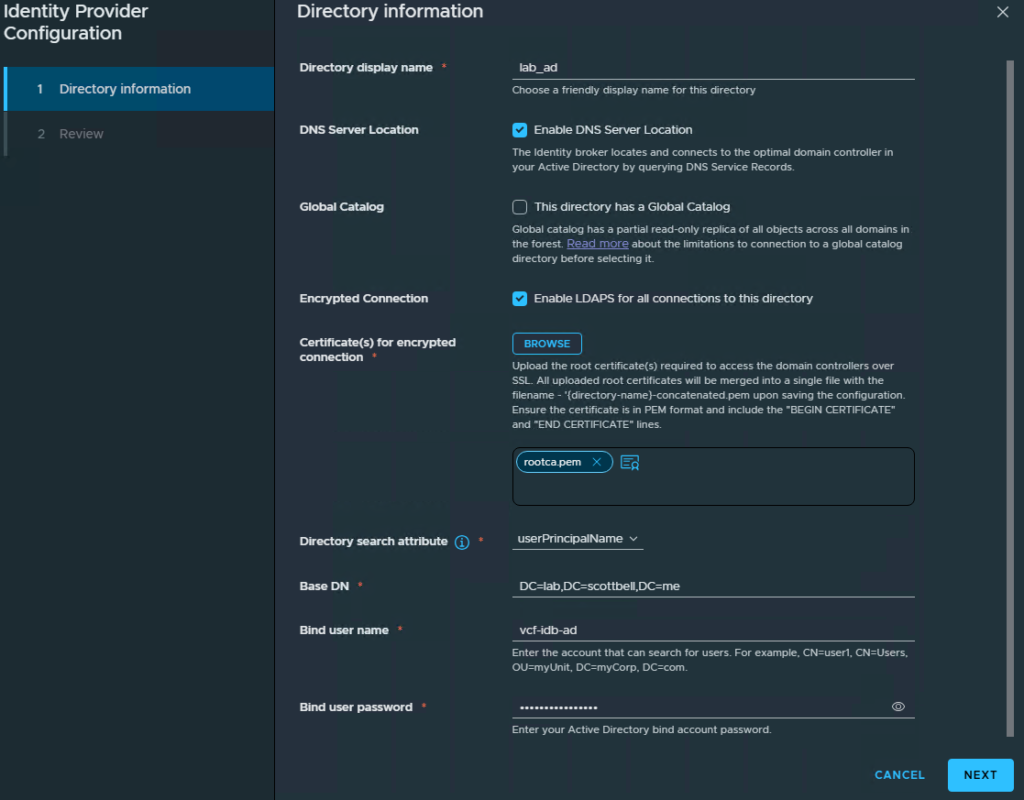
Enter the information for your authentication method, and then select Next
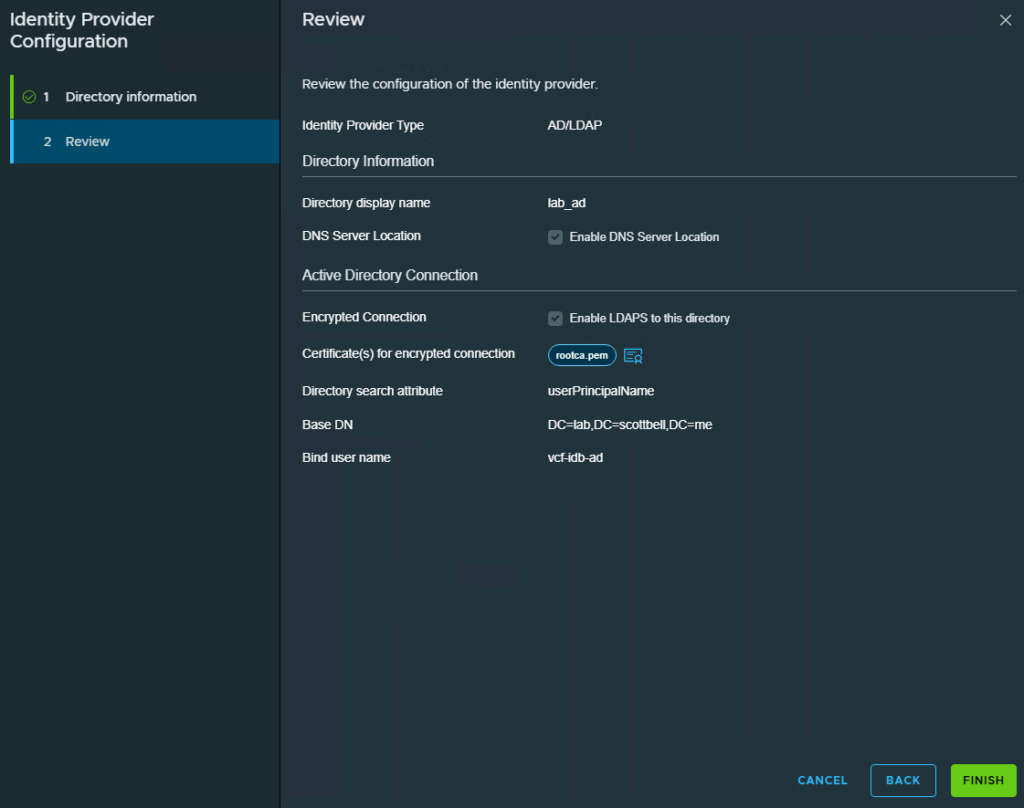
Review the information to ensure it is correct and then click Finish
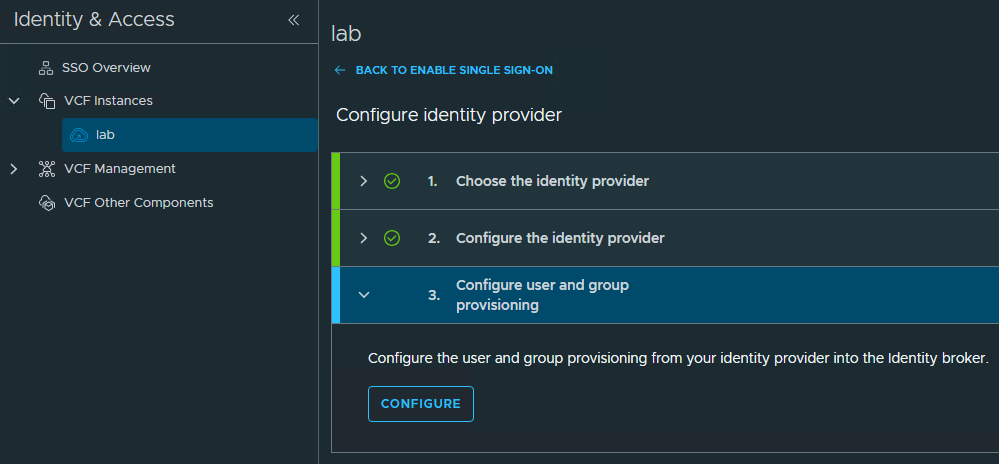
Select Configure for step 3
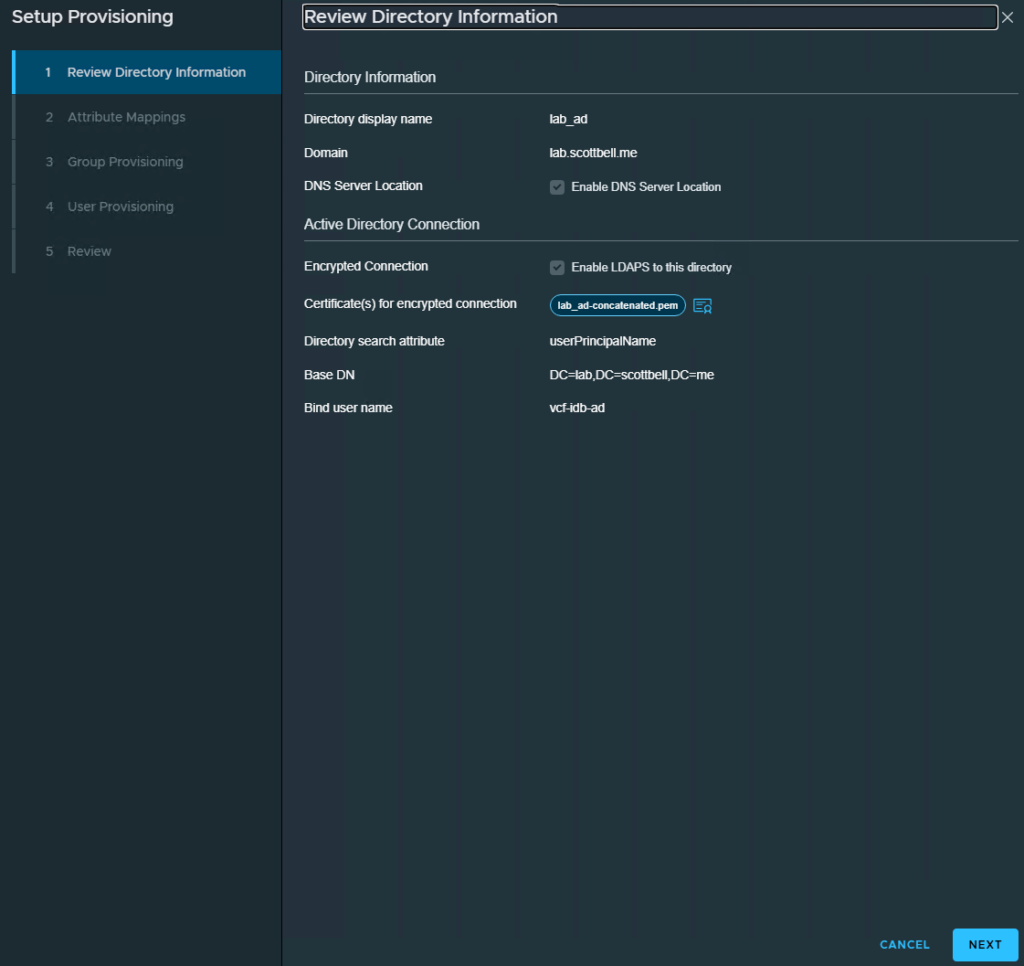
Make sure all the information looks correct and select Next
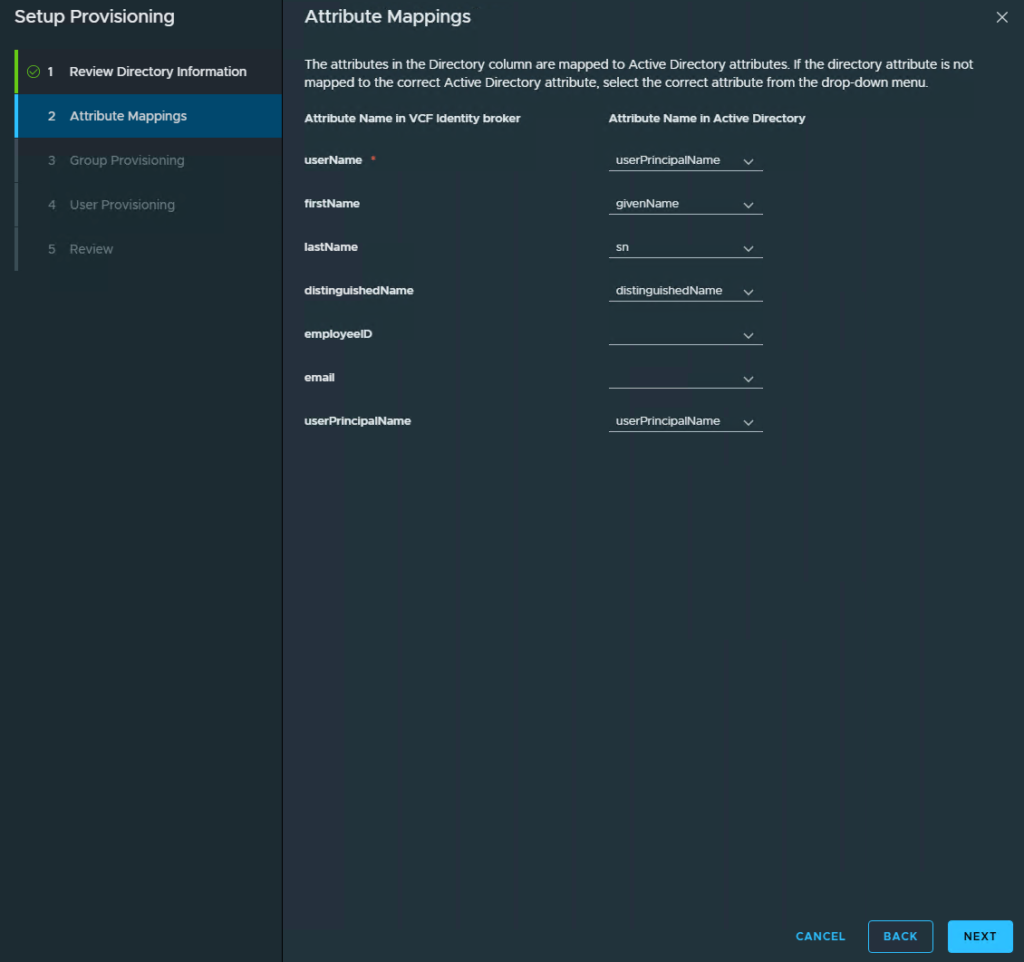
Make sure the attribute mappings are what you want, I don’t use email in my lab so I removed that entry. Select Next
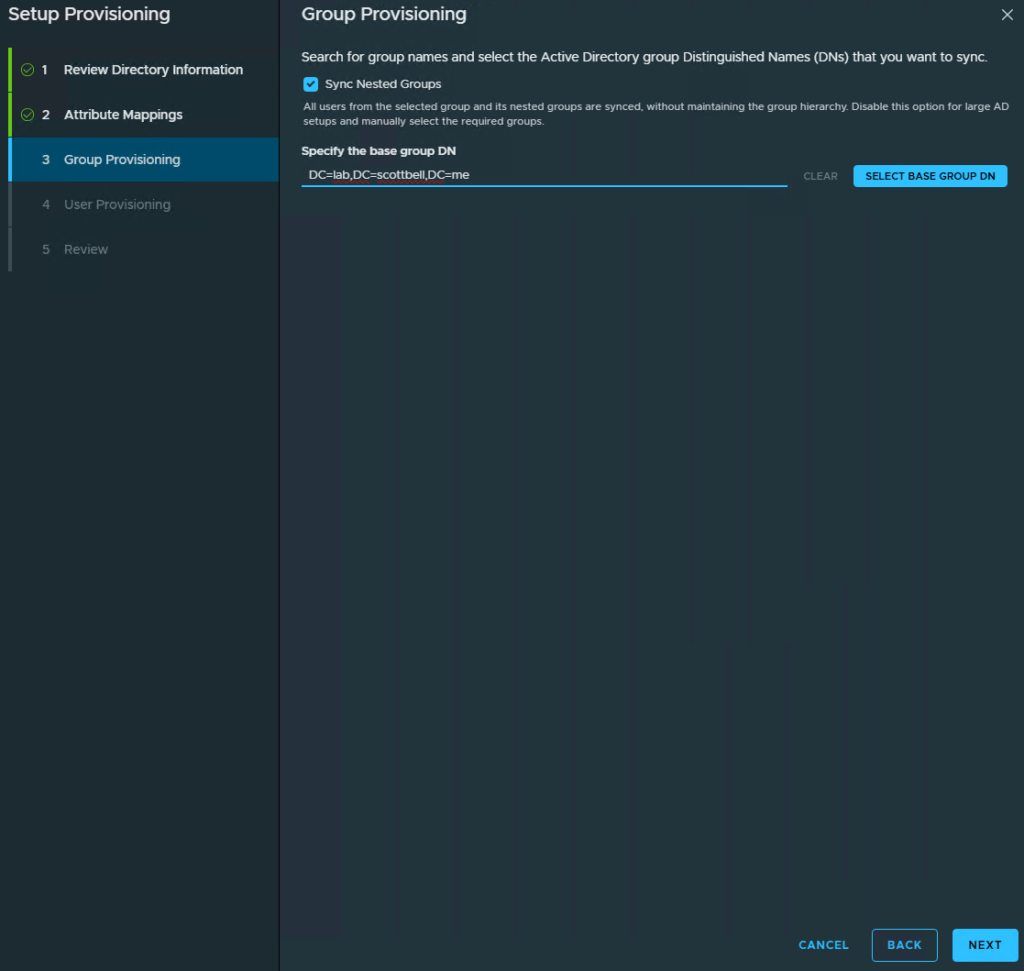
This is an extremely simple AD environment so I’m just using the base DN for the domain, choose Select Base Group DN
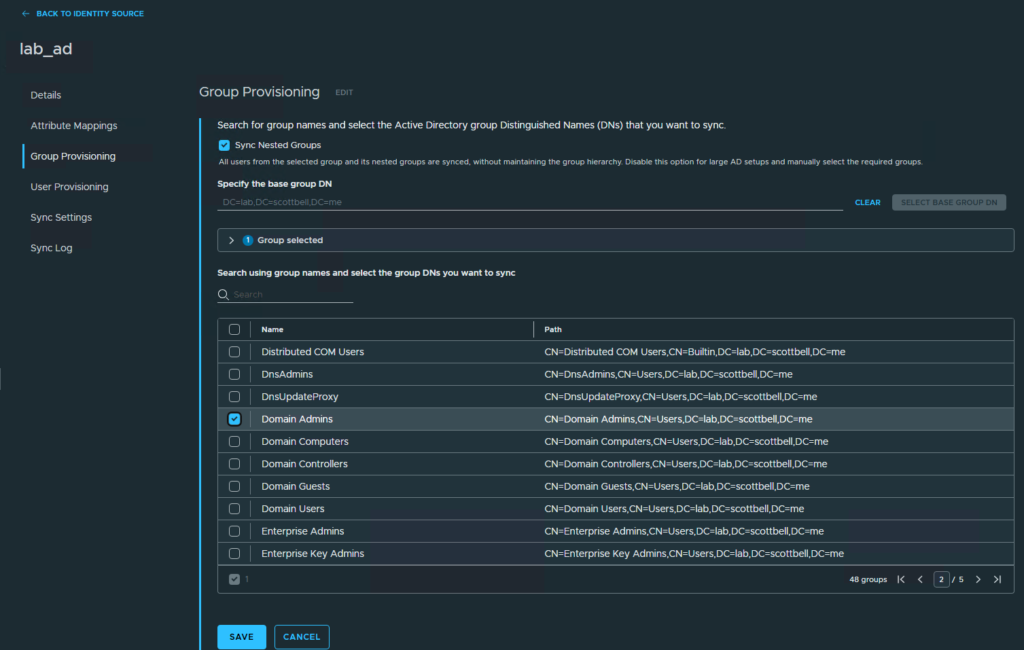
I do not have RBAC setup in my lab so I’m just going to use the Domain Admins group. Select the groups you will be using and then select Next
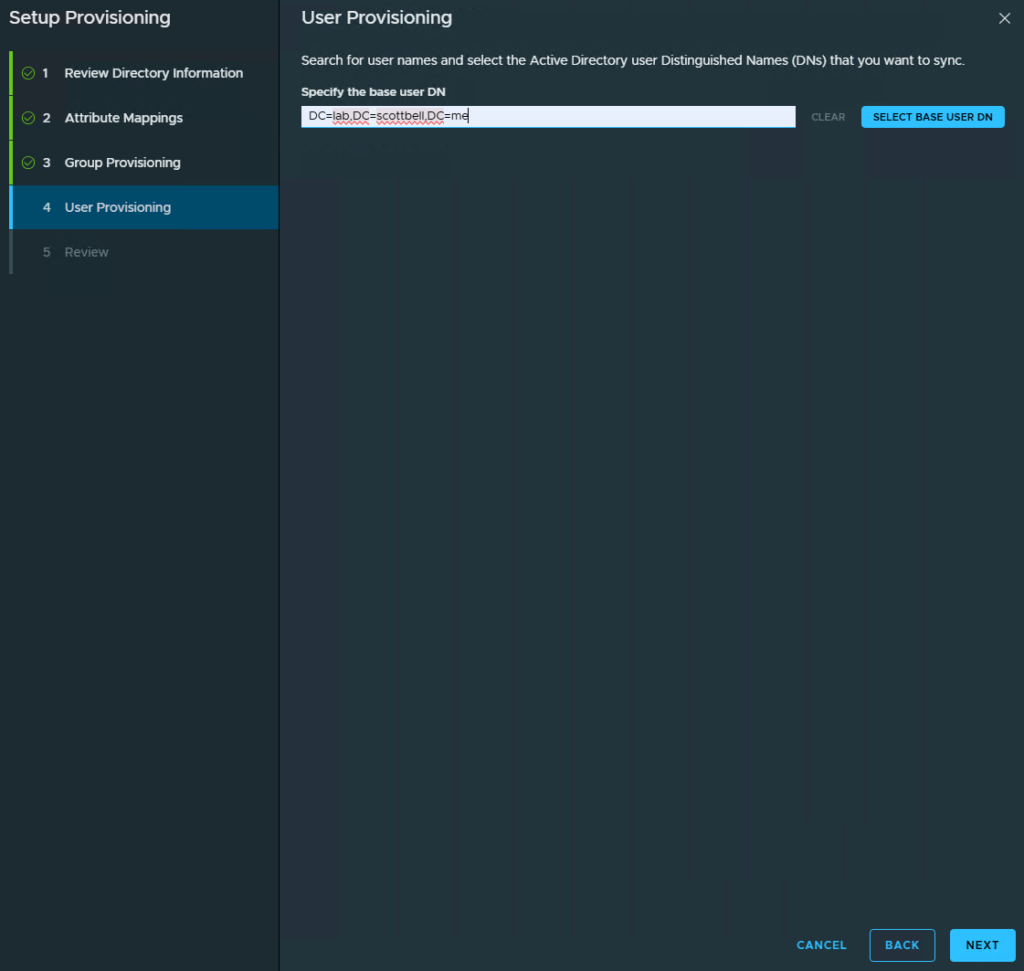
Same thing for the User side, I will be using the base DN for the domain, choose Select Base User DN
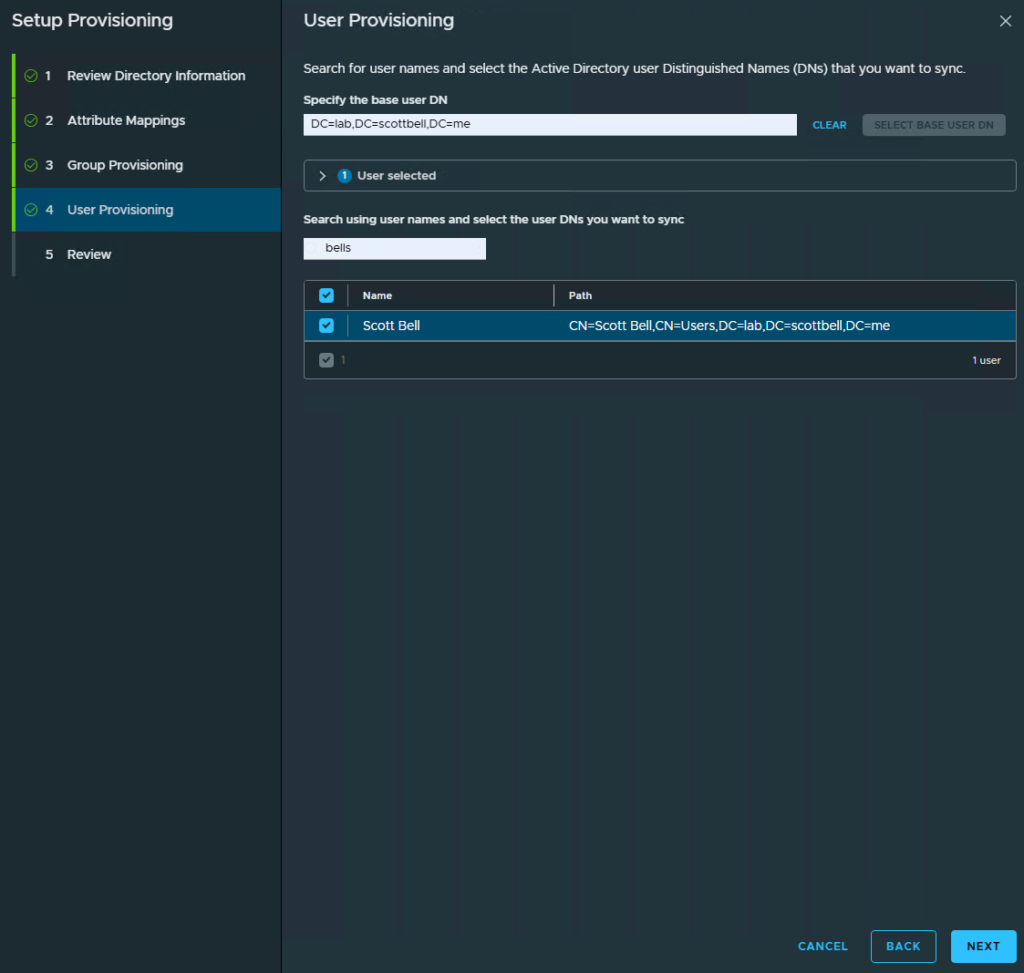
Select whatever user(s) you might be adding and then click Next
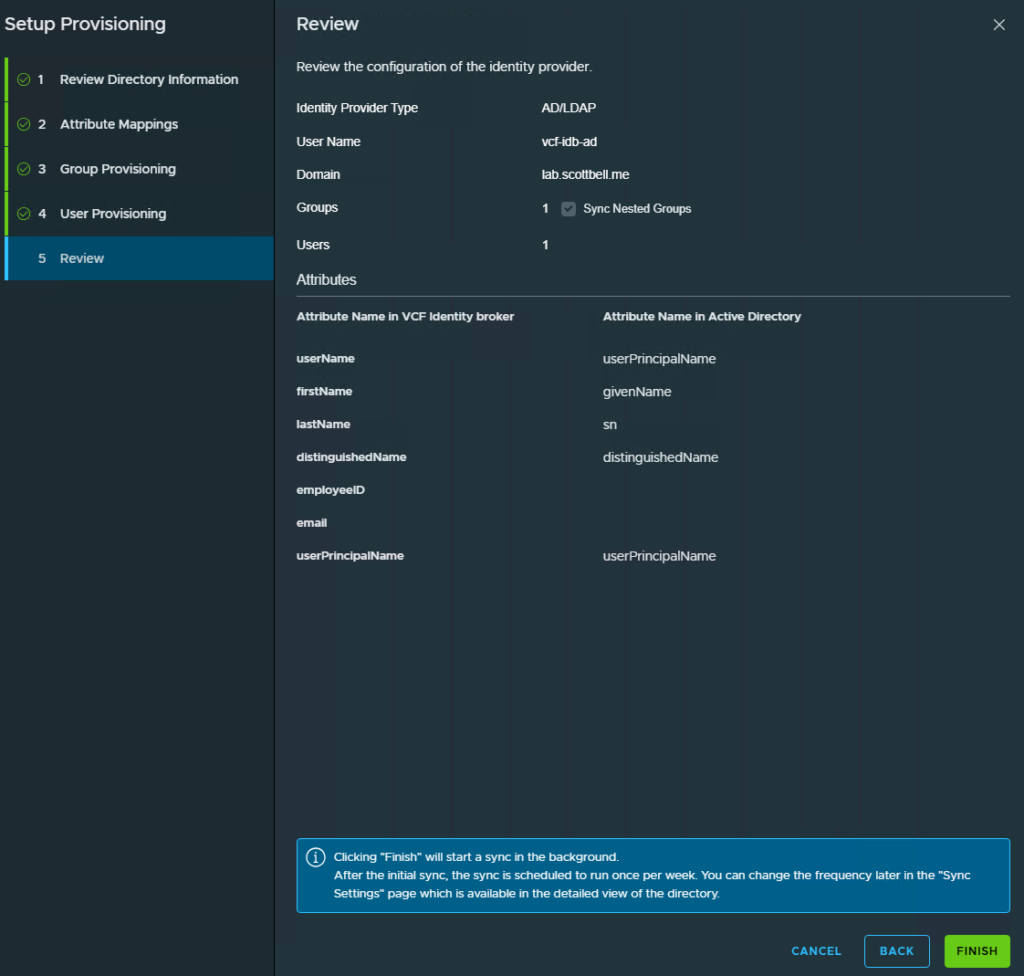
Make sure the information matches what your wanting and the select Finish
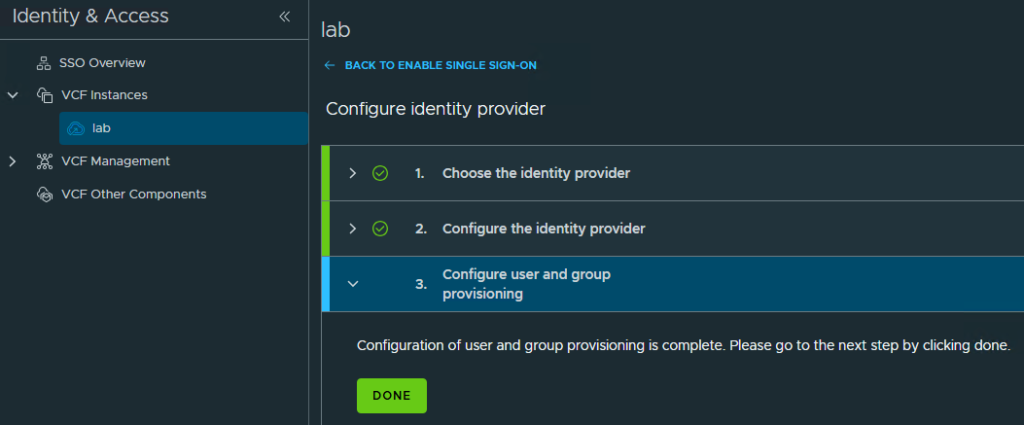
Select Done
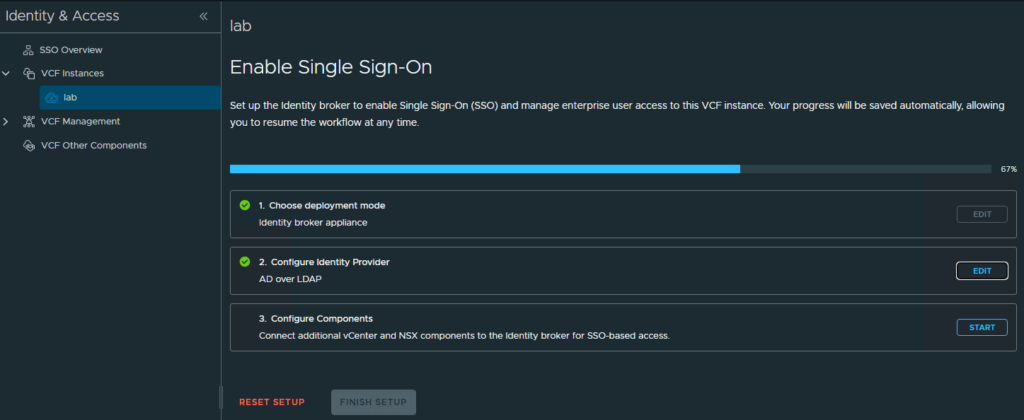
Now that step 2 is complete, its time to start step 3 to add components. Click Start
I currently have vCenter and NSX available for the instance to add to SSO. Select yours and then Configure
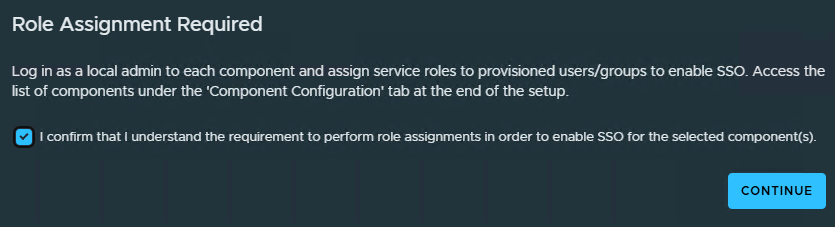
You will get a warning that you will still need to login to the appliances to provide the SSO roles (Administrators in this case) appropriate access for users logging in after setup is completed. Click Continue
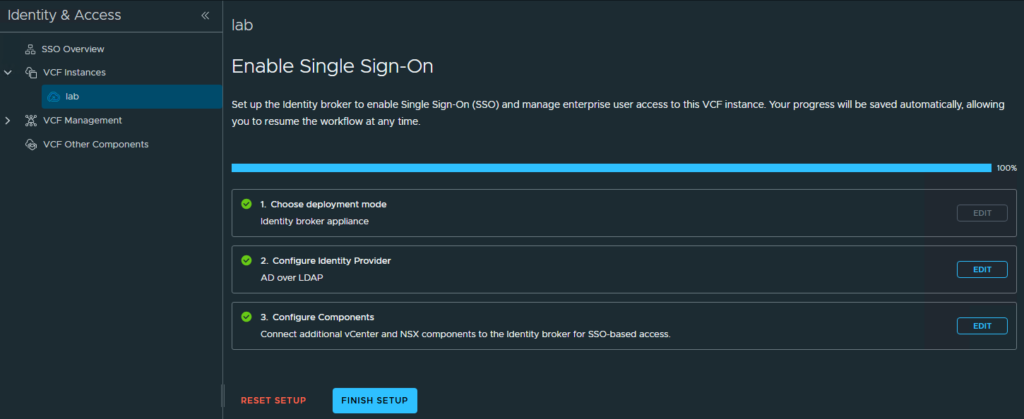
Once setup is completed it will bring you back to show that you’re done. Click Finish Setup.
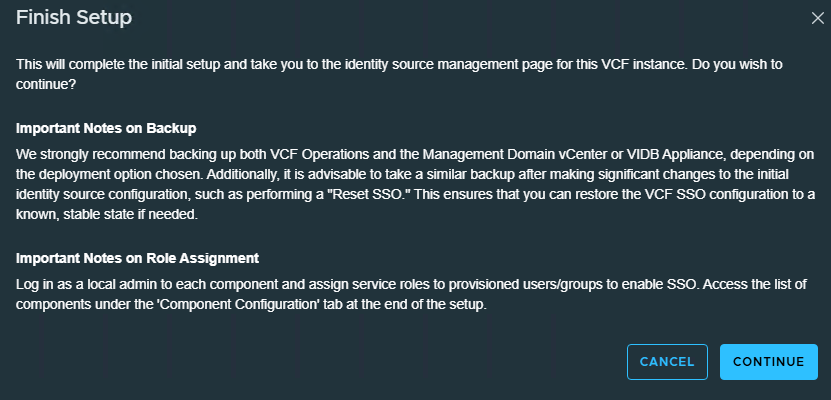
You will get another warning to make sure you’re ready. Review and if you agree, click Continue
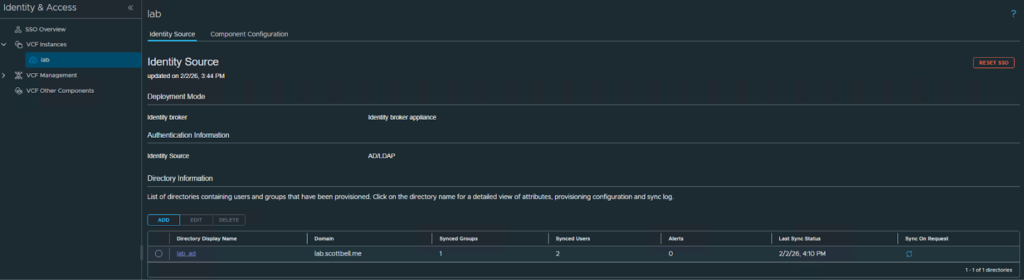
You should see this view once initial sync is completed
Note: If you entitle a group that includes the built-in Administrator account, you will likely run into the account not having a UserPrincipleName (UPN), I added Administrator as the UPN to the account to allow it to be added. You can ignore it and that user just wont be synced
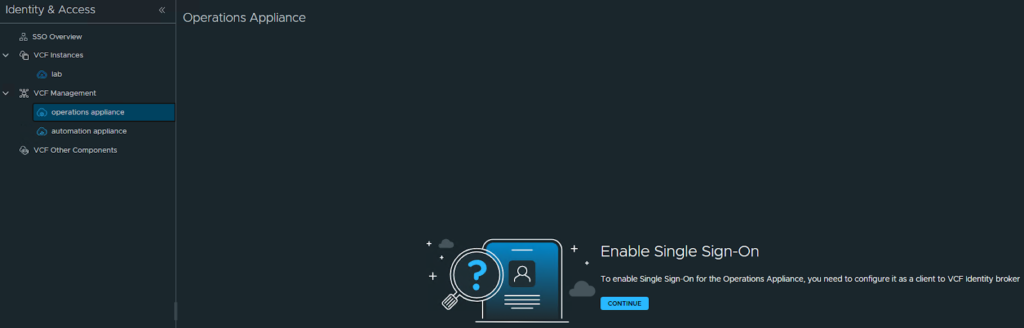
In the center pane, select VCF Management, then operations appliance. Select Continue in the center pane
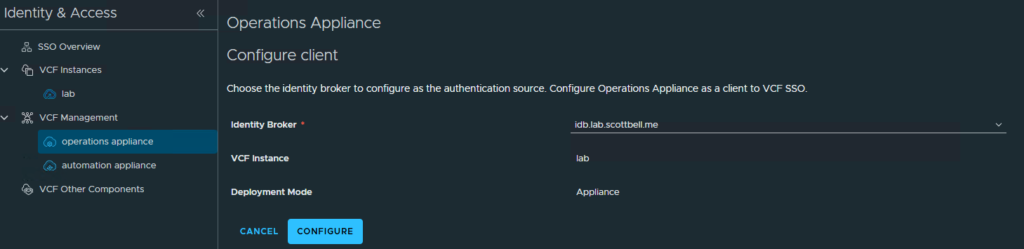
Select Configure
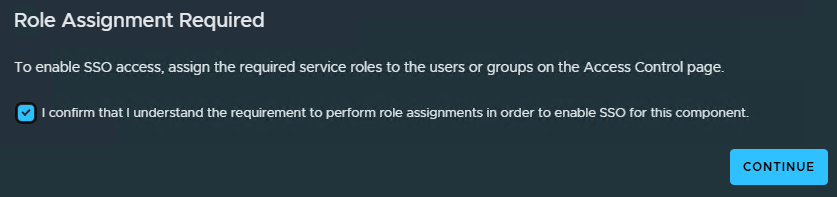
You will get the warning again that you will need to login locally to Ops (which we are now) to give the SSO group(s) access to the appropriate permission level.
If you agree select the check box and click Continue
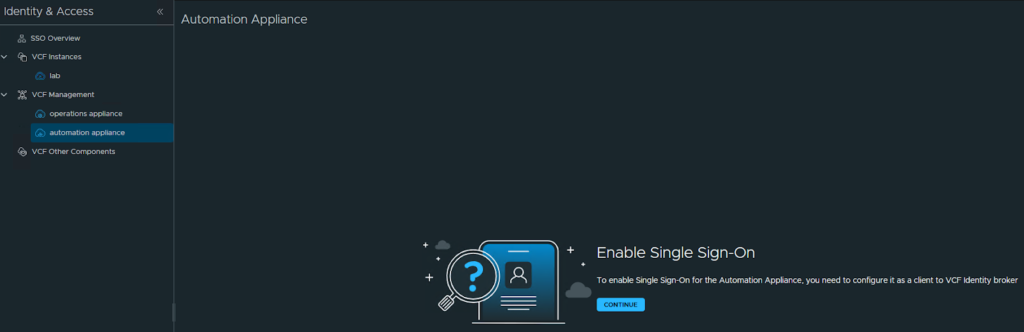
Select Automation appliance in the 2nd pane, then Continue in the center pane
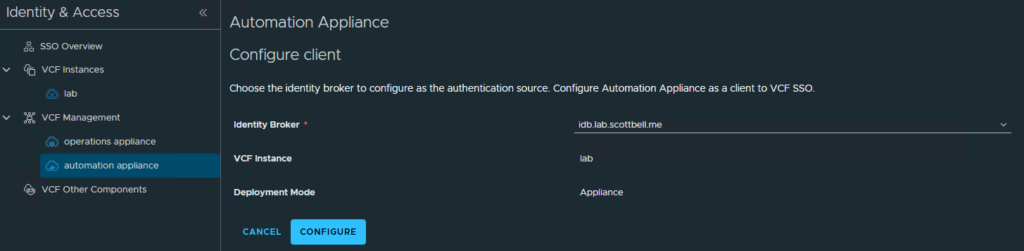
Select Configure
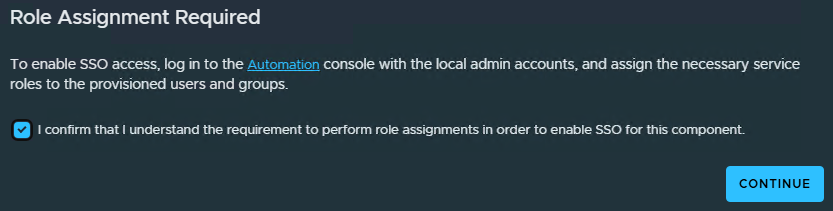
You will again get the local entitlement warning, if you agree check the box and click Continue
Assign SSO Rights Locally
VCF Operations
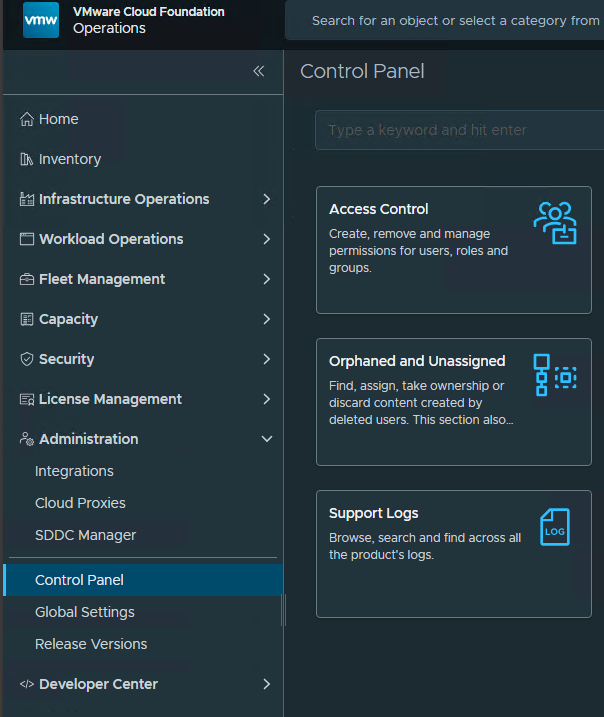
On the left pane, select Administration, then Control Panel, and click Access Control in the center pane
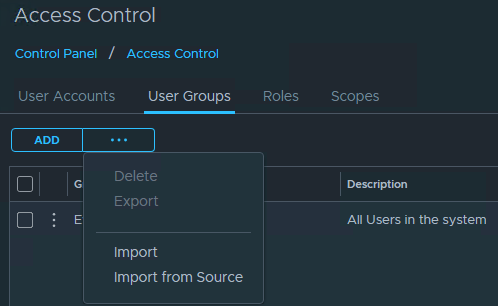
Select the User Groups tab, then the meatballs, and then Import from Source
Search for the group(s) you want to add then check the box next to the name and then click Finish

Click the meatballs next to the group and select Edit
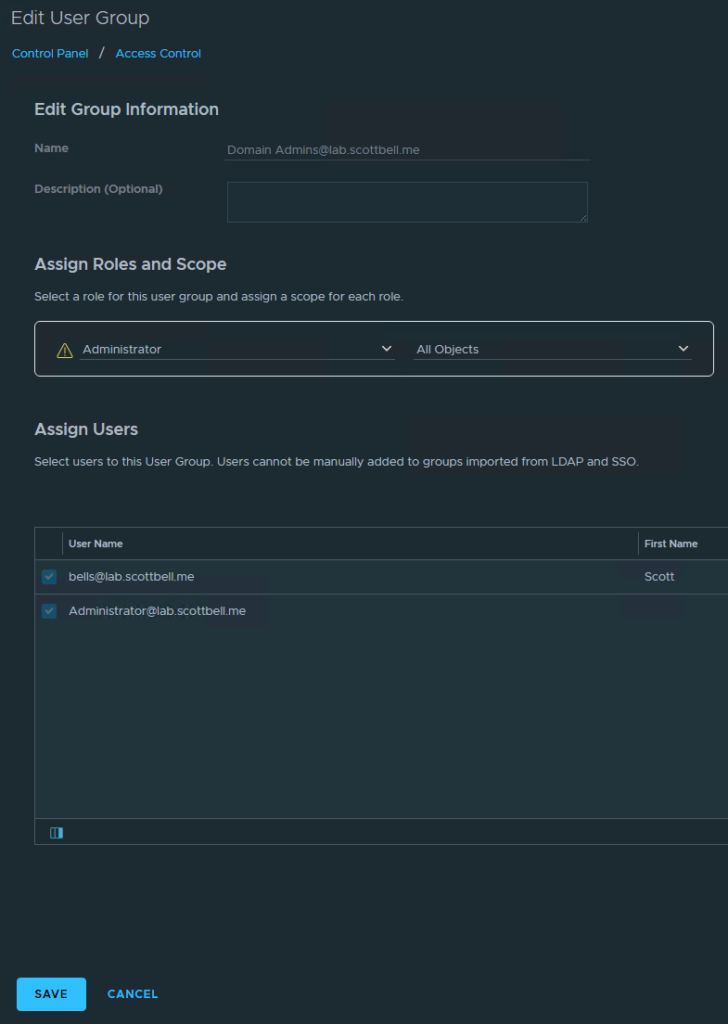
Select the Role dropdown and select Administrator
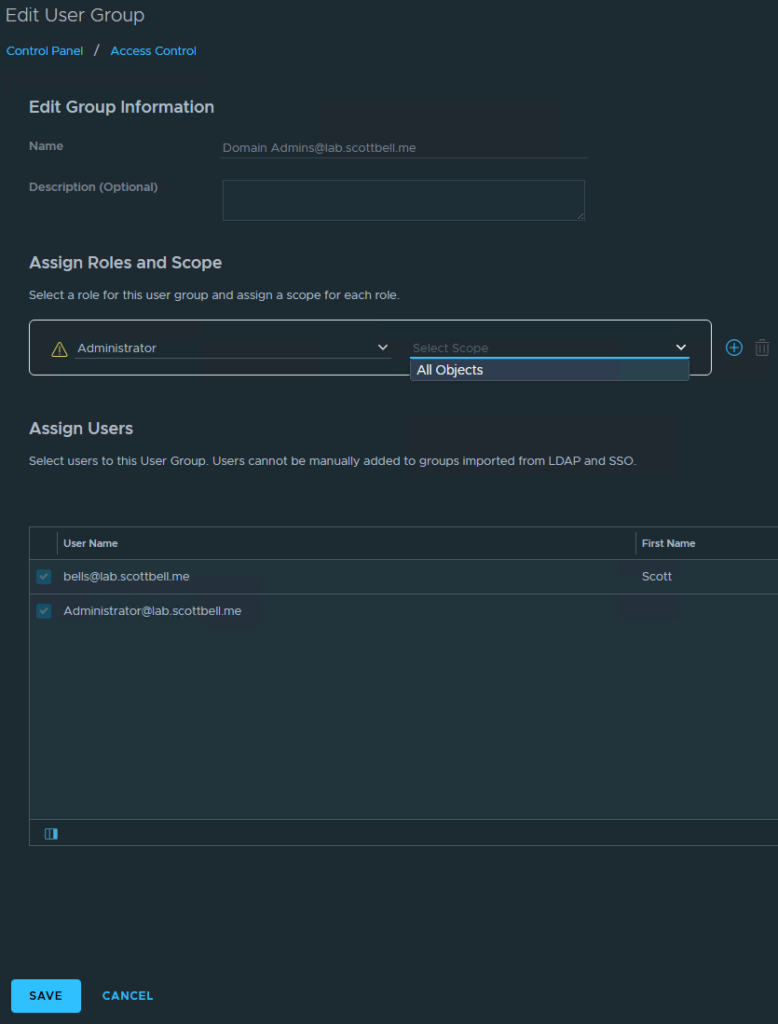
Select the Scope dropdown and choose All Objects

Note the triangle next to Administrator is to let you know this role can make changes to permissions
If this looks correct, click Save

The Domain Admins group now has full rights to login to VCF Operations
vCenter
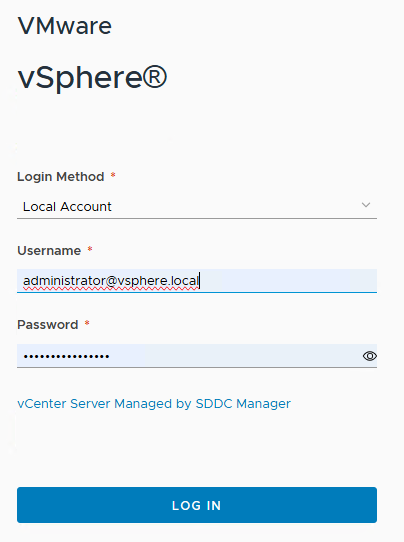
Go to the website for your vCenter and login
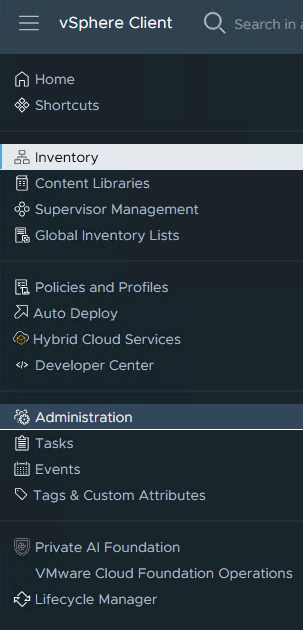
Click the hamburger menu in the upper left and select Administration
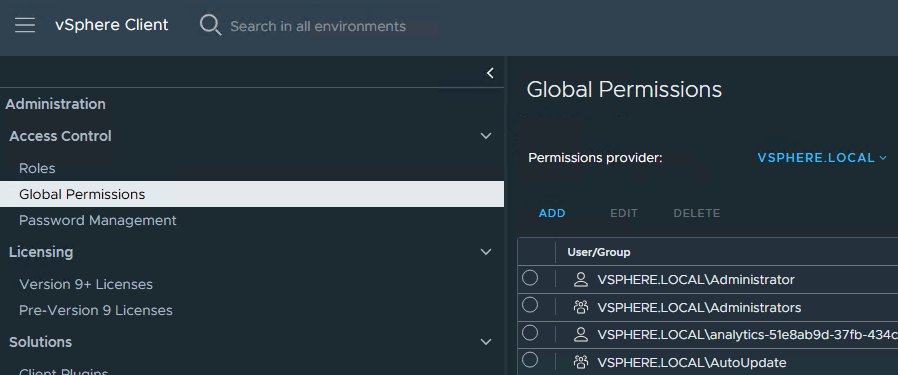
Select Global Permissions on the left, then Add in the center pane
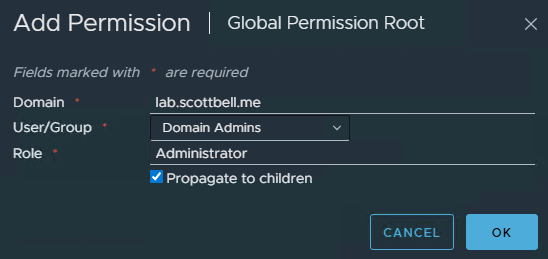
Choose your Domain, enter the group, use the drop down to select the appropriate permission, finally check the box for Propagate to children so that the permission will apply through the entire vCenter environment
Click Ok

Now that the Domain Admins group has been added, I can use AD to login to vCenter
Automation
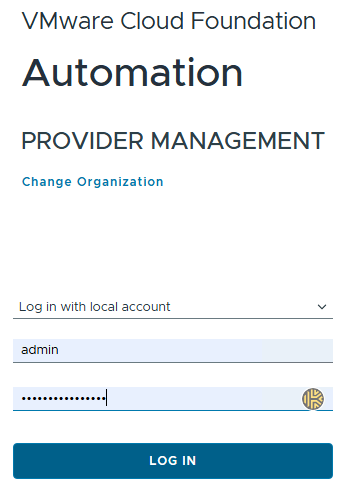
Login to VCF Automation
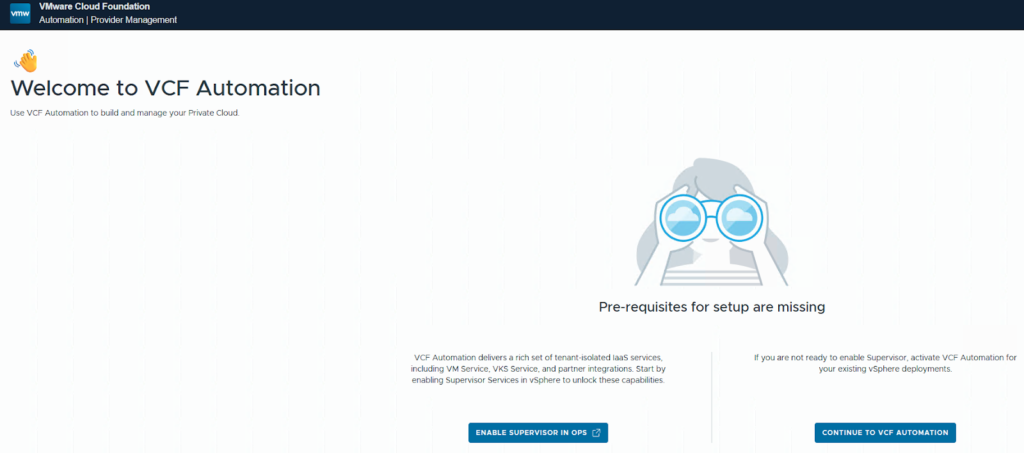
Select Continue to VCF Automation
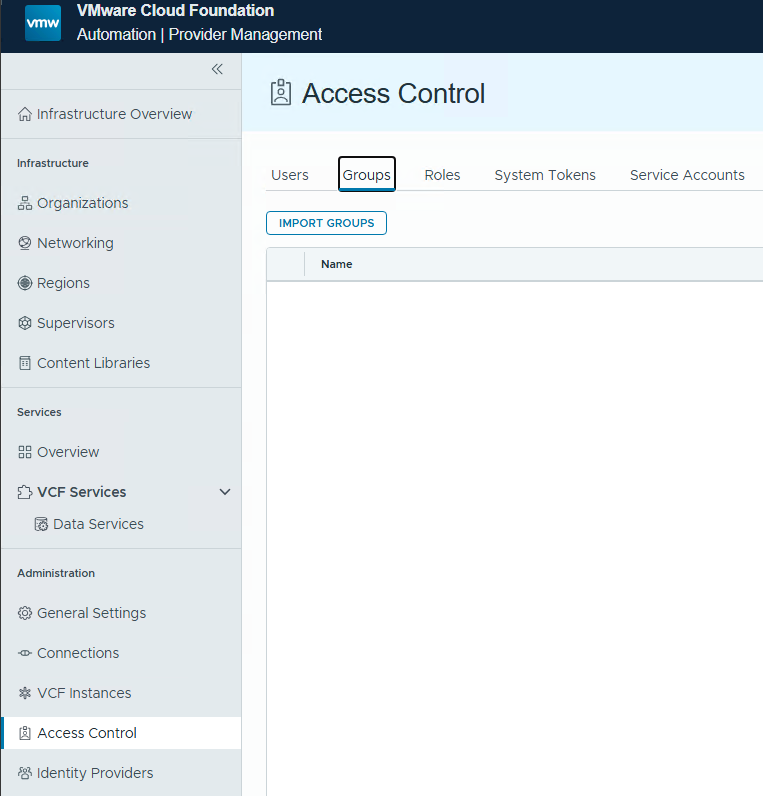
Select Access Control on the left, then Groups in the center pane. Click Import Groups
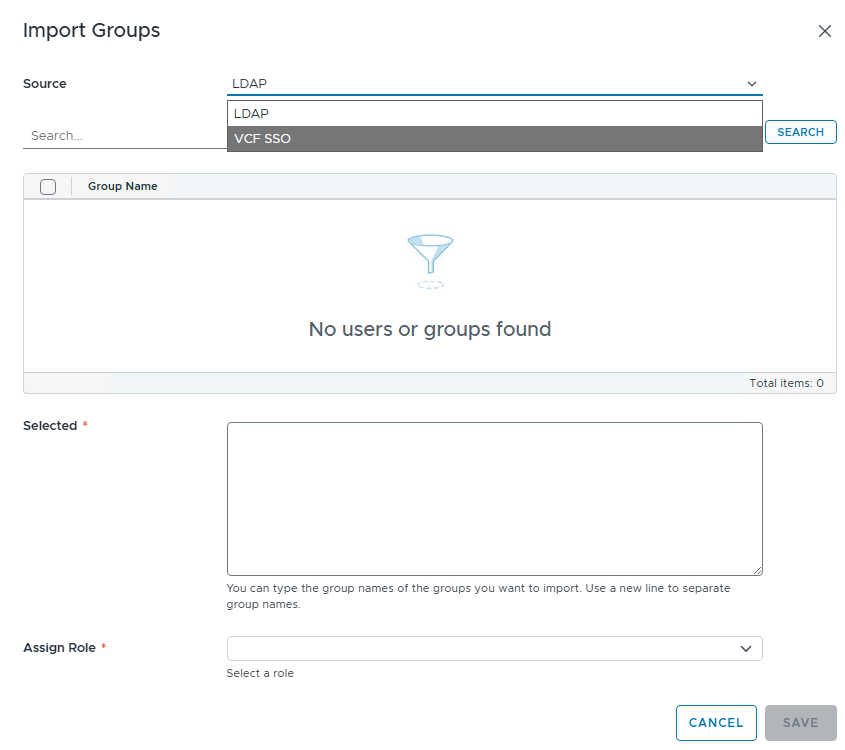
Choose the Source drop down and select VCF SSO
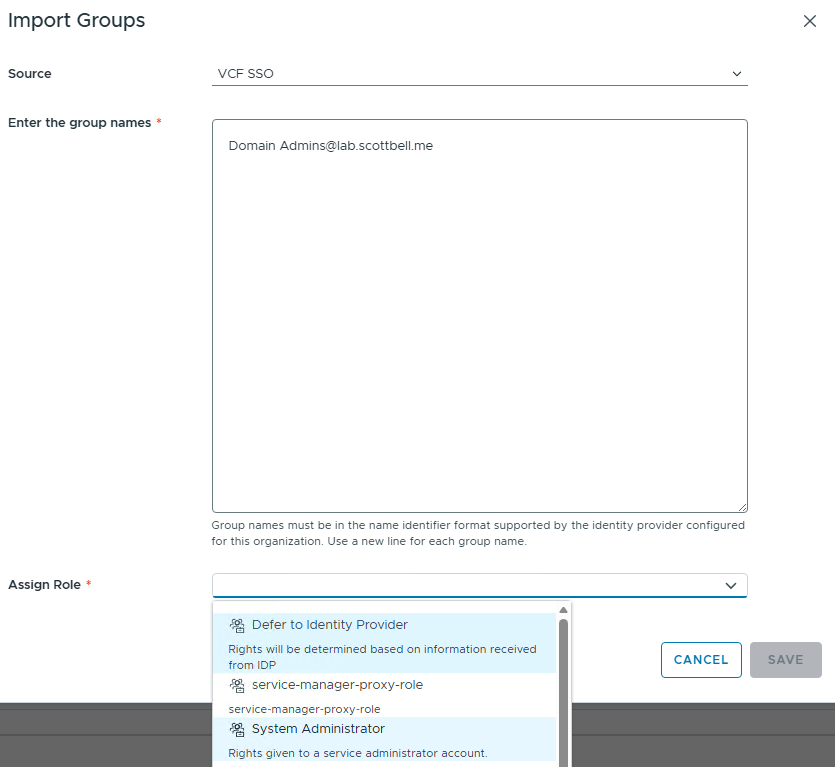
Enter the group name(s) and then select the role for permissions.
Note: The group name is case sensitive, in the case of Domain Admins they do need to be capitalized
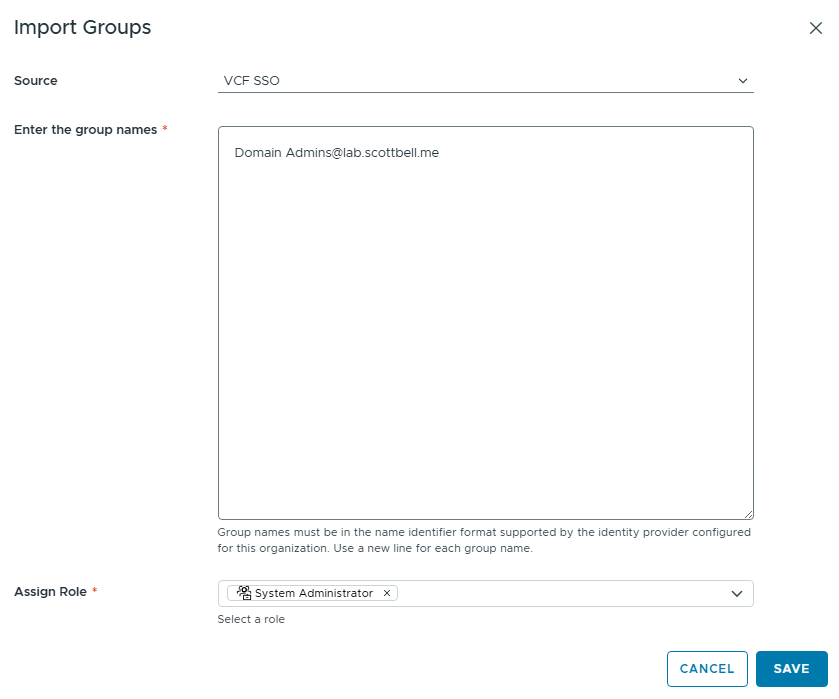
Click Save
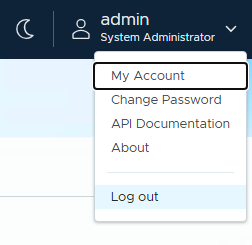
Click the account name in the upper right then select Log out
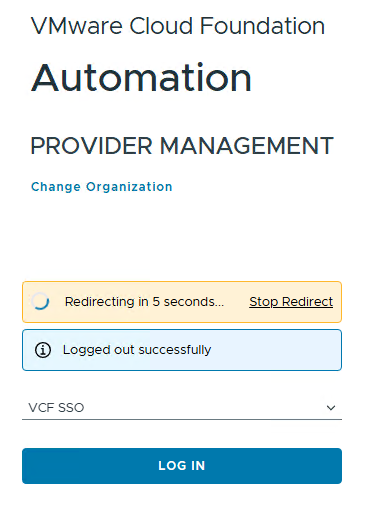
Wait for the redirect or click Log In
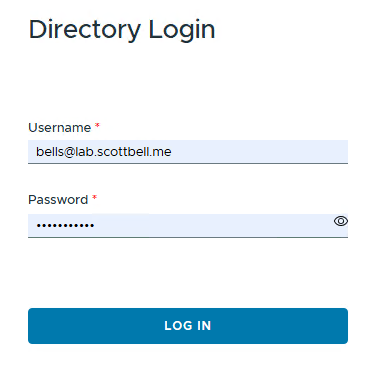
Enter your AD account you want to test with and log in

You have now validated that the SSO tie-in works
NSX
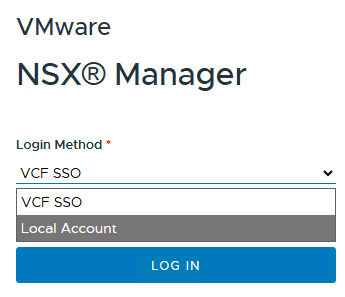
Navigate to NSX, select the drop down and select Local Account

Login with your Admin account
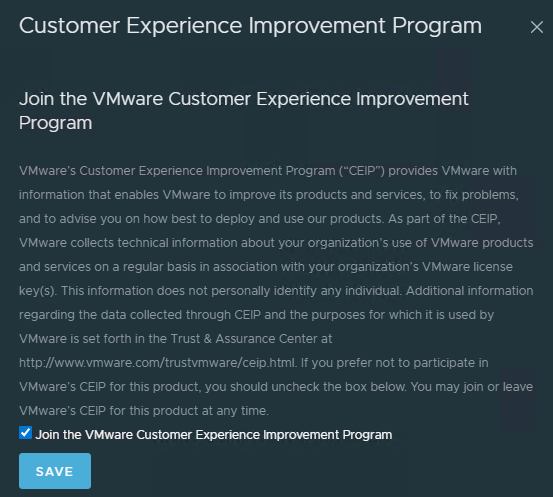
Review and make your choice for the Customer Experience Improvement Program
Choose to go through the tour or to skip
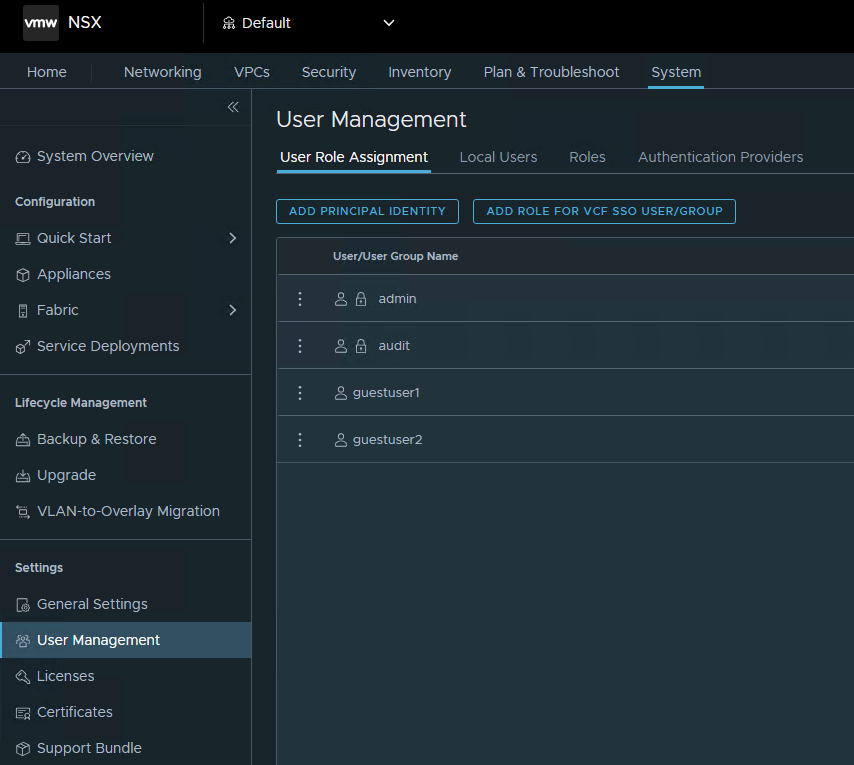
Select System in the top row, then User Management in the left pane, then Add Role for VCF SSO User/Group in the center paine
Start typing the name of your group into the bar and it will match the group. Then click Set on the right
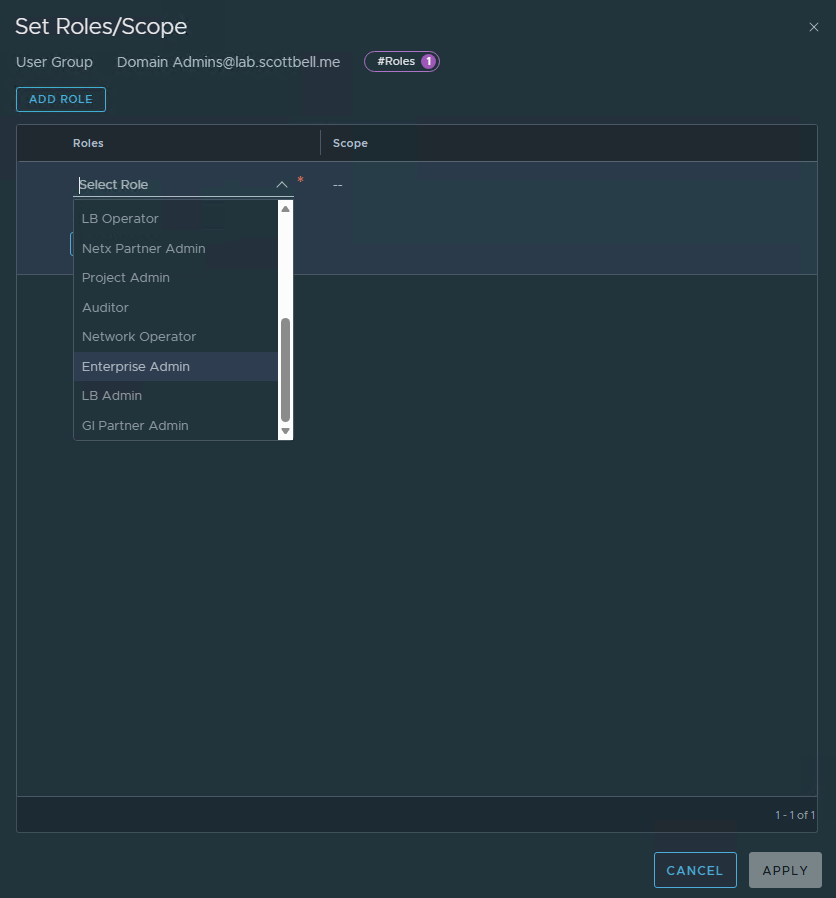
Do the drop down for the role and select the correct one. I will be using Enterprise Admin
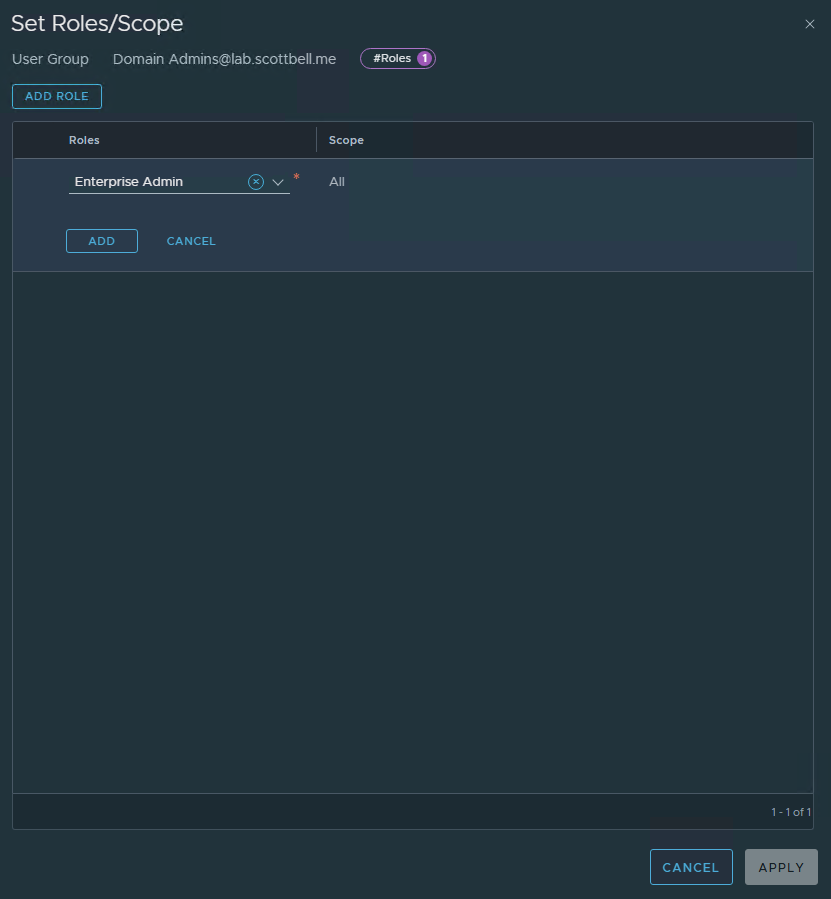
Click Add and then Apply
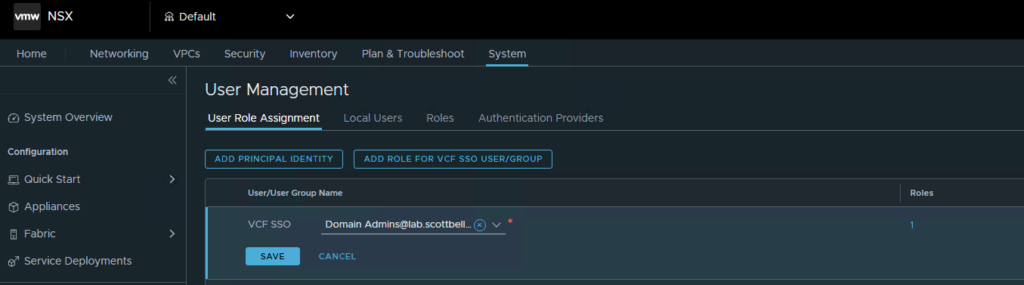
Click Save

Click the account name and then log out
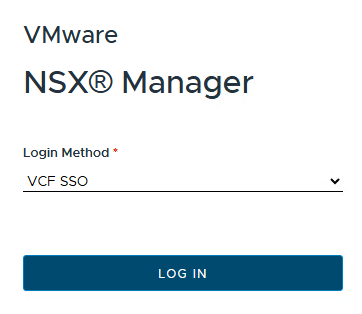
Click Login
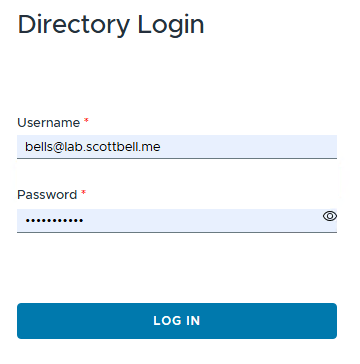
Enter the account your testing with and log in
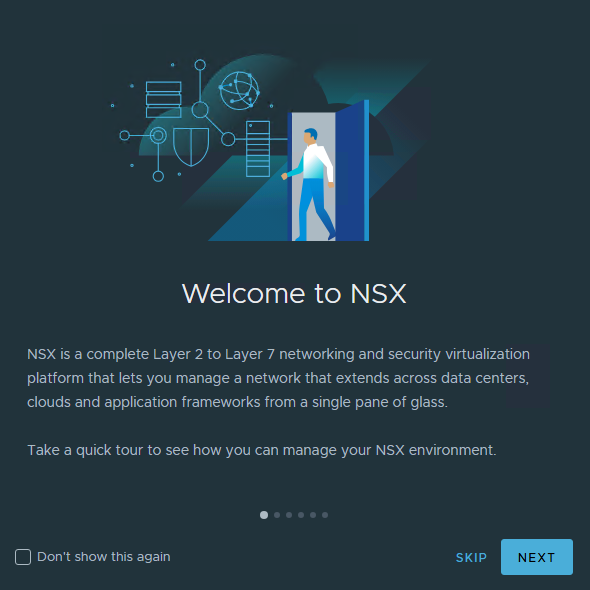
You will get greeted by the Tour again, make your choice again

You are now logged in
Congrats and enjoy your unified SSO
Home Lab, Homelab, VCF, VIDB, VMware, VMware IDB, VMware Identity Broker, VMware SSO