Greetings, so this article is for those in higher security environments where you might not be able to use the executable installer in the vCenter ISO.

So to start, navigate to your file location that has the VCSA ISO, right-click the ISO and select Mount

You will get a confirmation window before it mounts the ISO. Select Open to proceed
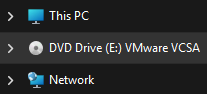
File explorer will now show a DVD Drive of the mounted ISO
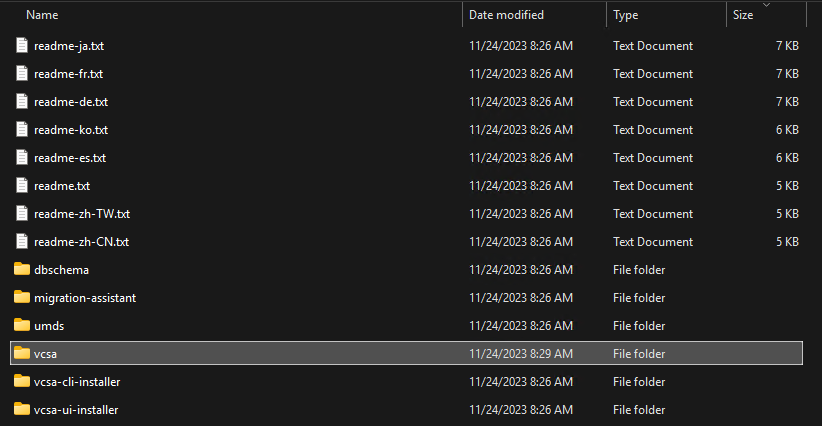
Select and open the vcsa folder
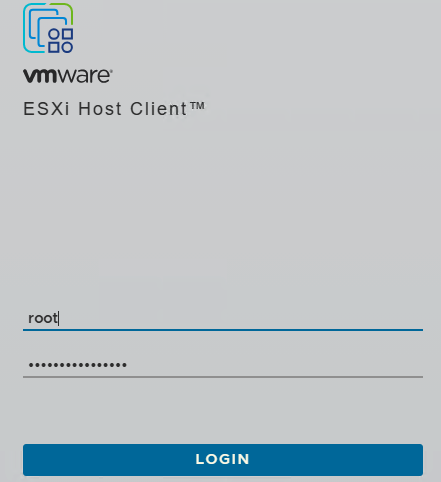
Go to your intended host and login
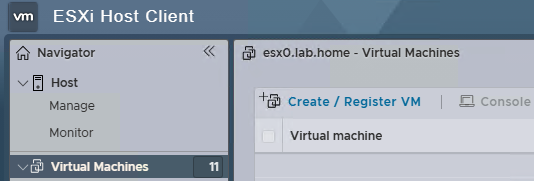
Select Virtual Machines on the left pane, then click Create/Register VM
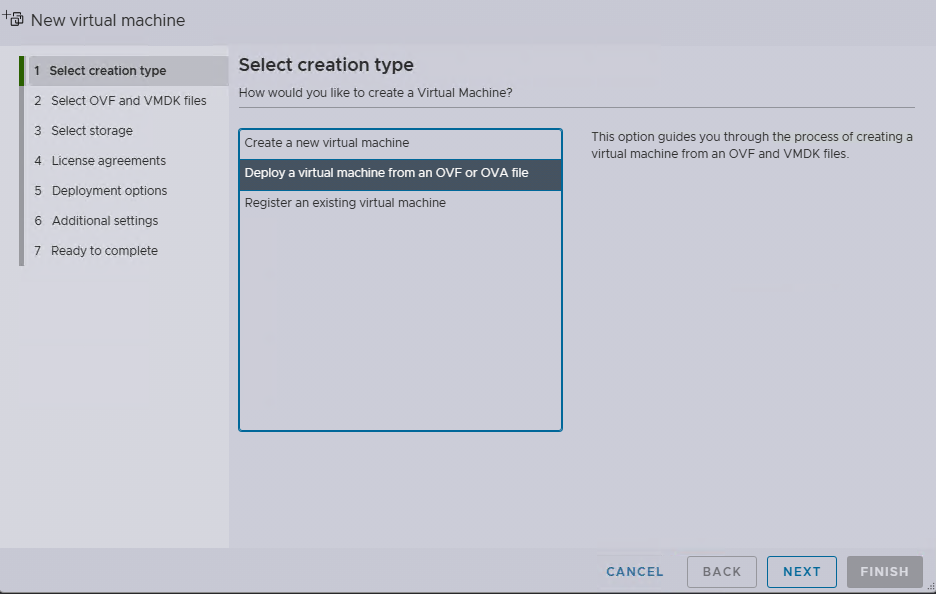
Select Deploy a virtual machine from an OVF or OVA file then click Next
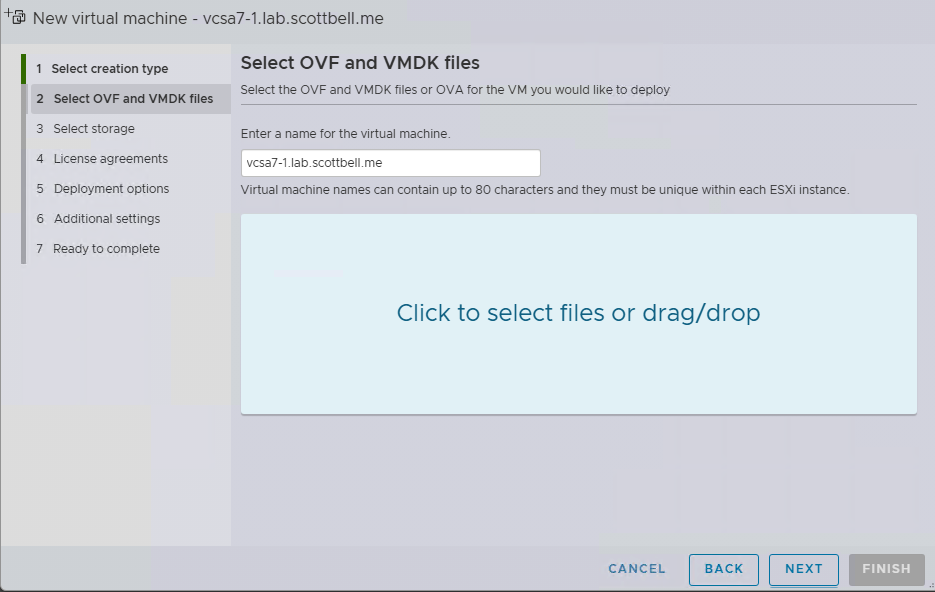
Enter the name for the virtual machine, then click in the space that says to click (or drag your file to that space)
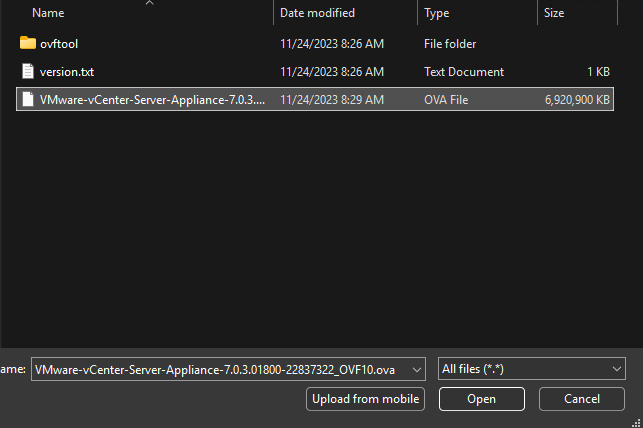
Navigate to the ISO and select the OVA file then click Open
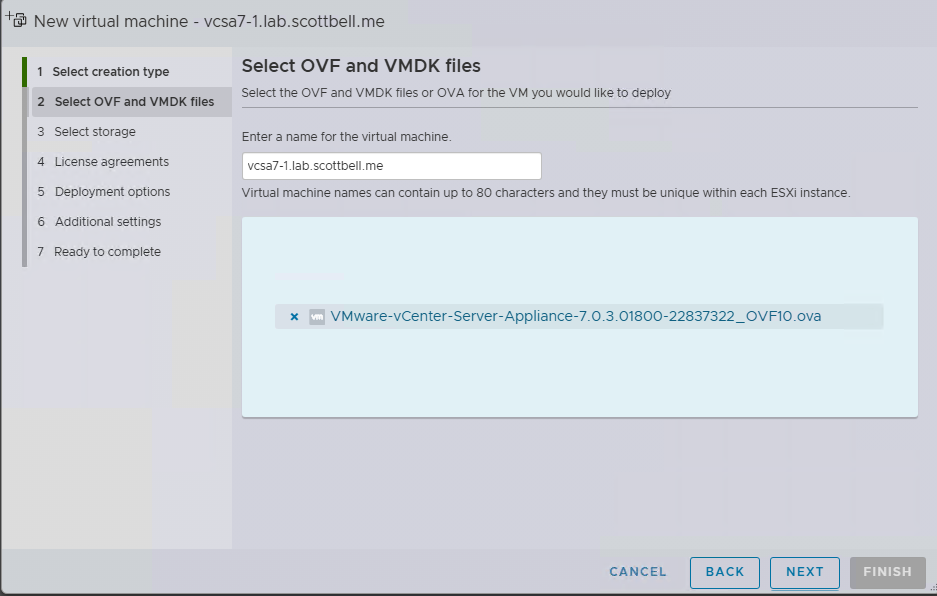
Click Next
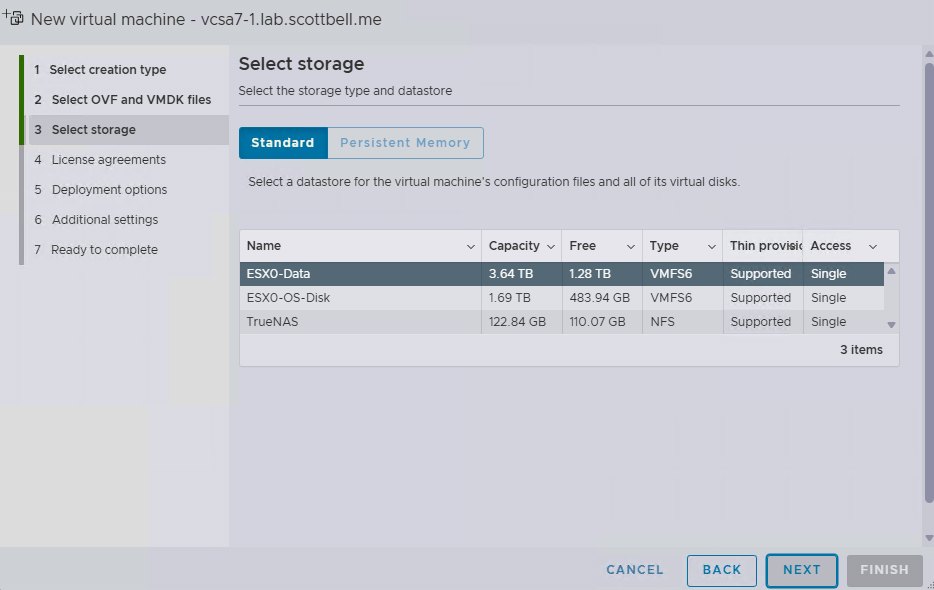
Select your storage and select Next
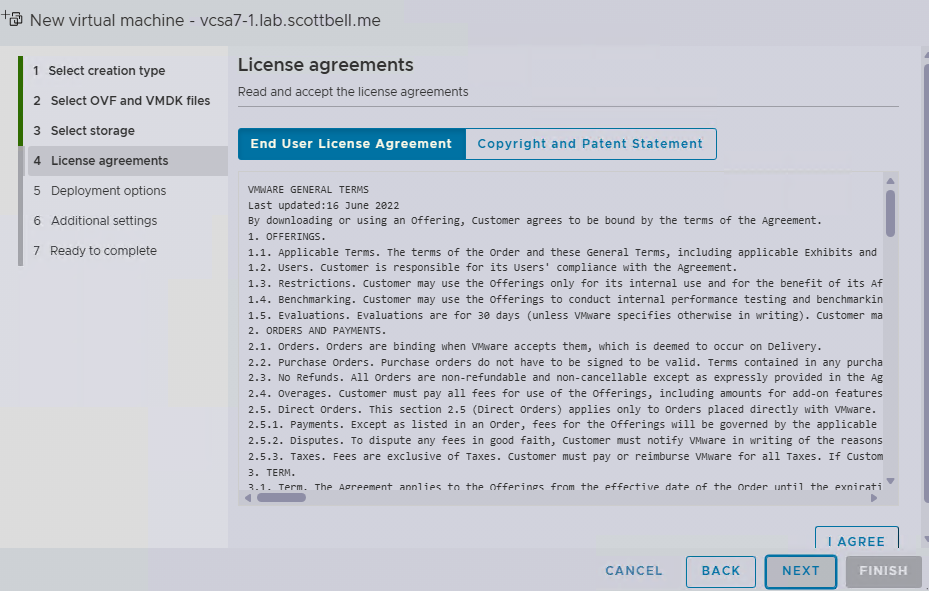
Review the agreement and select I agree if you do
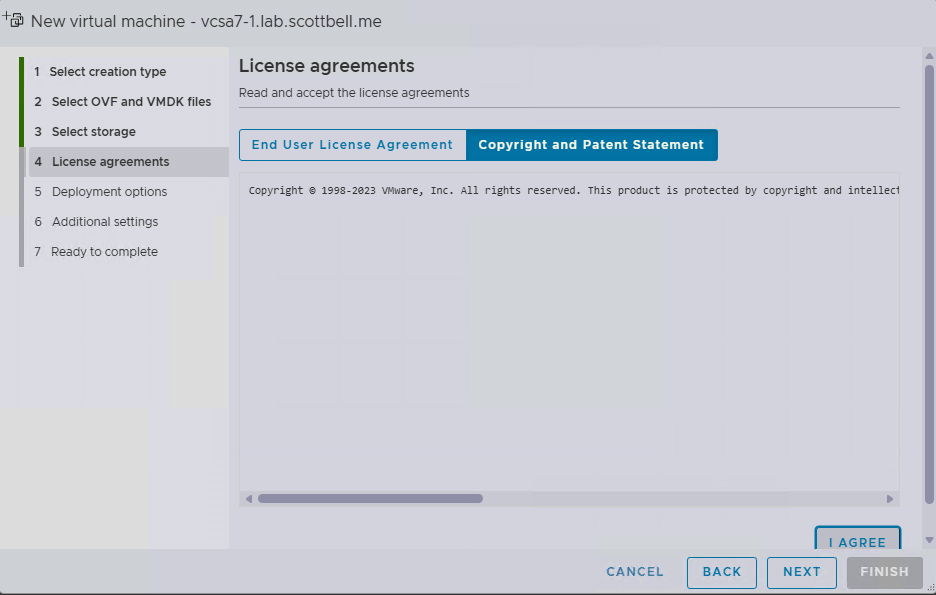
Review the copyright statement and select I Agree if you do and select Next
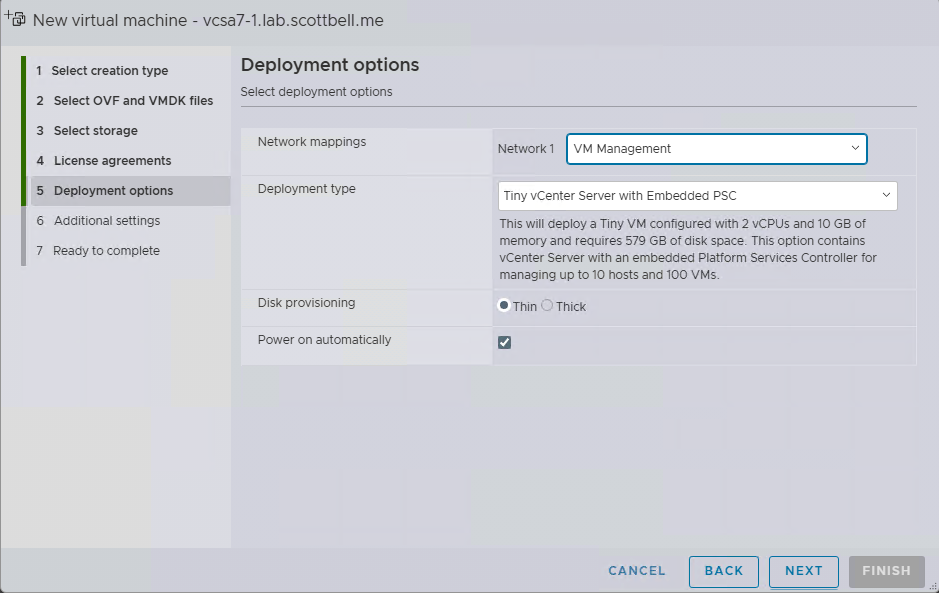
Select your Network, Deployment size and then Disk provisioning. I recommend always using Thin provisioning unless you have a specific reason.
Select Next
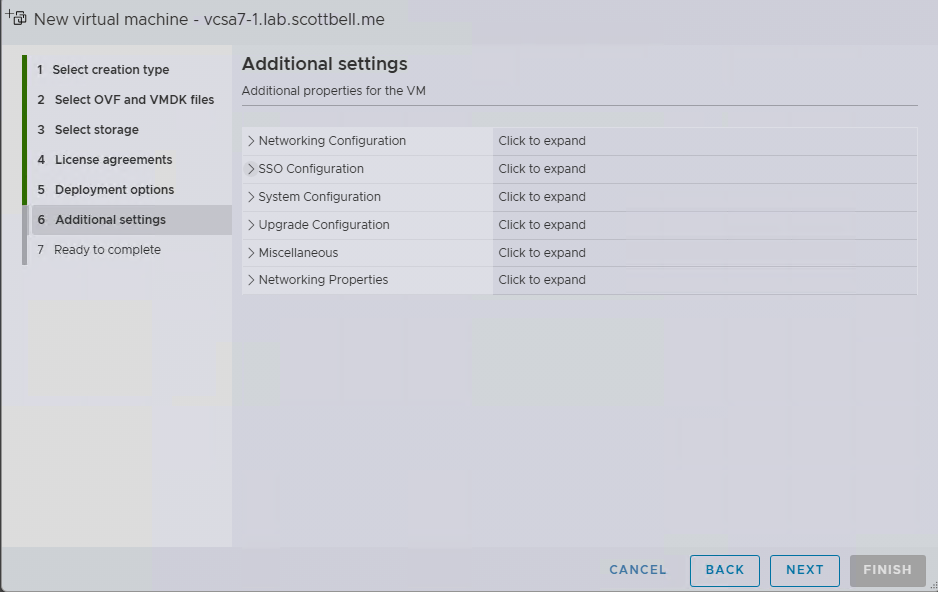
Expand and fill out each section, select Next once finished
Note, in the Networking Configuration section, please make sure to use the FQDN for the Host Network Identity line
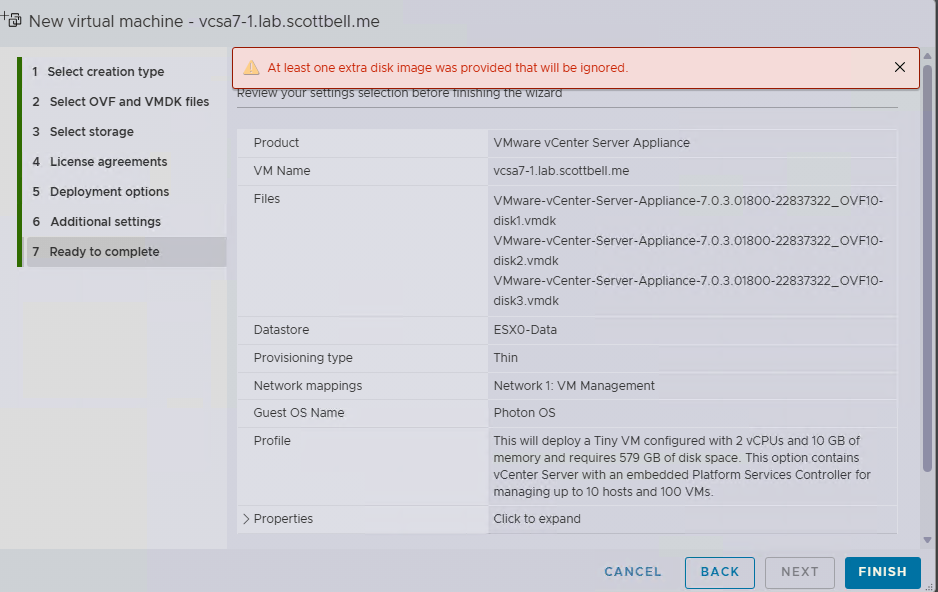
You will likely get the show alarm that an extra disk image is being ignored. Verify the information and select Finish

You will see the deployment progress in the Recent Tasks list

Once completed you will see a few tasks that list the result of Completed Successfully. Give it a few minutes and then go to the following address
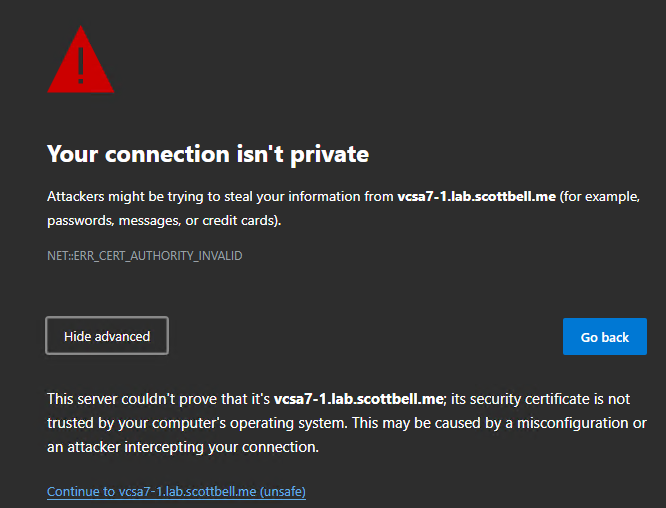
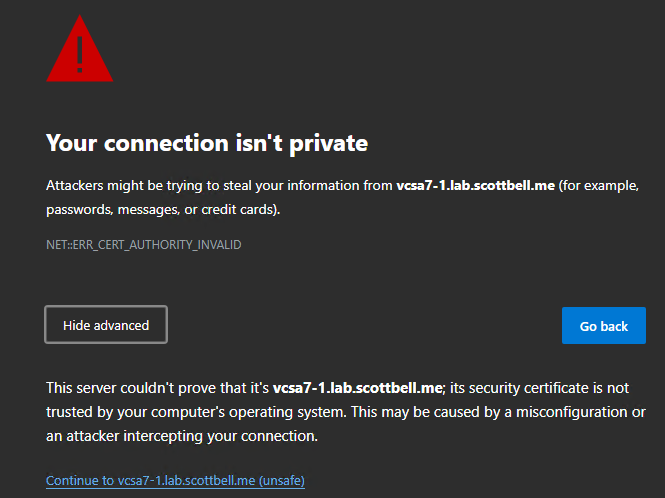
You will get the standard certificate invalid warning. If your confident that you are at the right address, click Continue
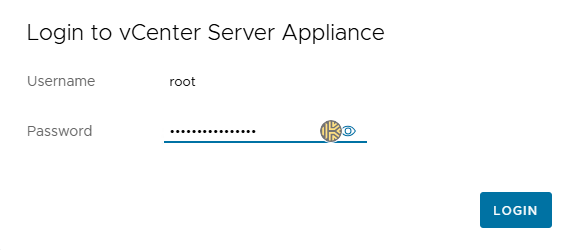
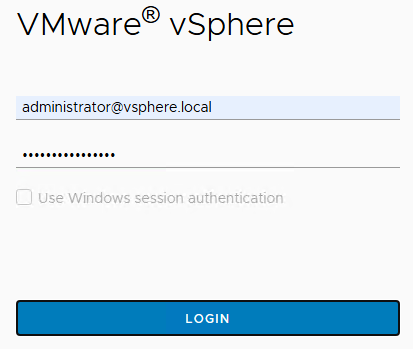
Login with the password you set
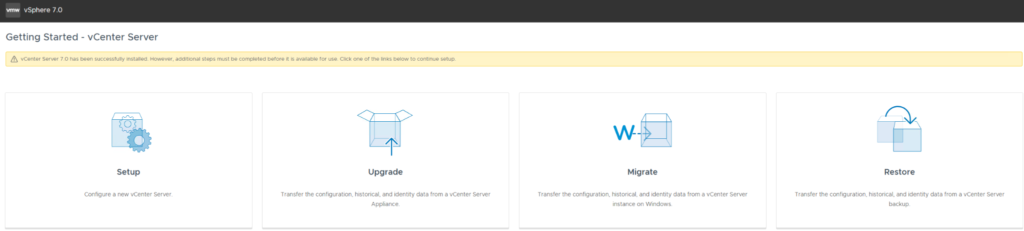
As this is a new build, we will select Setup
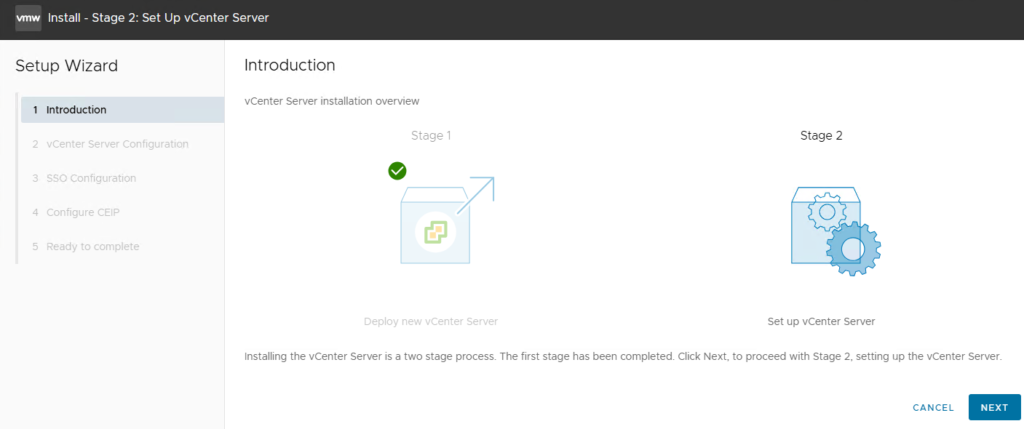
Review the info of what will happen and select Next
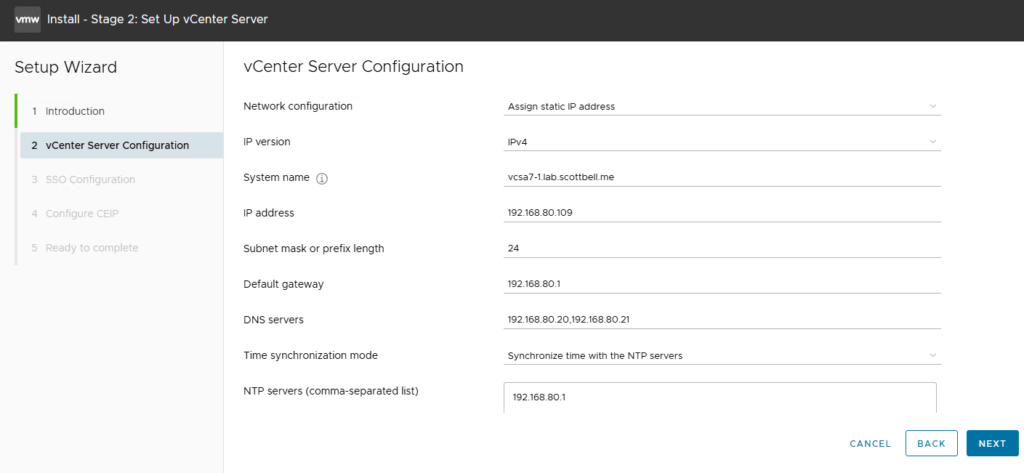
Verify your information, and if you want, change NTP server to either sync with the ESXi host or point it to your NTP provider and select Next
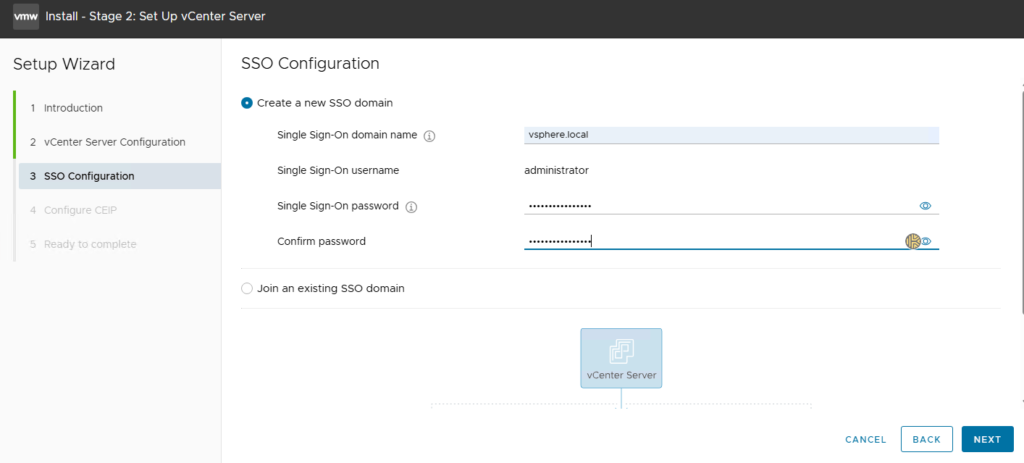
Enter the SSO domain, you need to actually type it in. Unless you have a requirement, I strongly recommend that you stay with the default vsphere.local.
Enter the password for the administrator@vsphere.local account that will be created.
Select Next
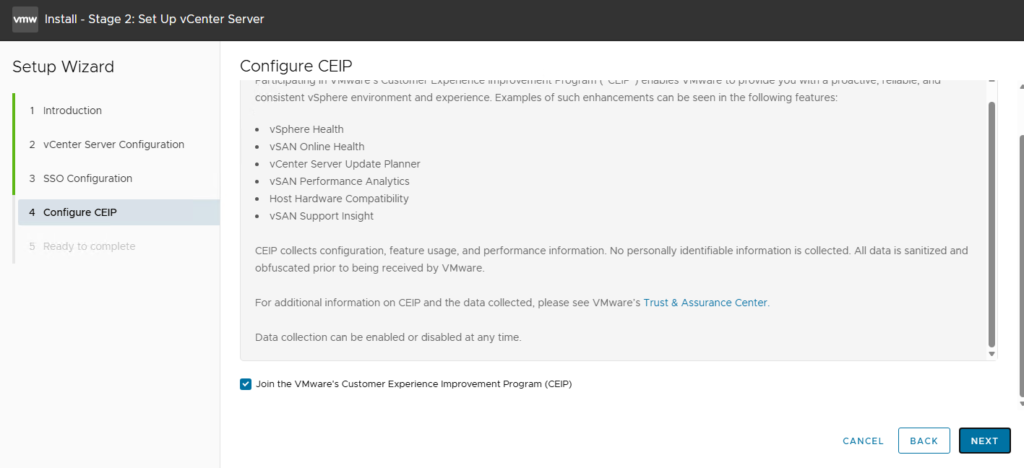
You will be asked to join the Customer Experience Improvement Program, I will join. Select Next
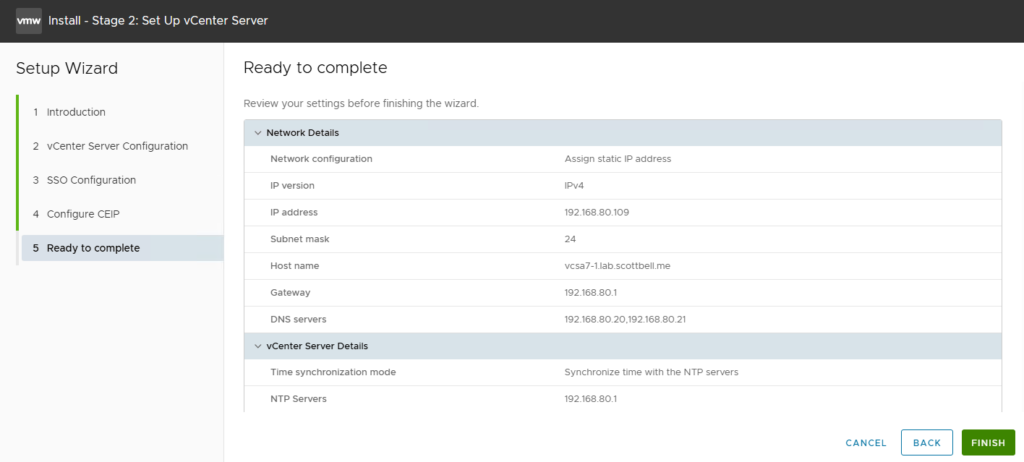
Review the configuration and if everything is correct, click Finish.
You will now get a warning that you cannot cancel the configuration once it starts. If your ok with this, select OK

Next it will start Stage 2 for configuration of the vCenter
Once completed it will give you a certificate warning again.
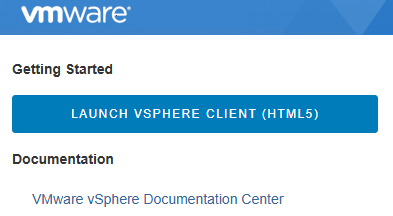
Navigate to the following address and select Launch vSphere Client
Login to your shiny new vCenter
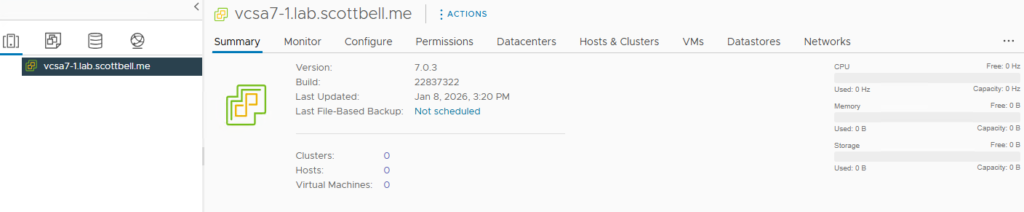
Once logged in you should see the above
Congrats on your new vCenter. Have a good one.
ESXi, ESXi 7 CLI Update, Home Lab, Homelab, VMware, vSphere 7