Deploy AVI using NSX
November 9, 2026 | NSX, VMware, VMware AVI | No Comments
Now we will go and deploy AVI via NSX

Login to NSX
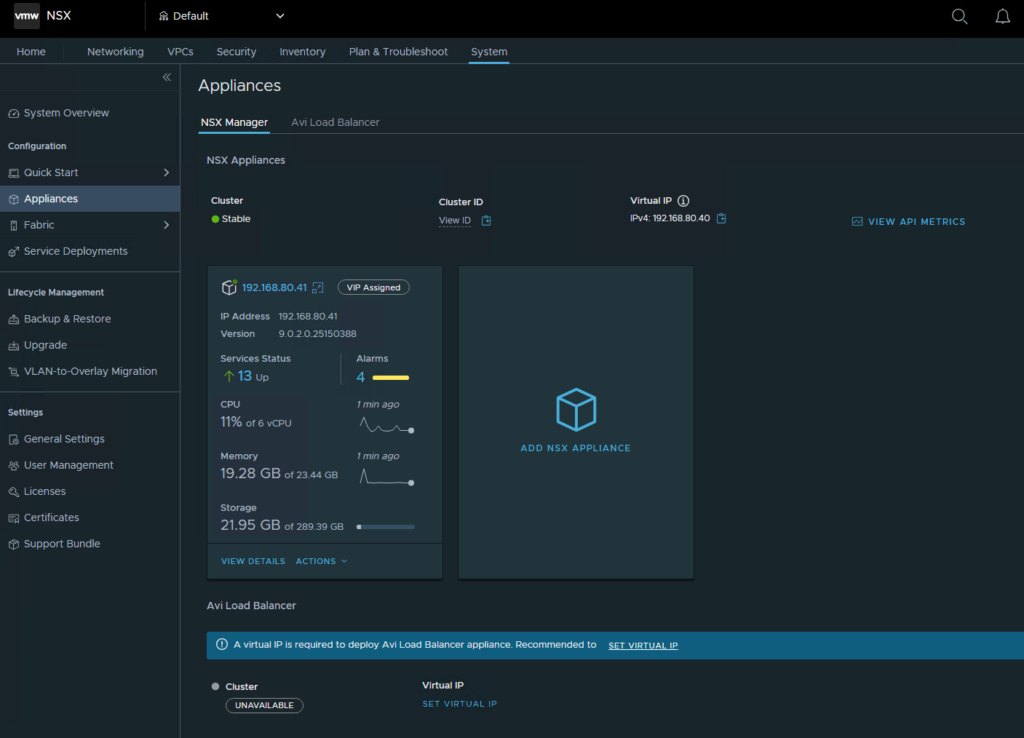
Select the System Tab at the top, the Appliances on the left, and then click Set Virtual IP
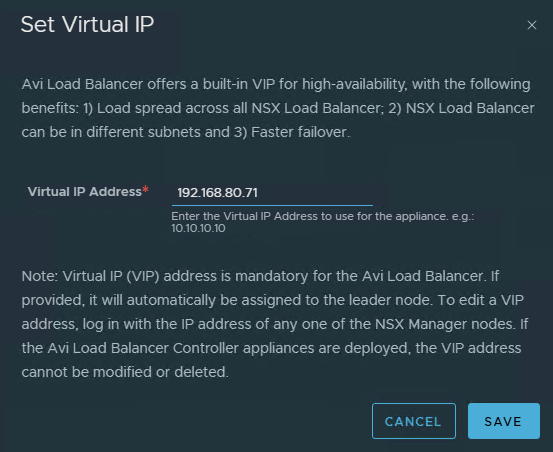
Enter the IP and click Save
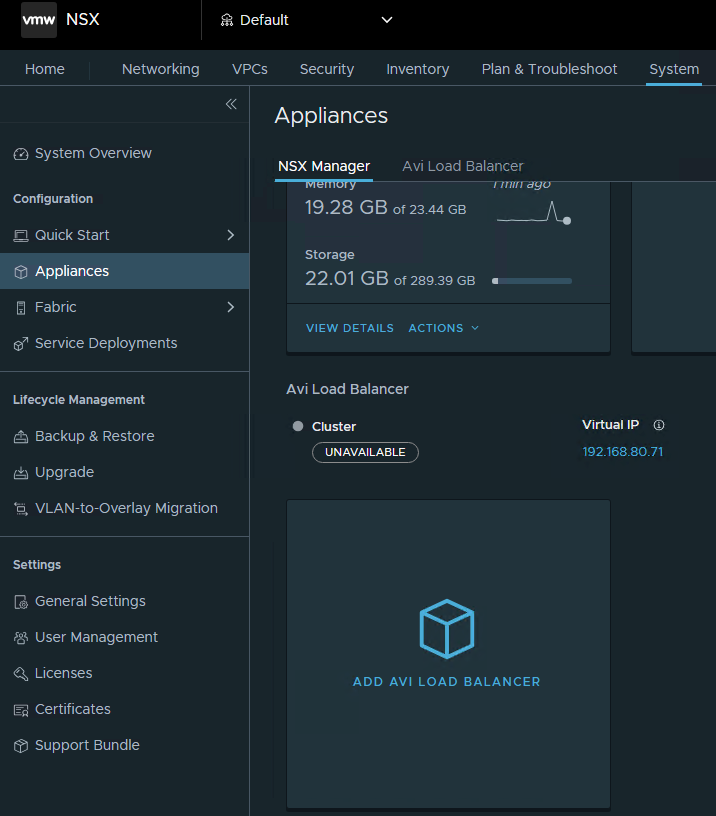
Click on Add AVI Load Balancer
Select the OVA and click Upload, then input the information needed and choose an appliance size. Click Next
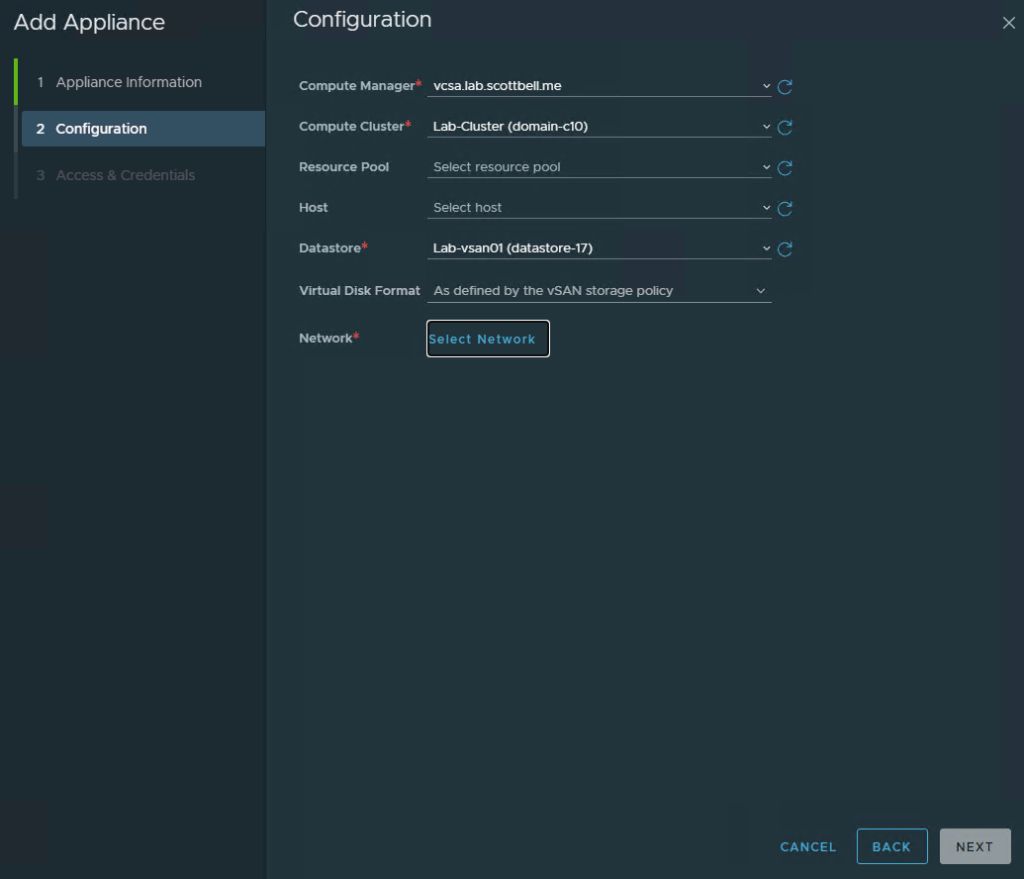
Choose the required lines (red *) and then select Network
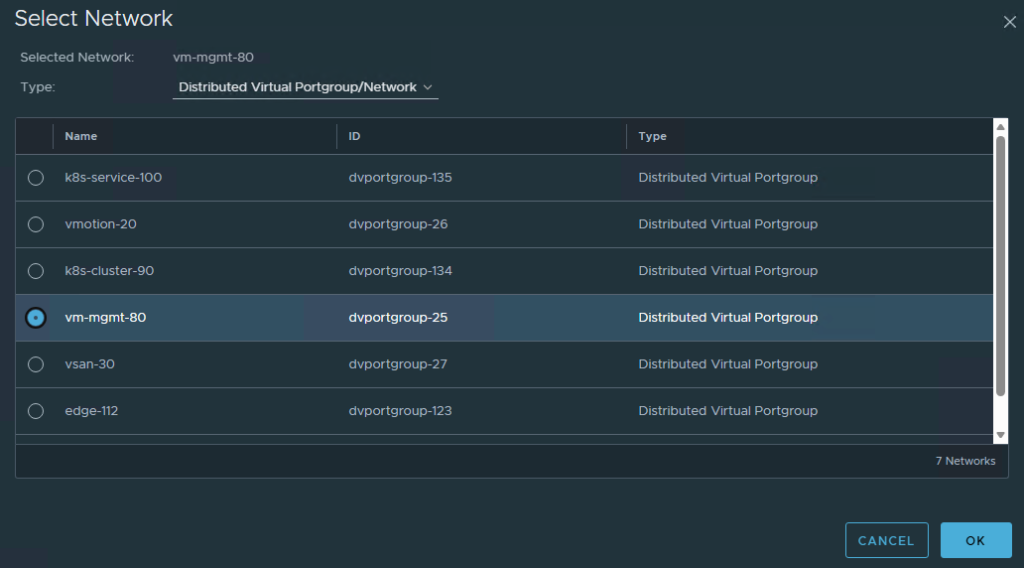
Select your VLAN and click OK
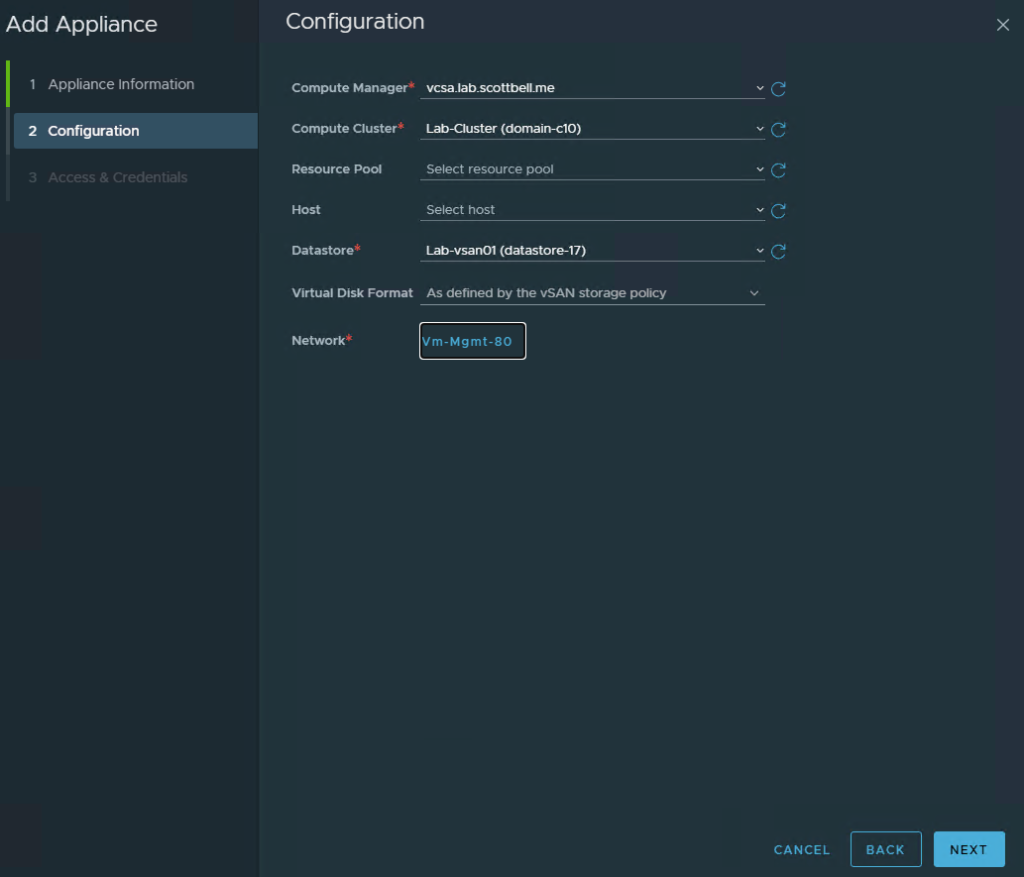
Click Next
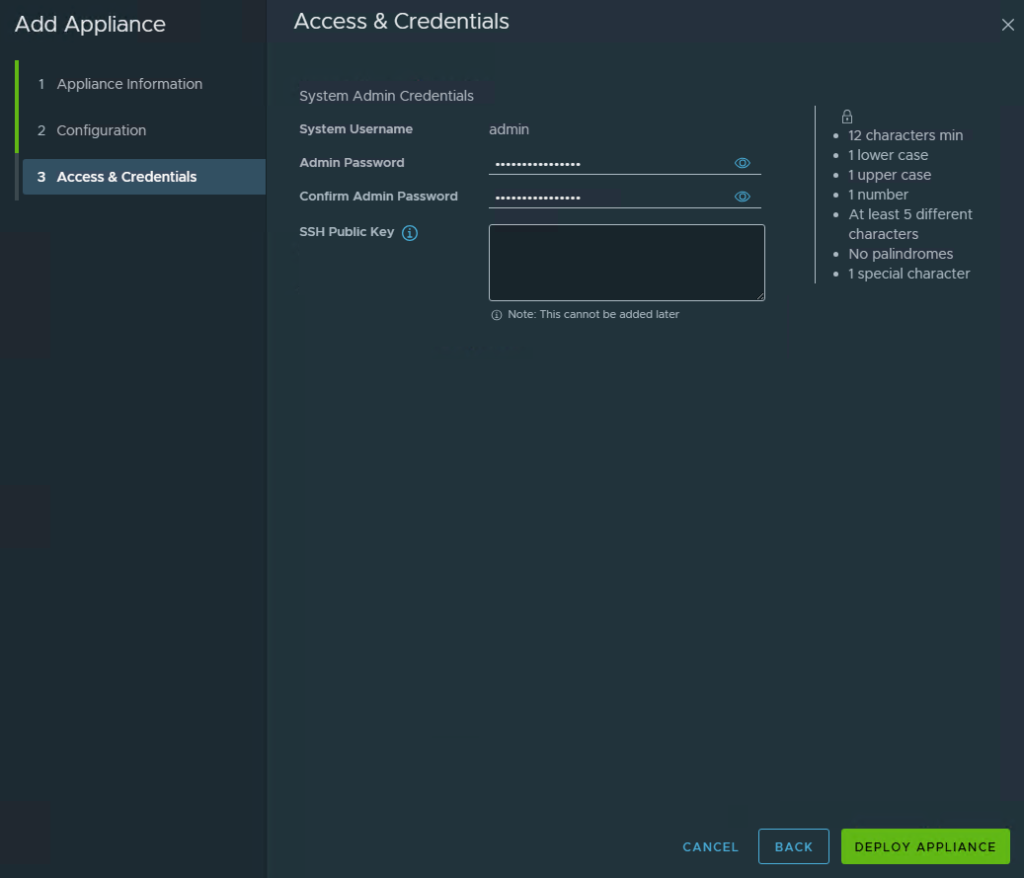
Provide a password, and if desired, an SSH key
Note: As noted, you cannot add the SSH key later
Click Deploy Appliance
So it did not like my default selection of medium. I will be going back and selecting small
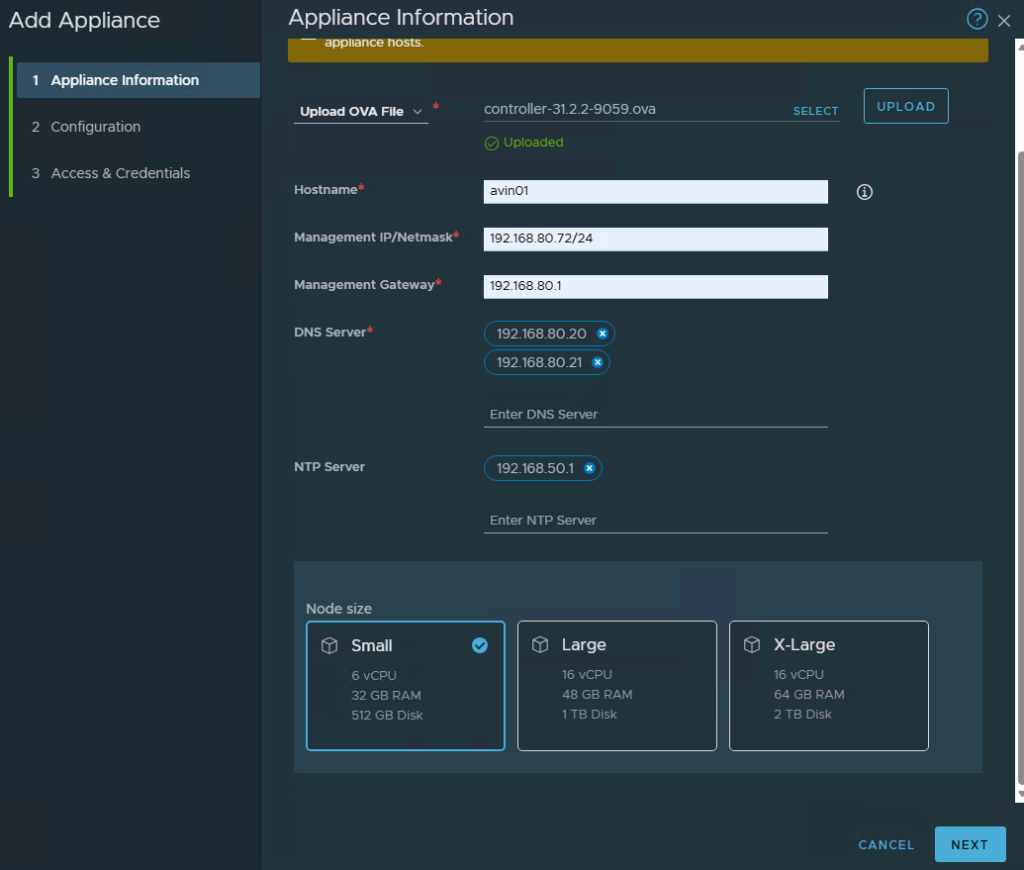
With Small now selected
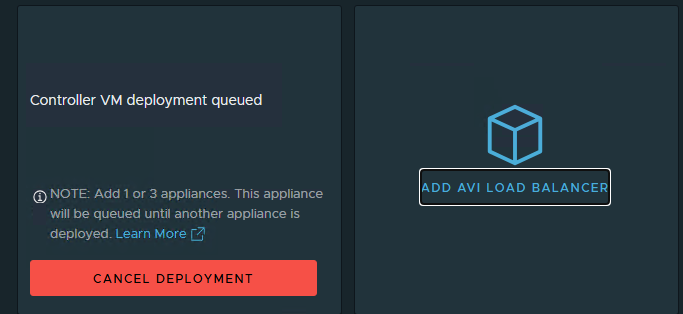
Now we wait
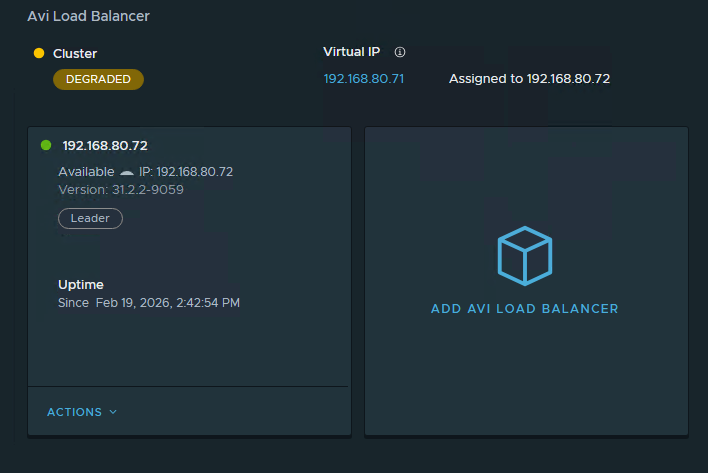
Once completed it will show with a cluster status of degraded due to there only being 1 node. This is a lab so that’s ok. Add more Load Balancer Appliances as needed for your environment
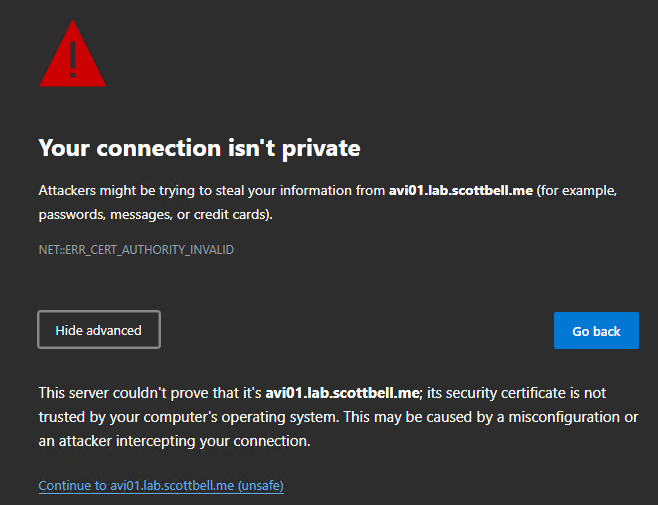
After it’s deployed, navigate to its webpage. You will get a certificate warning. If you trust the page, click Continue
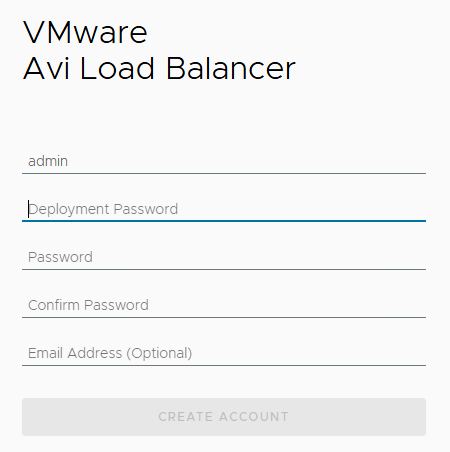
Enter the required information to create account
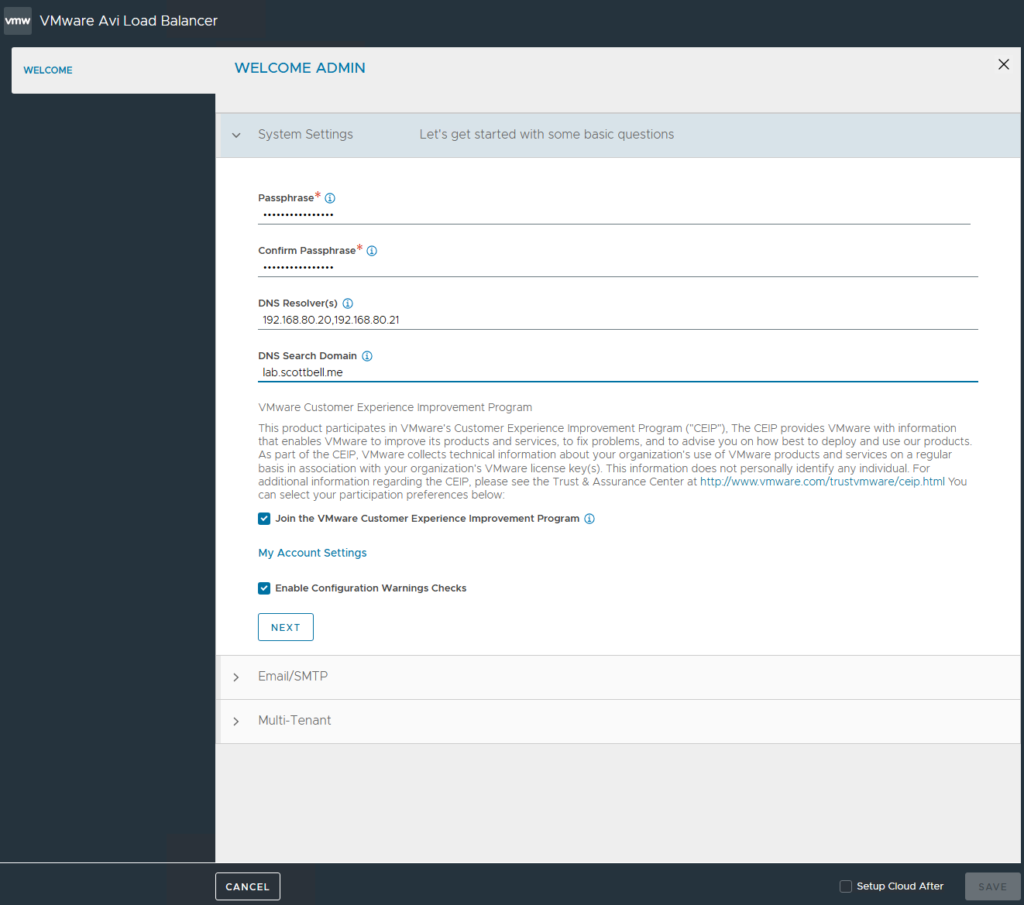
You will be asked to provide a passphrase for sensitive configurations and backup restoration, along with DNS servers and the domain. Click Next
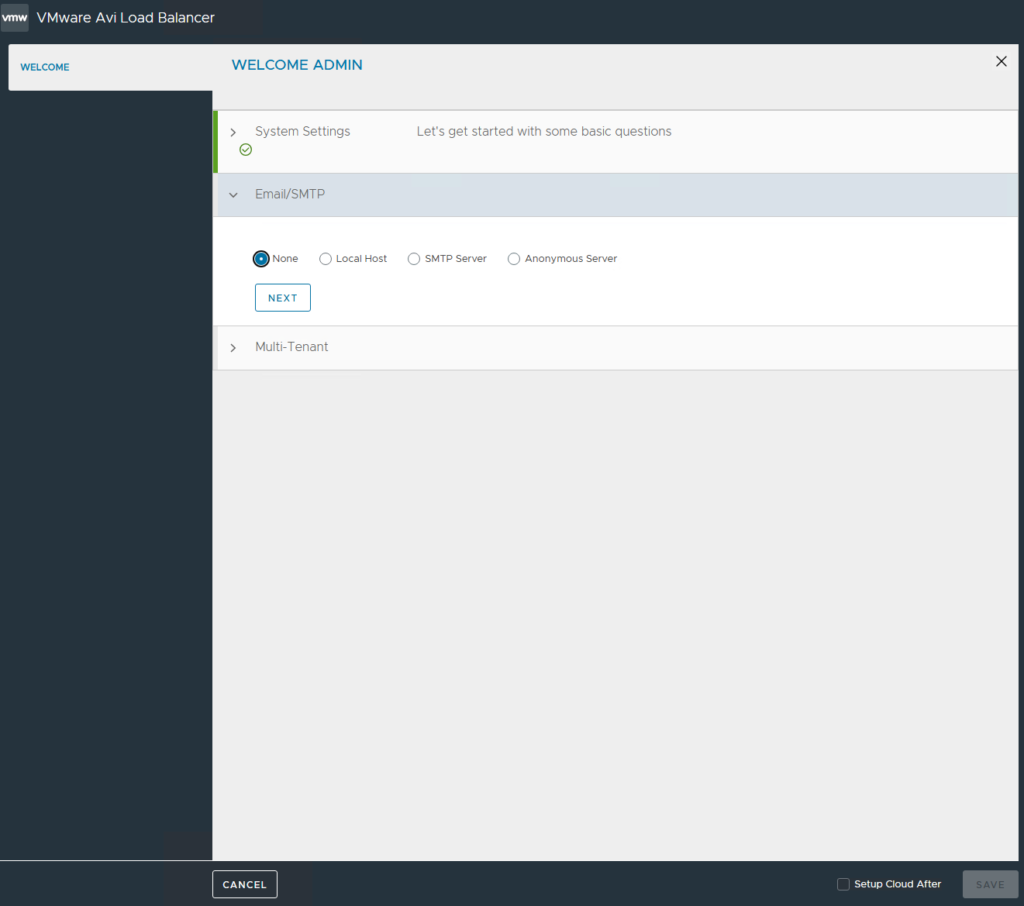
If you have it, provide SMTP\Email information. I do not, so I’m selecting None. Click Next
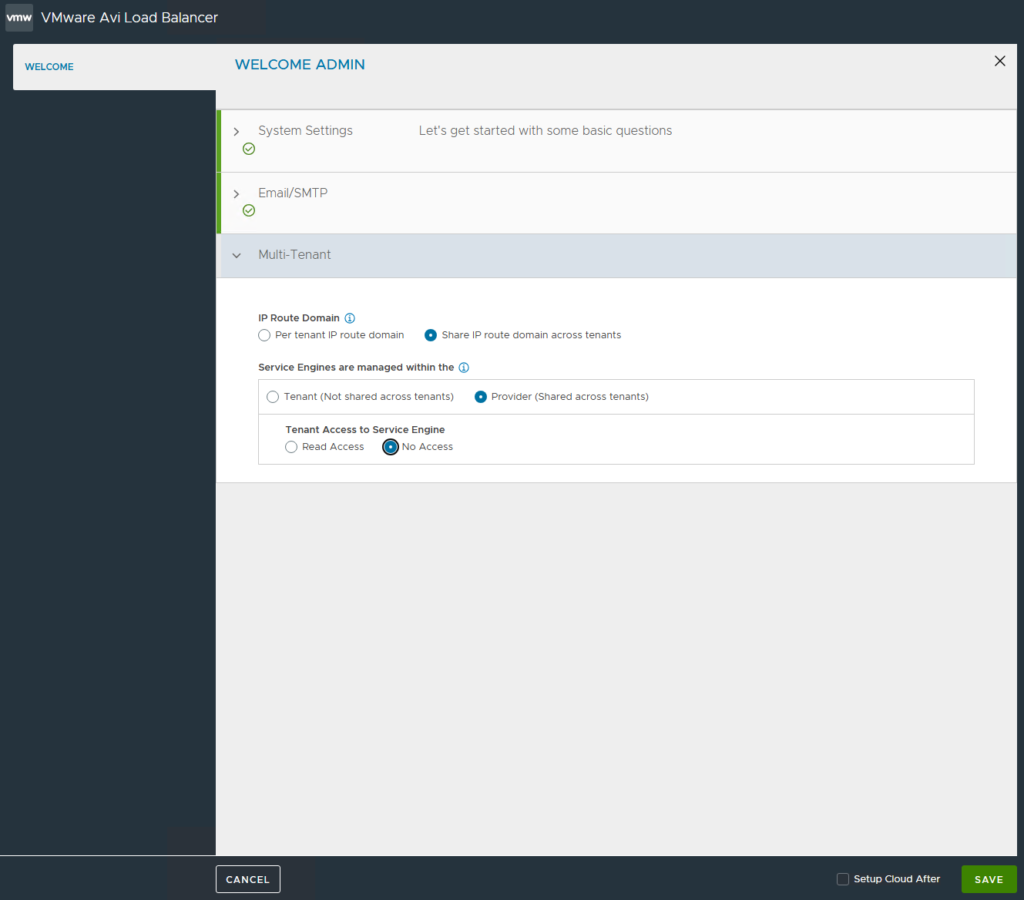
I’m not doing a multi-tenant configuration so this will be a Shared\Provider setup. I did change Tenant access to Service Engine to No Access as that’s not needed here. Click Save
Home Lab, Homelab, VMware, VMware AVI, VMware NSX