Setting Up IIS SSL Certificate for CA Server for Homelab (CertSrv) (Part 2 of Setting up CA Server)
November 27, 2025 | ADCS, Certificate Services, Homelab, Microsoft | No Comments
Now that we have IIS installed on our CA Server, it’s time to setup a certificate for HTTPS connections
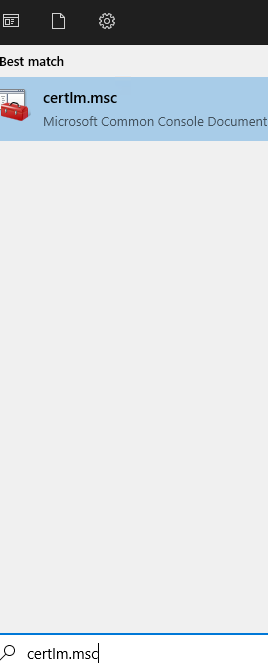
Login, click the Start Menu and type certlm.msc. You can also right-click start and select Run to do the same.
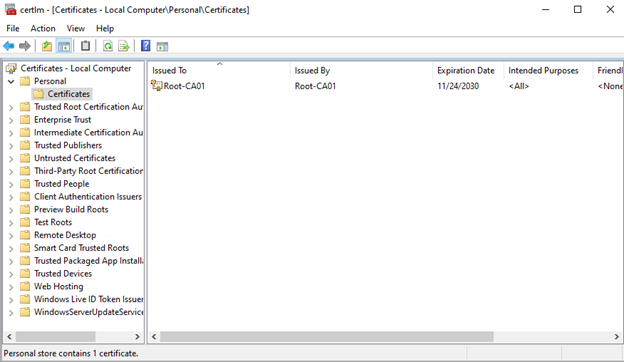
Expand Personal and then click on Certificates. Notice there is only the Root-CA’s Cert here, we don’t want that as the cert for our certsrv page cert.
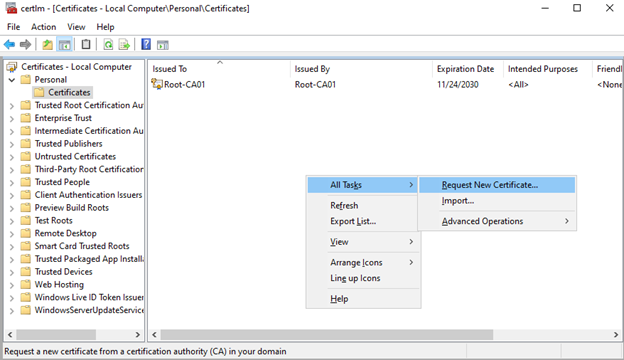
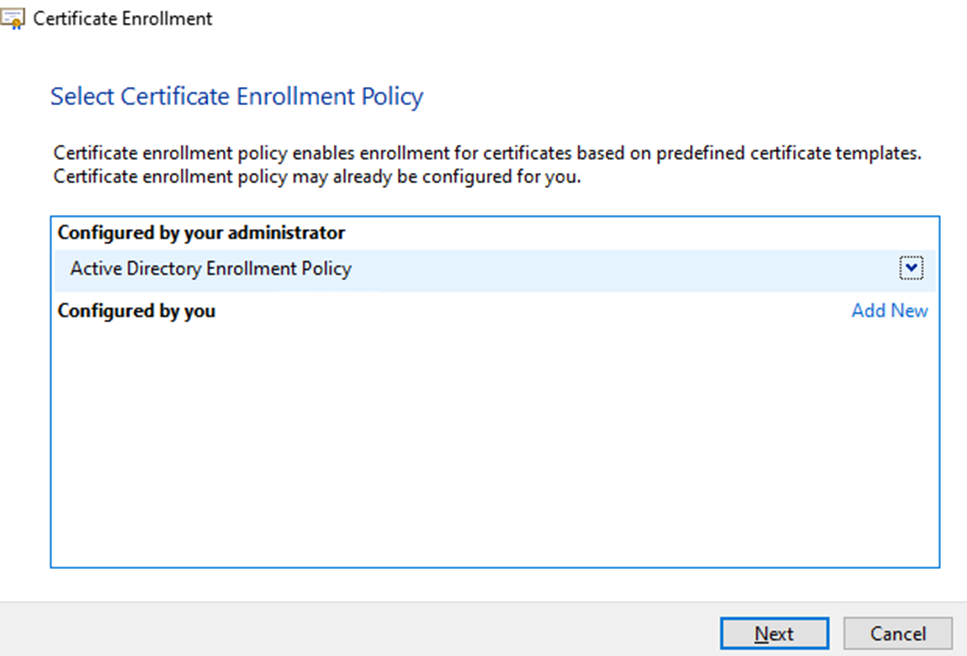
Right-click either the Certificates folder, or in the white area on the right, hover over All Tasks, then select Request New Certificates
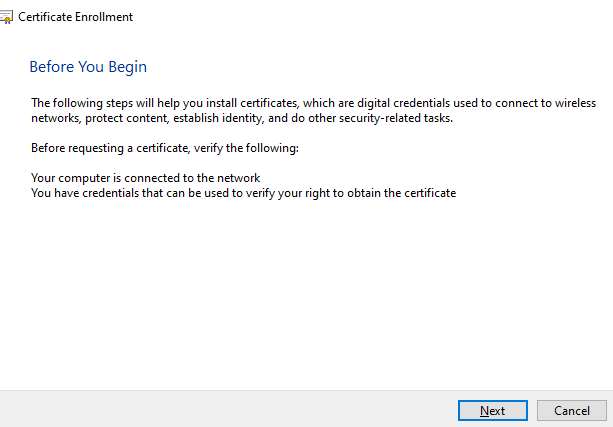
Select Next
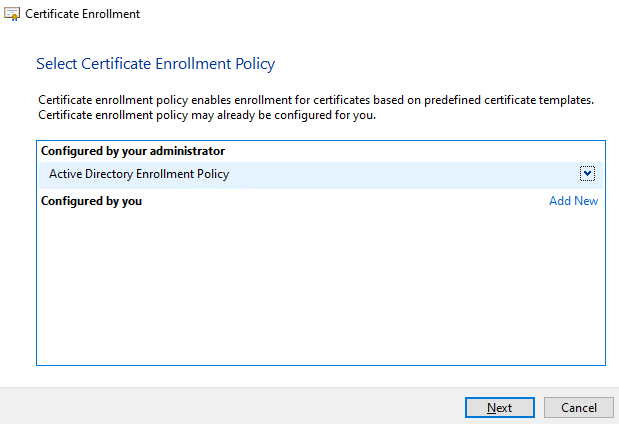
Select Next
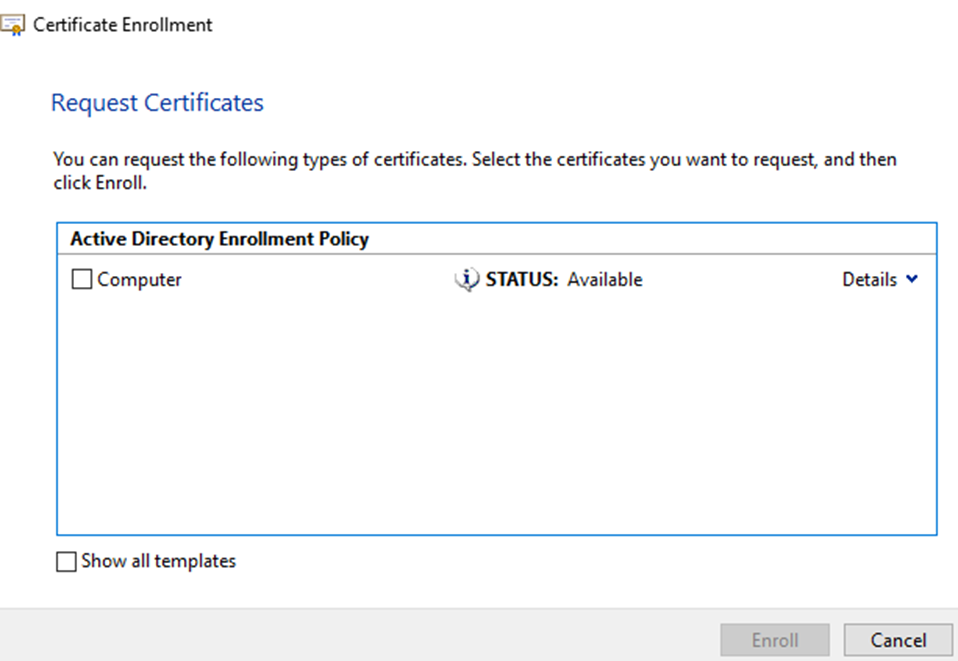
Now I want the Web Server template which is not shown here. That is because I’m using an account with privileges that isn’t authorized for that template. Were going to go fix that. So go ahead and select Cancel.
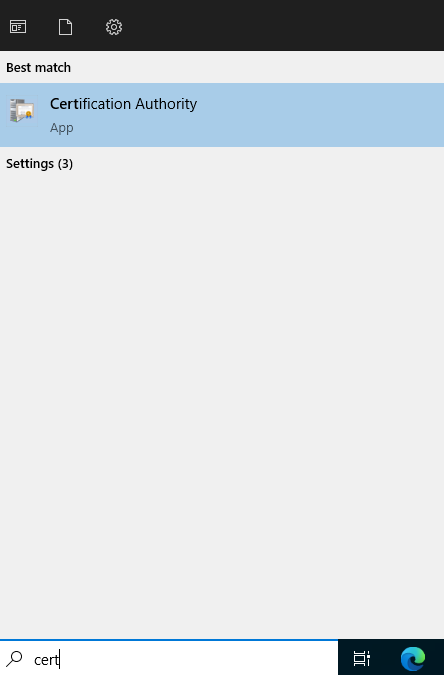
Select Start, type cert, then click Certification Authority
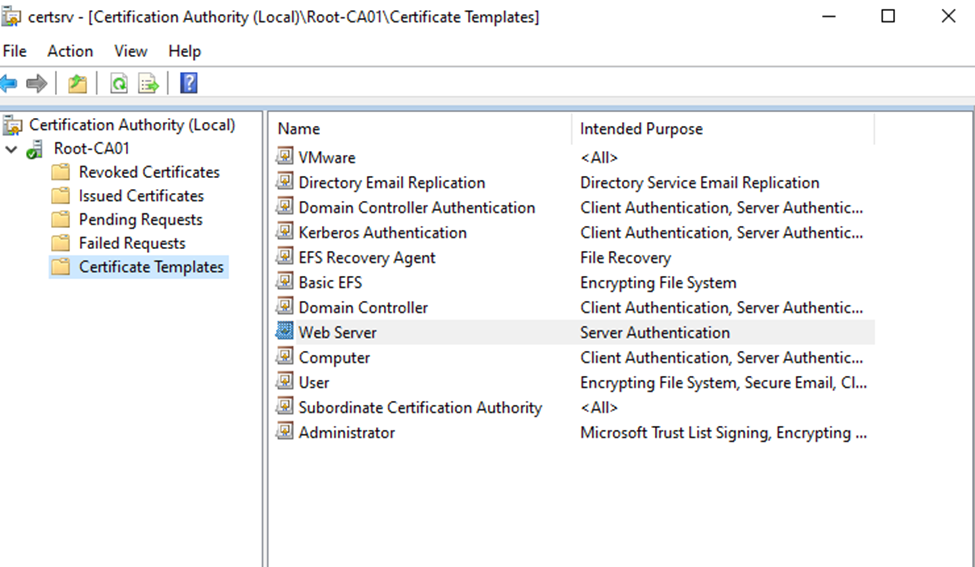
Expand Root-CA01 then select Certificate Templates, you can see Web Server is here. Next is to change the permissions.
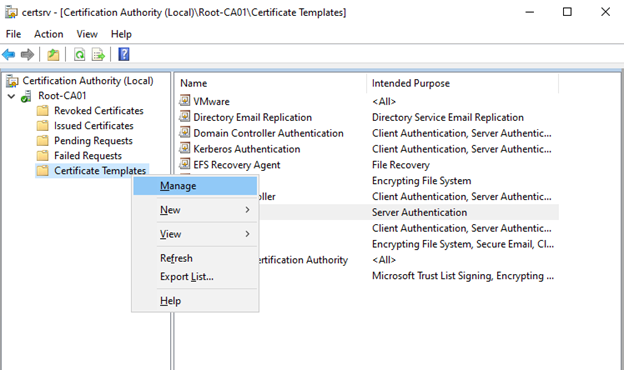
Right-click Certificate Templates and select Manage

Scroll down the middle section and right-click Web Server, then select properties
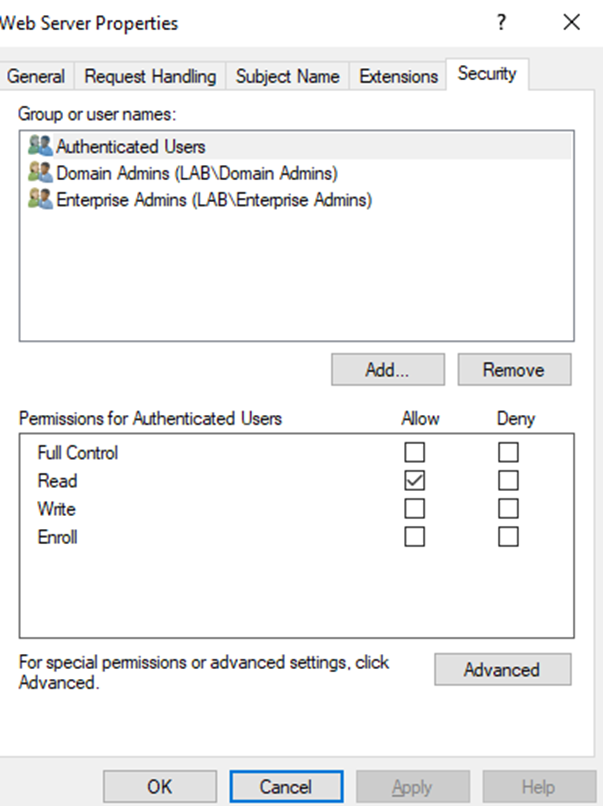
Go to the Security tab and notice the permissions. Since this is a lab I’m just going to give authenticated users enroll permissions.
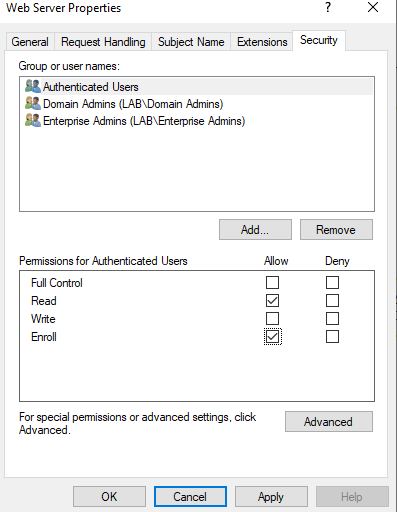
Now that enroll has been granted, select OK

Go back to your certlm window, and right-click the open area, hover over All Tasks and select Request New Certificate
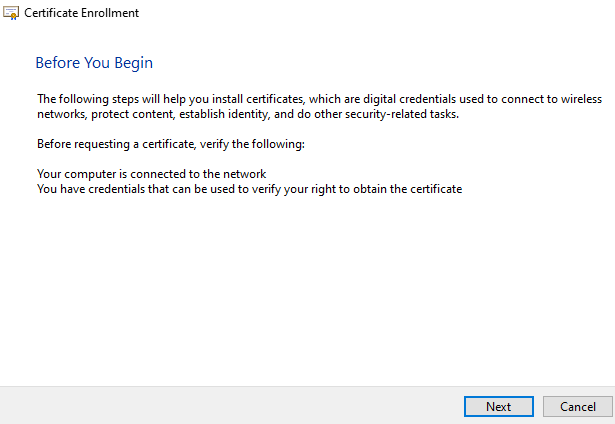
Select Next
Select Next

And now we have the Web Server template as an option, click the blue line to enter your information
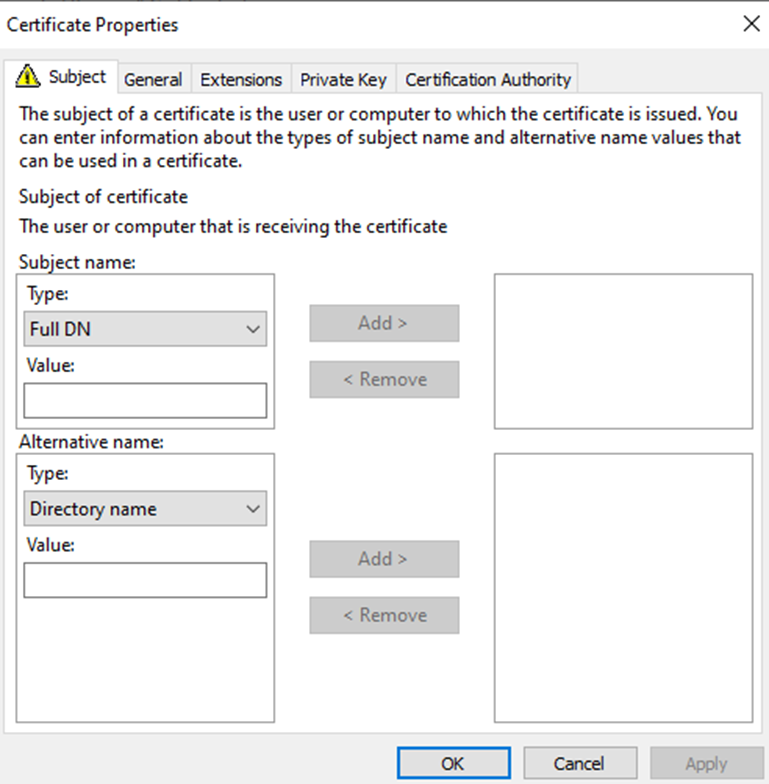
Change the Subject name drop down from Full DN to Common Name and Type from Directory name to DNS
For Common name, I prefer to enter the Fully Qualified Domain Name (FQDN), and for DNS I prefer to do both the FQDN and the short name. Once you enter them in the lines on the left, click the corresponding Add button to add them. Then change Type from DNS to IP Address (v4) (or v6 if needed) and enter the IP address.
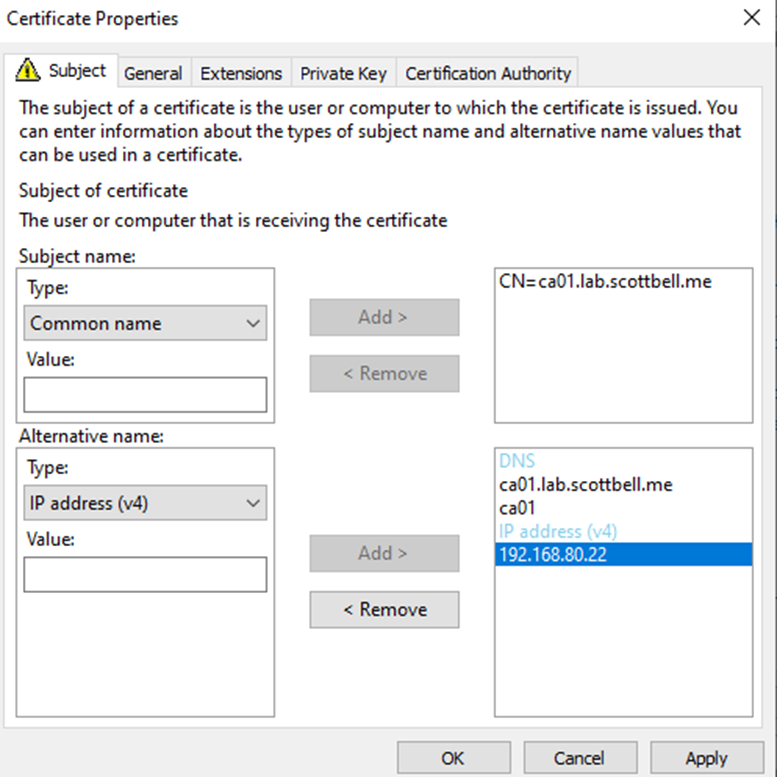
Once it looks like this, go to the general tab

I generally will use the FQDN for the Friendly name as well. Select the Private Key tab
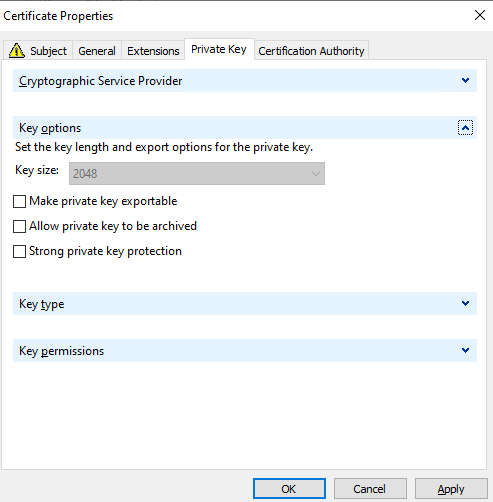
As a note, under Key Options you can mark the private key as exportable, if this cert is for another server, or perhaps is for a VIP or multiple servers, you would select this so that the cert can be exported\imported to those other servers. Once complete, select OK
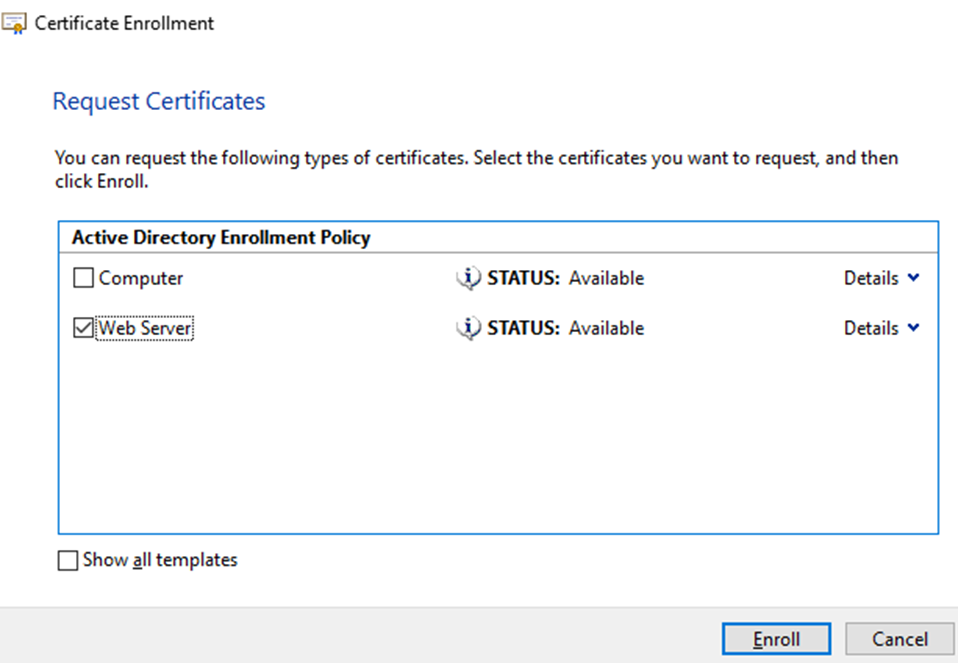
Now that the blue line is gone, you can select the Web Server template and click Enroll
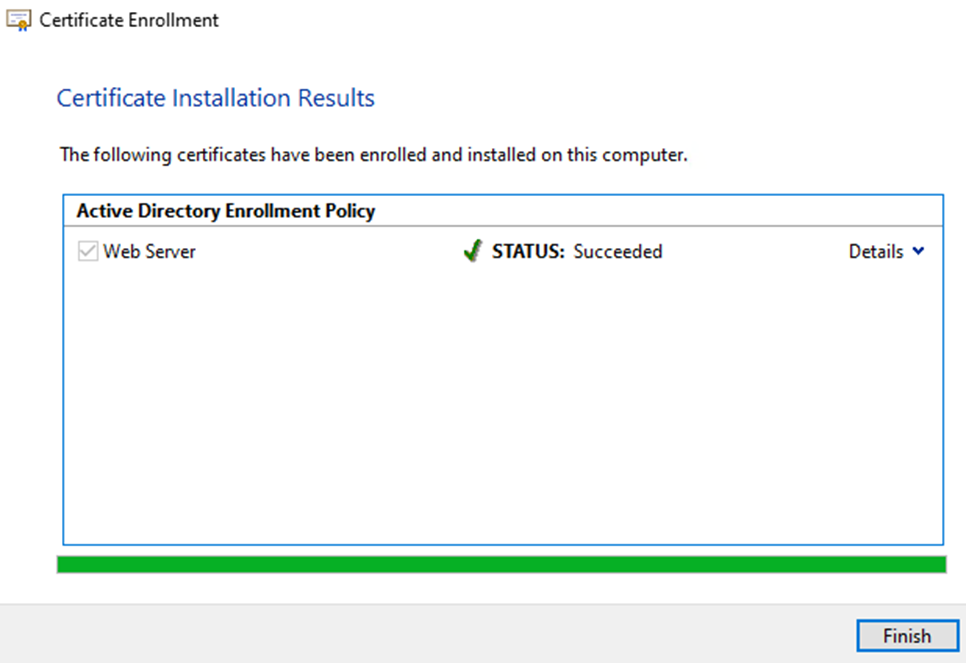
Once complete you should receive this window
Adding Certificate to IIS
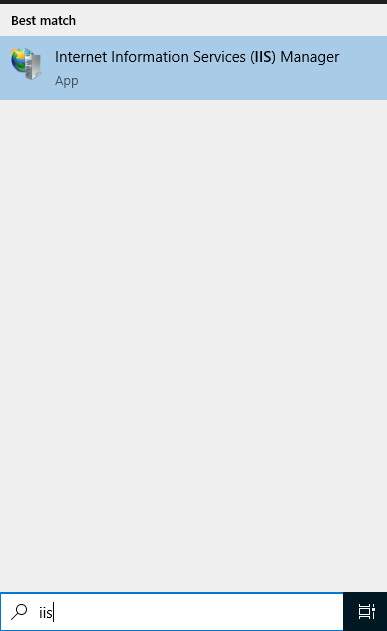
Click start, type IIS and select IIS Manager
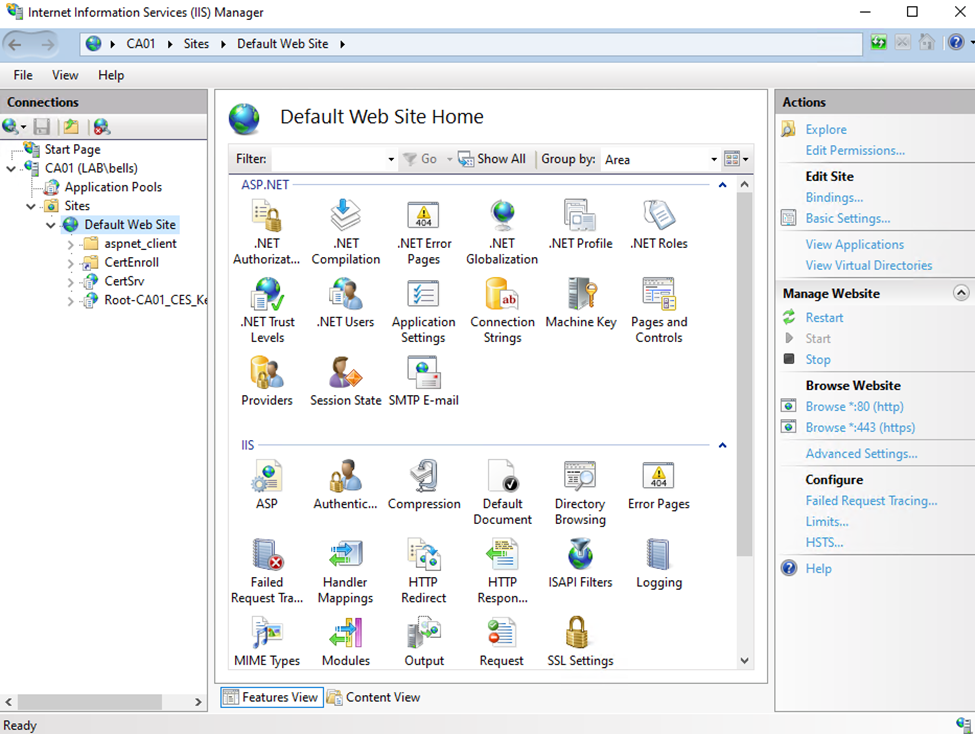
Expand Sites and click Default Web Site, then select Bindings on the right side
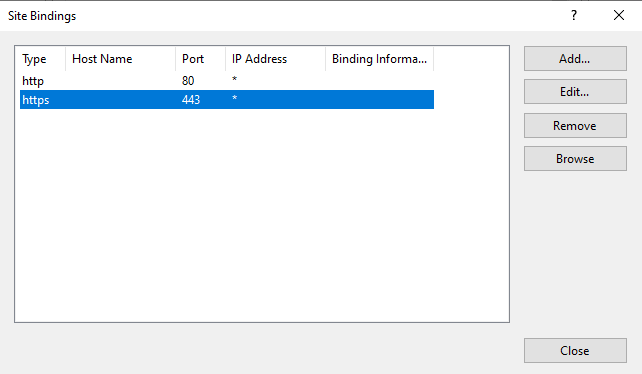
Select https and click Edit
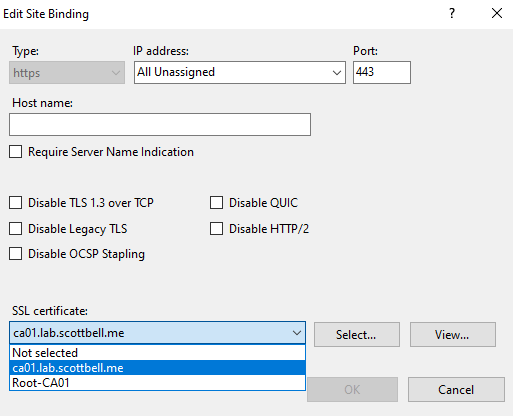
Change SSL certificate from Root-CA01 to ca01.lab.scottbell.me. There are more options that can be selected from a security standpoint like specifying the IP, hostname, and Disabling Legacy TLS. Select options as appropriate for your environment. Then select OK

Select Close

Select Restart on the right side pane

Go to a browser and enter the address of your website with /CertSrv at the end. You should not get a untrusted website alert (assuming the client accessing the site trusts the Root CA) and a username\password prompt.

Once you enter account information that has access to the website, you should see the above and are now able to request certificates as you need. Congrats and have a good day.
Active Directory Certificate Services, ADCS, Certificate Services, Home Lab, Homelab, IIS, Microsoft, WIndows Server