Deploy Windows Server 2022 and Build Active Directory Part 2
Greetings, today in part 2 we will be building the Active Directory Domain using the new name for my lab which will be lab.scottbell.me.
Lets get to it
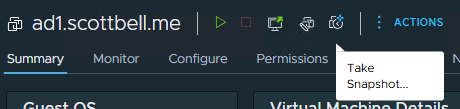
Snapshot
First, login and take a snapshot of the VM just in case.
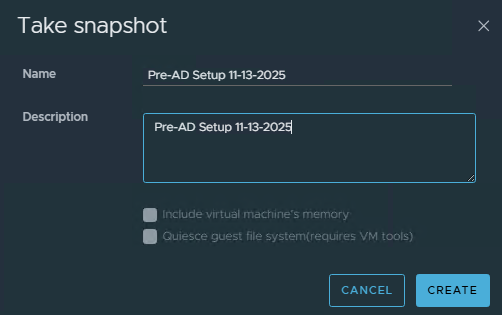
Now that we have our short term safety net, lets continue. Please remember though, snapshots are not backups.
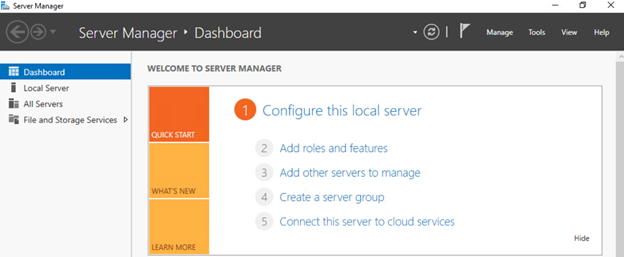
Login to the system, for now I’m using the VMware web console to do so
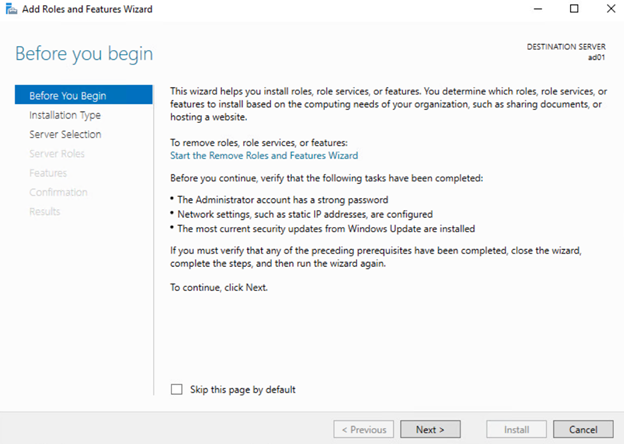
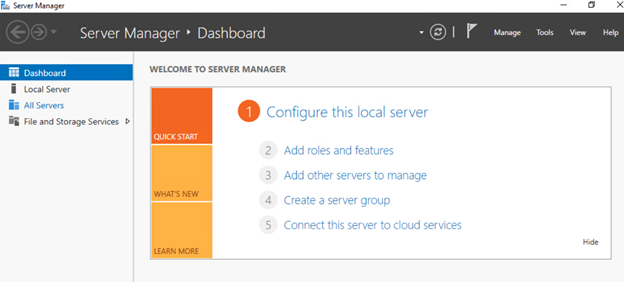
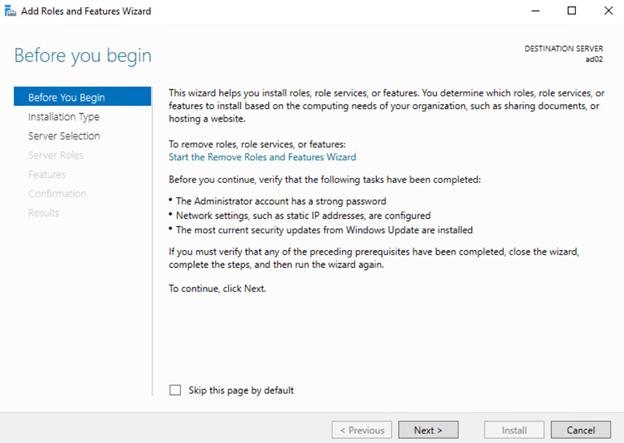
Add Role
Select Add roles and features
Select Next
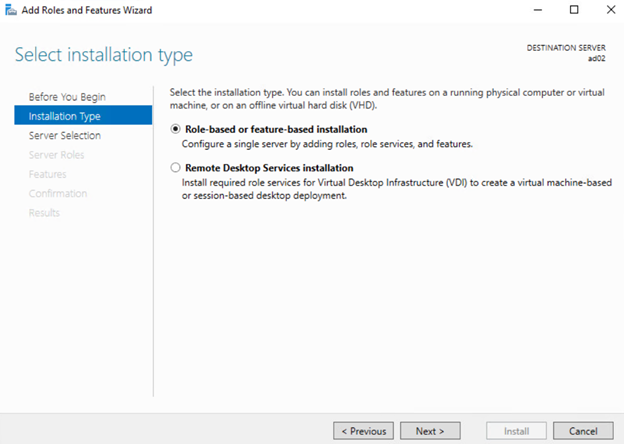
Keep the default selection of Role-based or feature-based installation and select Next

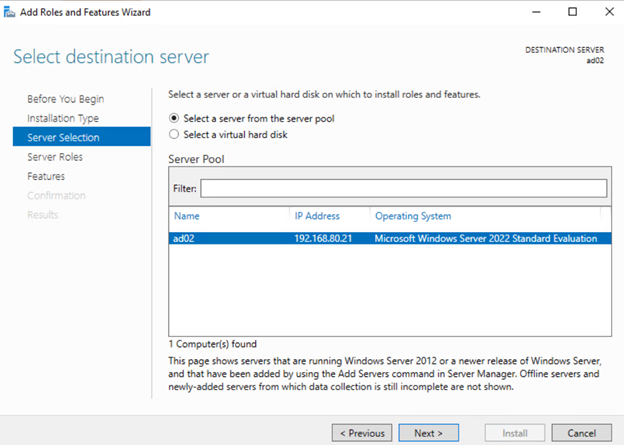
Select Next
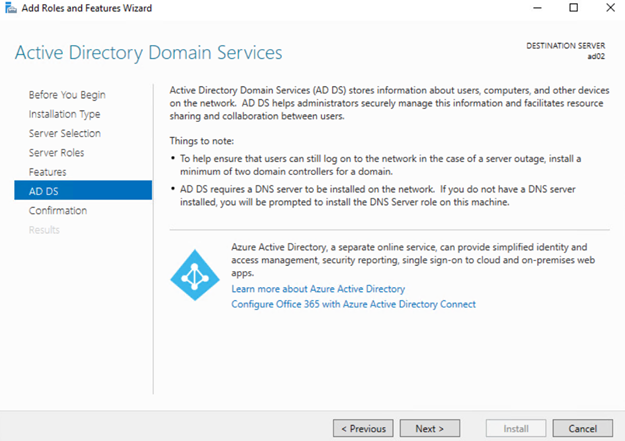
Select Active Directory Domain Services
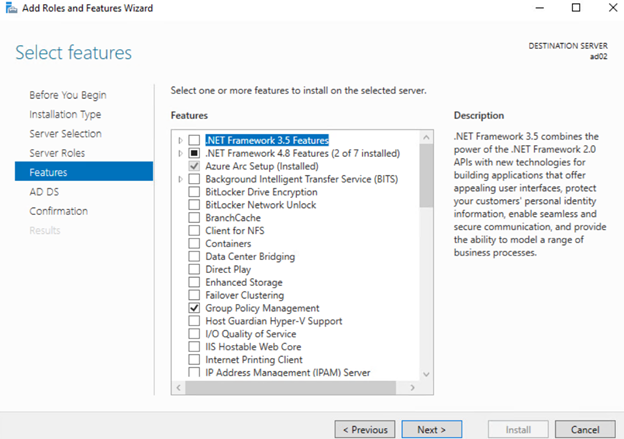
Select Add Features
Select Next
Select Next
Select Next
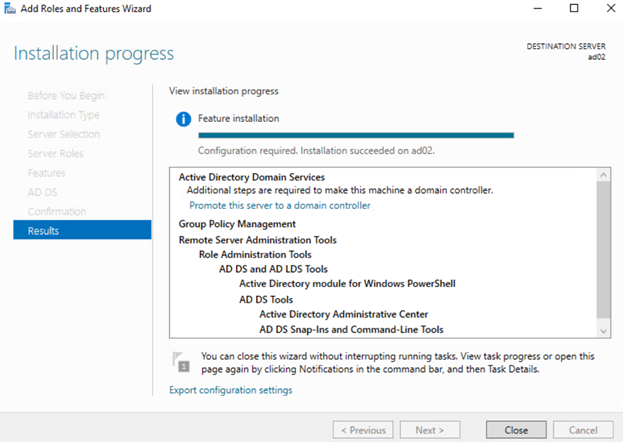
Select Install
Select Close
Select the flag with the Yellow Triangle and select Promote this server to a domain controller
Configure Active Directory
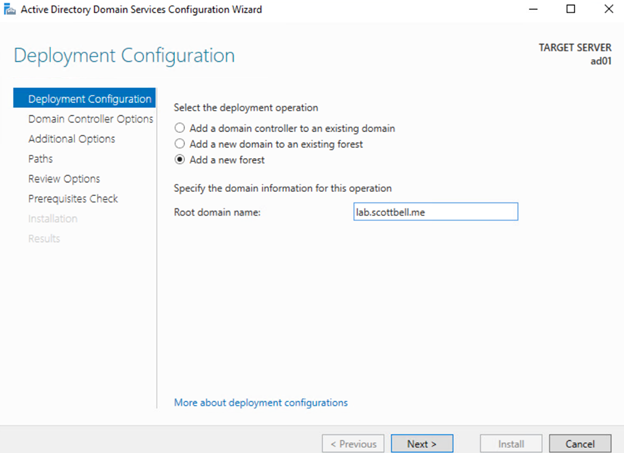
Select Add a new forest and enter the name you’re planning to use
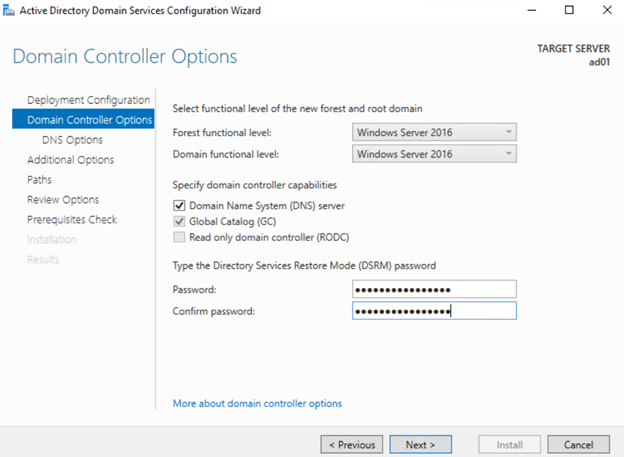
Unless you have a reason, you should stick with the default Windows Server 2016 Forest and Domain functional levels, Enter a password for Directory Services Restore Mode and make sure its not lost. Ideally using a password vault\manager.
I will leave the default NetBIOS name as is and select Next
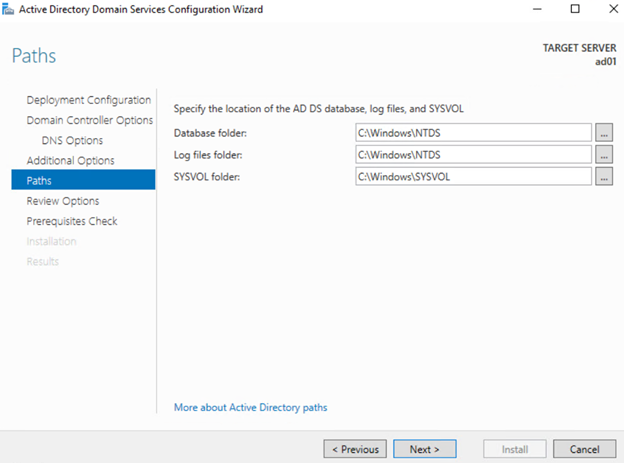
If you have security requirements mandating it, relocated the files to a suitable place. I will be leaving the defaults in this case and select Next.
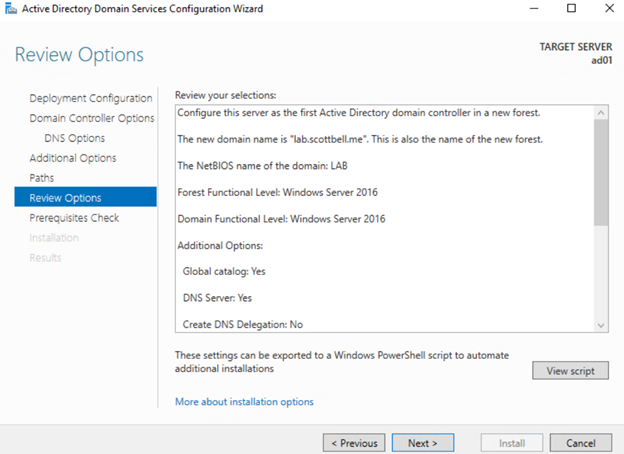
Review your choices and go back to make changes if needed

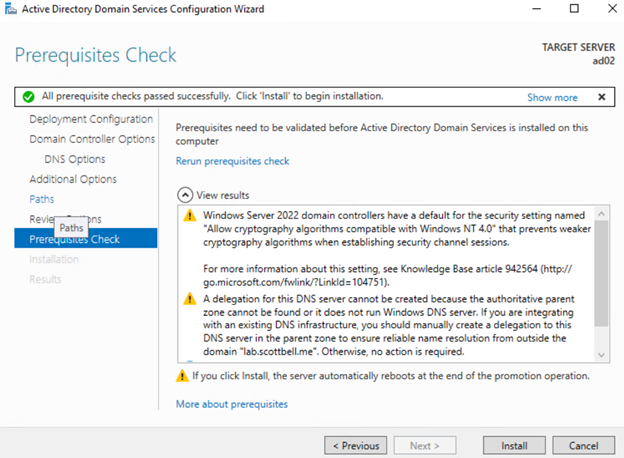
Once the Pre-checks have been passed, read the warnings as shown and then select Install
Once complete you will get the following warning for the system rebooting after a successful install of the Active Directory role.
Validate Install
After the reboot, login
Congrats. Active Directory has been installed. Now we will run through adding the second Domain Controller to the Domain.
Add Second Domain Controller
Login to the second Domain Controller
Repoint DNS

Right-click the start menu and select Network Connections
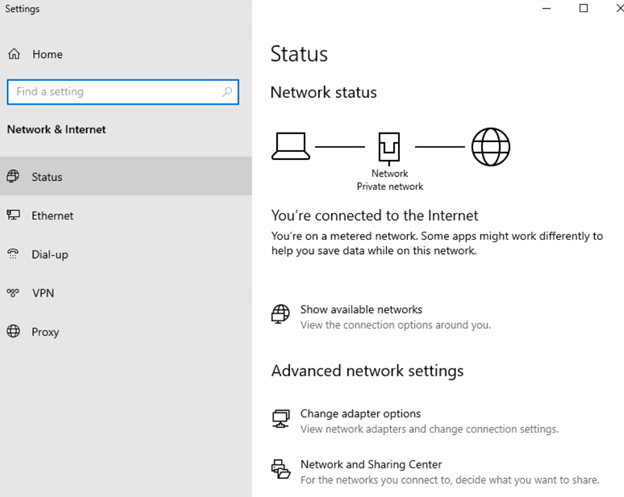
Select Network and Sharing Center
Select Ethernet0 on the right side of the window

Select Properties

Click on Internet Protocol Version 4 (TCP/IPv4) and select Properties
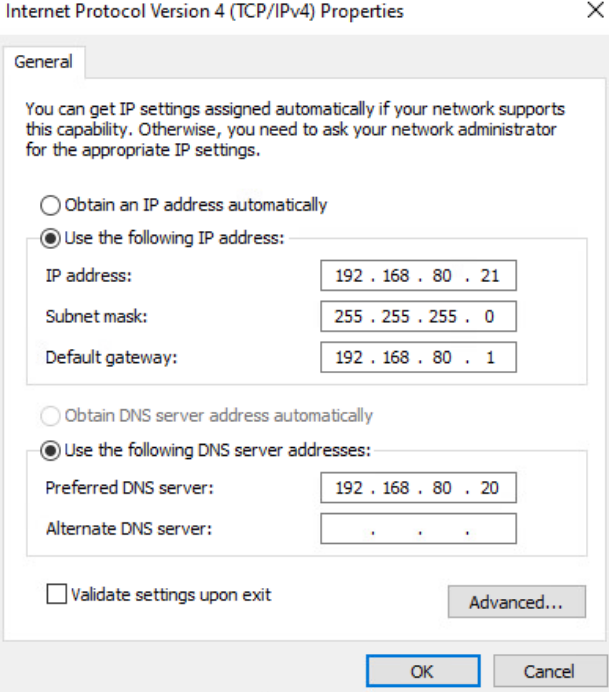
Change DNS to point to the new Domain Controller and select OK
Add Role
Select Add roles and features
Select Next
Select Role-based or feature-based installation
Were not doing a remote server so leave it selected for itself and select Next
Select Active Directory Domain Services

Select Add Features
Select Next
Select Next
Select Next
Select Install
Now that the install is done, select Promote this server to a domain controller.
Join Existing Domain
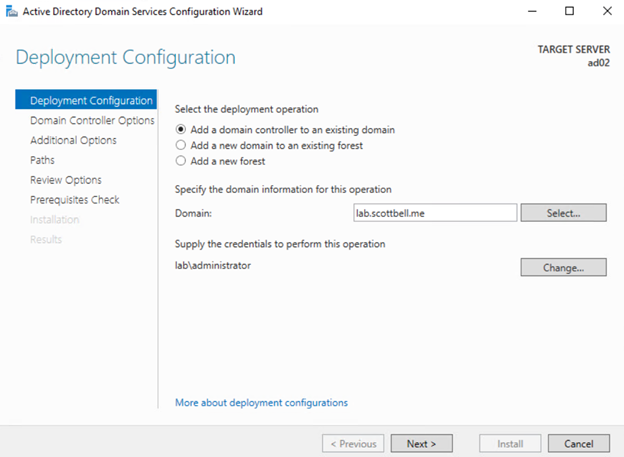
Enter the information for the new domain, the click select

Provide an account from the domain.
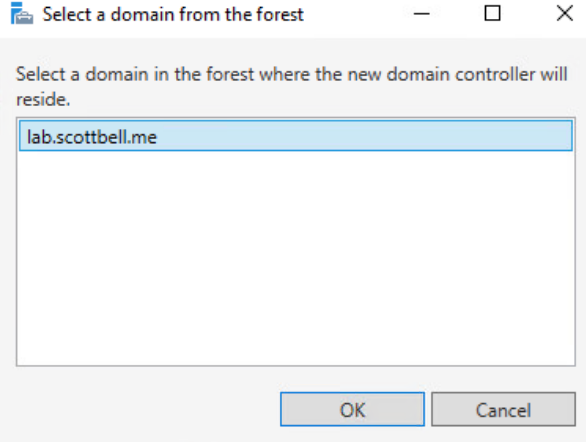
Select your domain and click OK
Select Next
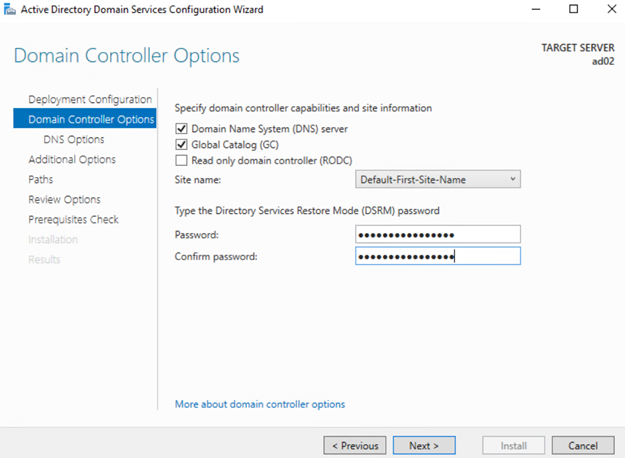
We have not created any sites and this is not a Read Only Domain Controller, so I will leave this at default settings and enter the Directory Services Restore Mode (DSRM) password and select Next.
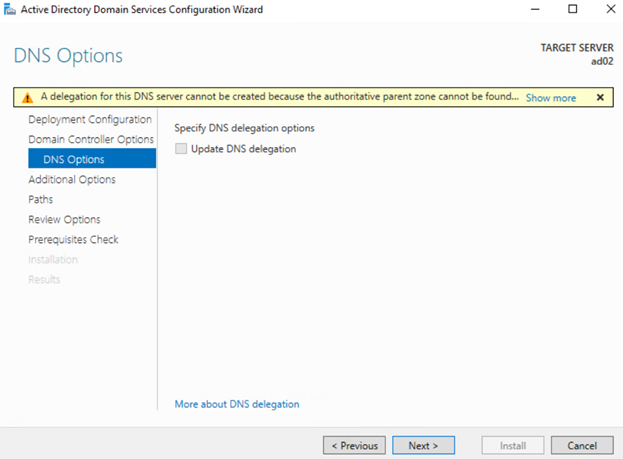
Select Next
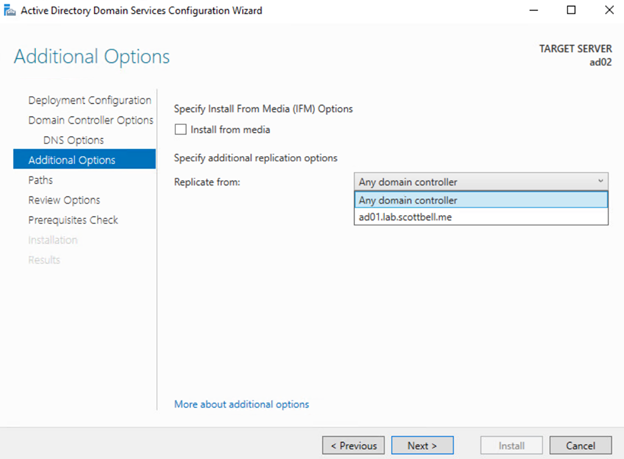
Theres only one DC in this domain so I will leave it with Any domain controller selected. Select Next.

Again, since this isn’t an hardened type install and I have no requirements to move the directories, I will leave the default locations and Select Next.
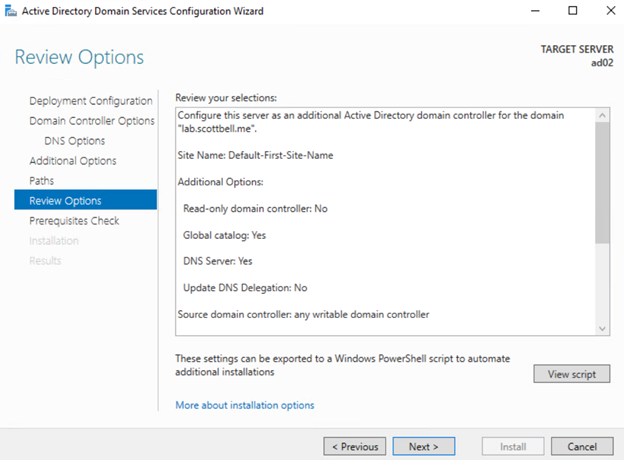
Review the details and go back to change if needed. Then Select Next.
Once the prechecks are done, review the warnings and Select Install.
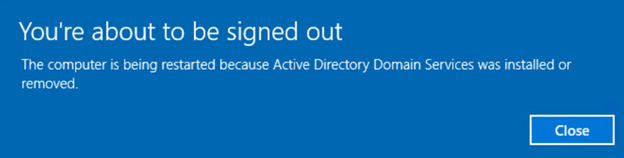
Once the install is completed, the system will reboot.
Validate Joining Active Directory

Login
Congrats. You now have a domain with two Domain controllers. Now you can customize as needed for your environment. Have a good one.
Active Directory, Home Lab, Homelab, Microsoft, WIndows Server, Windows Server 2022 Build