This will be the start of a series of articles for the rebuild of my lab to properly document the build process.
This will start here with Active Directory on Windows Server 2022, building a new Certificate Server on 2022, then continue into VCF oriented steps such as the offline depot, deploying the VCF installer, linking the two, and then deployment of VCF and its components.
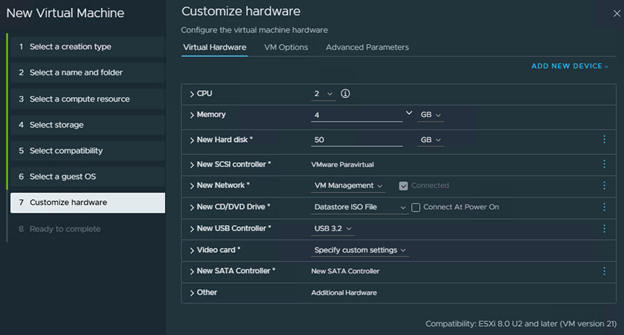
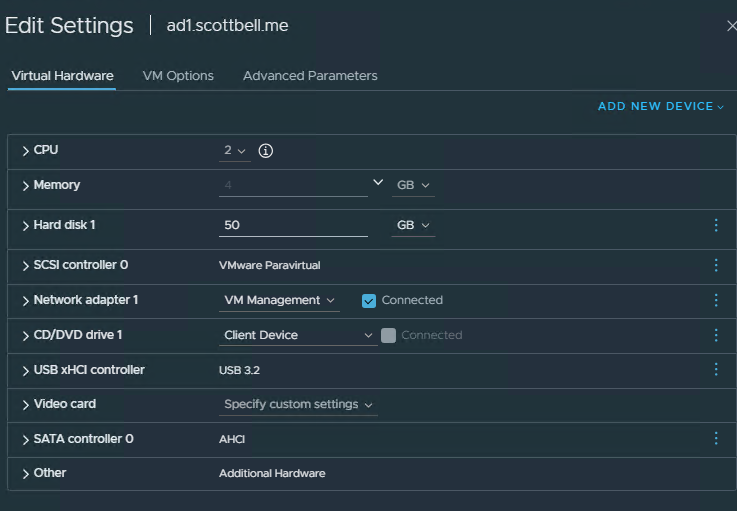
To start I will be installing Windows Server 2022 with 2x Cores, 4GB RAM, and 50gb HDD. All storage used is NVME so it will be more than fast enough for our needs.
Deployment
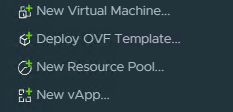
I’m going to start with building the shell by right clicking my ESX host and selecting New Virtual Machine
We will select Create a new virtual machine and then Next

Enter the virtual Machine name and its location then select Next

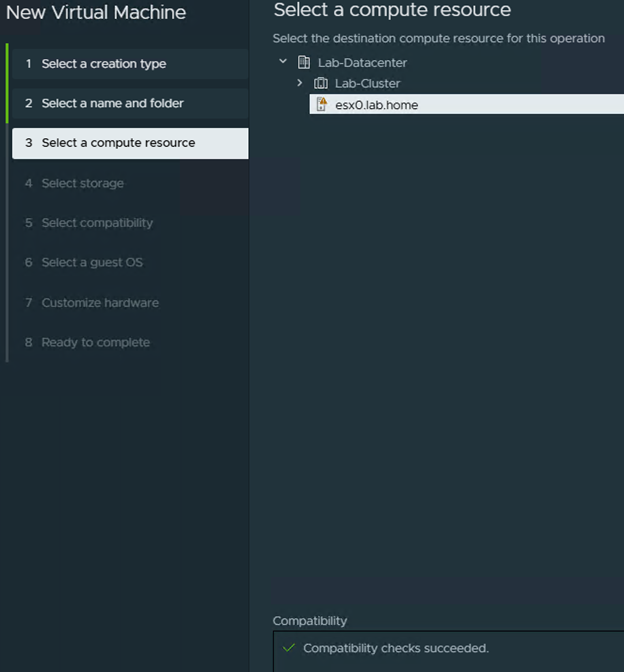
Select the compute resource for where the VM will run
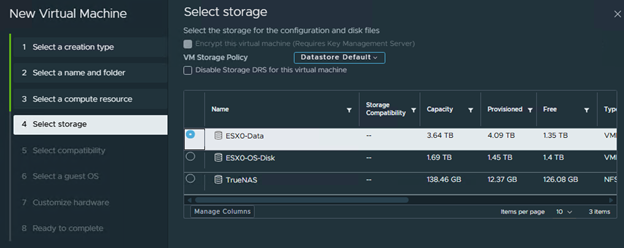
Select the storage location then select Next
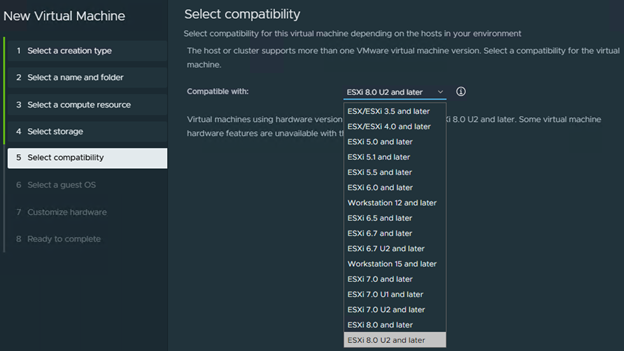
Select the appropriate compatibility level for your environment. For me, that will be ESXi 8.0U2 and later then select Next
Now we get to set the OS version we will be running in this VM. I’m using Windows Server 2022 so that’s what I choose, then select Next.
Note: This matters as the wrong setting can lead to performance\stability issues if there’s enough of an instruction set difference.

Now we get to see everything together and verify the choices.

In this case I will need to change networking to the proper Port Group for my environment, change the HDD from 90GB to 50GB, and also add the ISO to the CD/DVD Drive.
Once finished, select Next.
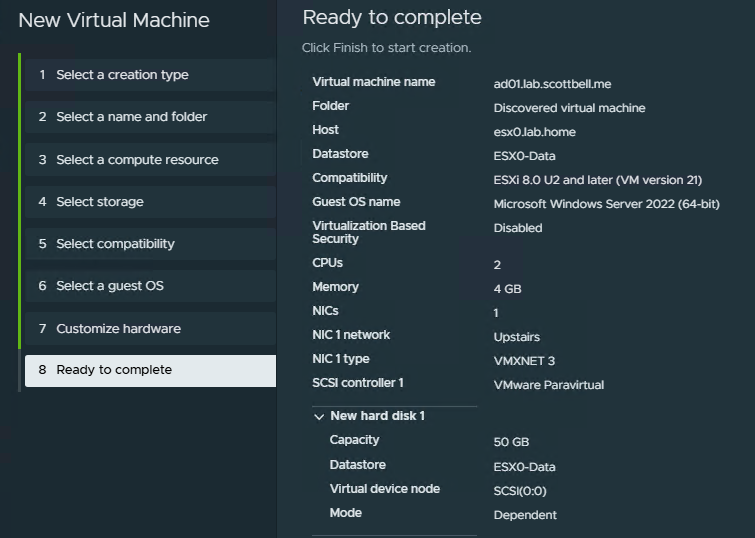
Review the settings on Ready to complete and change if needed on the previous page. If no changes are needed, select Next.
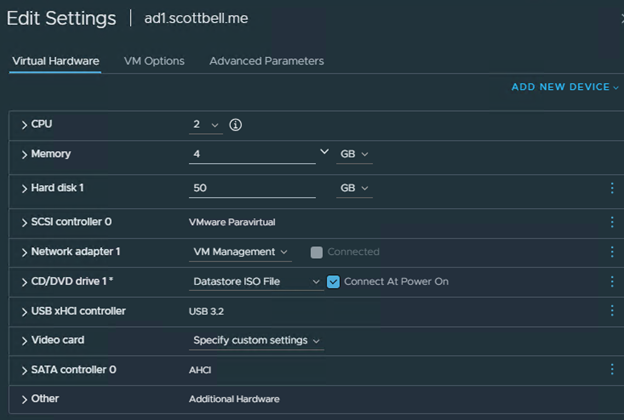
Once its finished, make sure to go edit the settings and enable the Connect At Power On option for the CD/DVD Drive so that it actually uses the ISO when you power the VM up for the first time
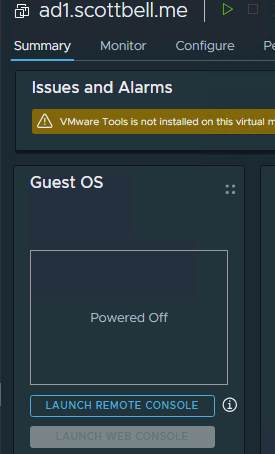
Select Power on and then select Launch Remote Console
Operating System Install

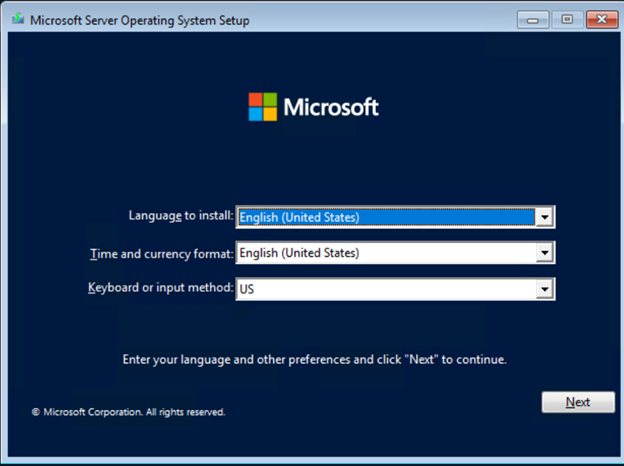
Change the default Language/Time/Keyboard options if desired
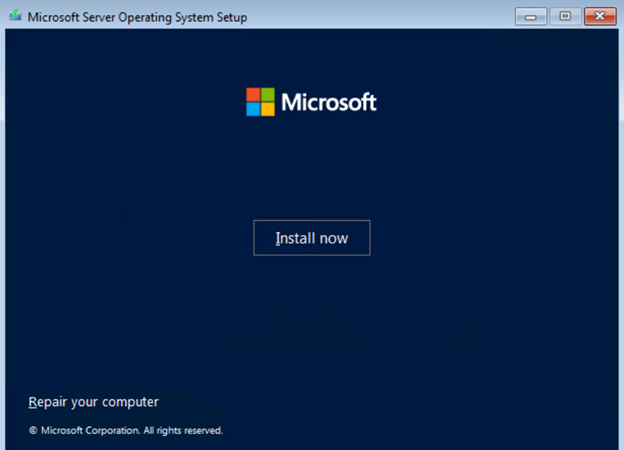
Select Install Now
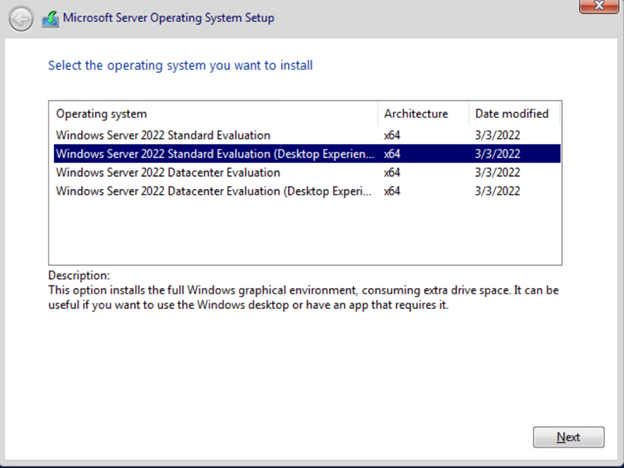
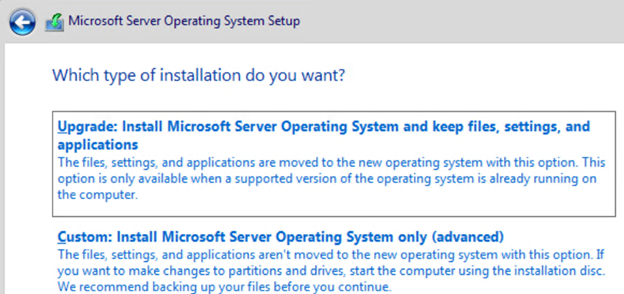
Select the desired edition. I will be using Standard Evaluation (Desktop Experience) in this case as I still like my GUI. Select Next
Read, and if you agree to the terms, accept the license terms, and select Next

I selected Custom to make sure it shows the correct hard drive info. Select Next
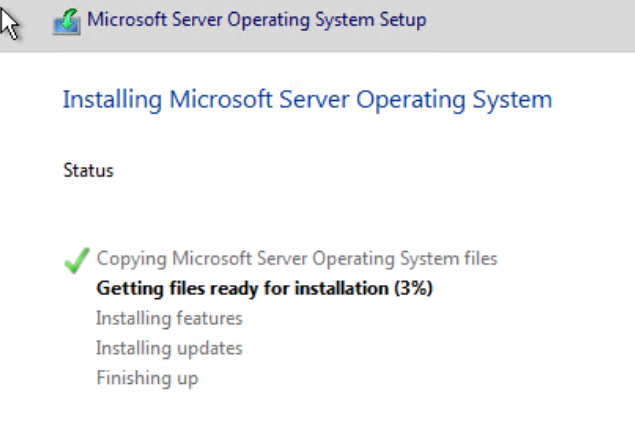
It will now run through the installation
Either wait or select the Restart Now to restart the system
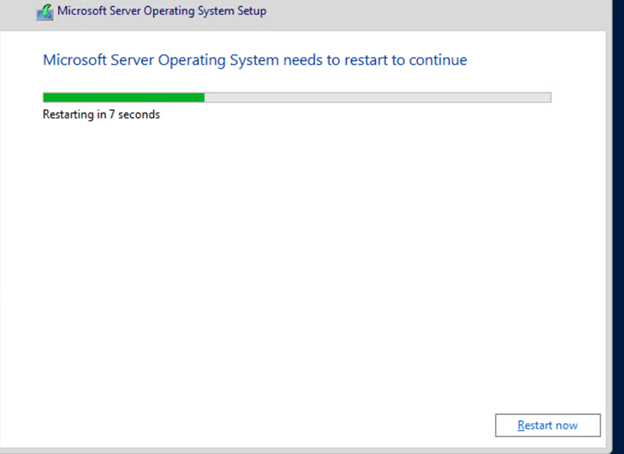
Windows will then reboot and start getting ready for use

Configure Operating System
After configuration you will provide the initial Administrator password
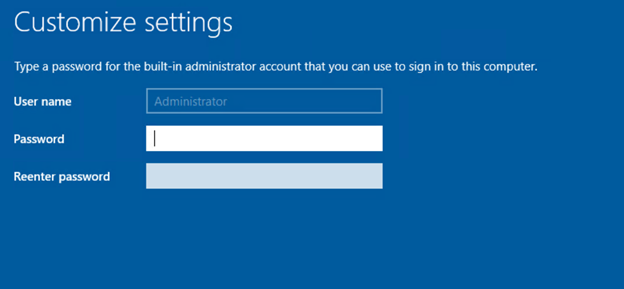
Once you have set the password you will be brought to the login screen, login
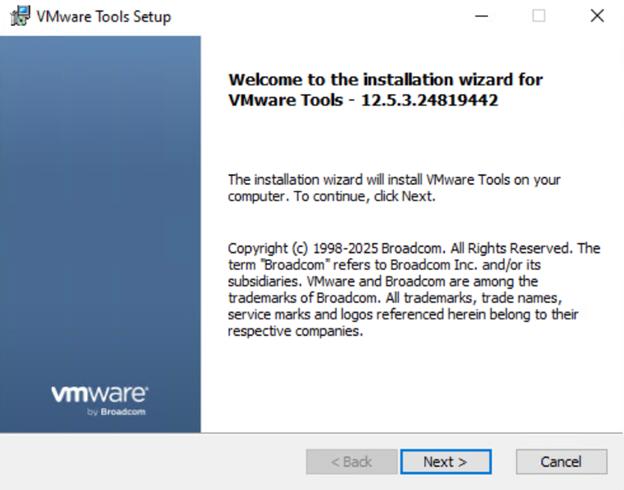
Install VMware Tools
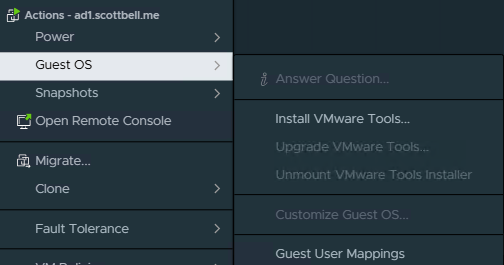
Once you have logged in, go back to your ESX host and select Install VMware Tools
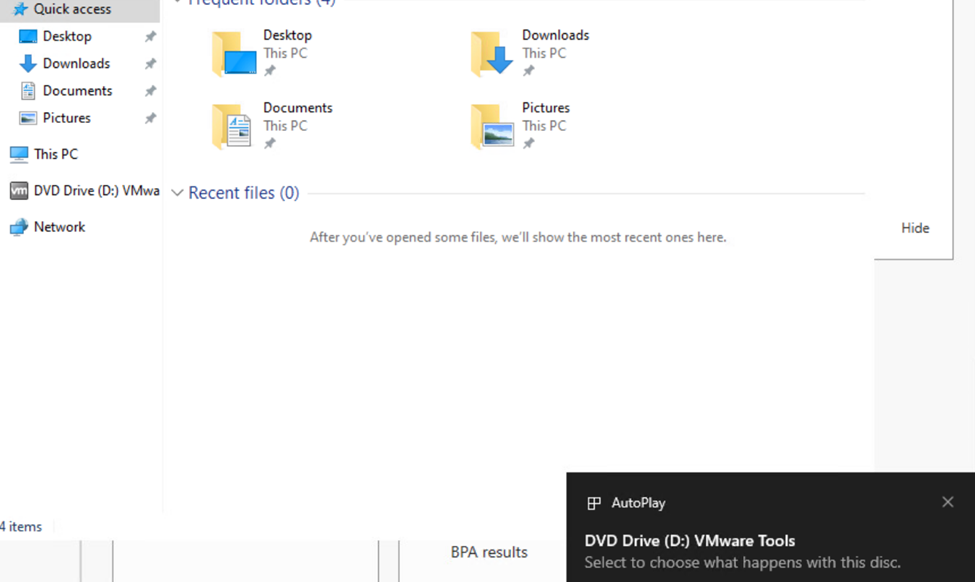
Select Mount
Go back to your console for the VM and open File Explorer and Select the DVD Drive (D:)
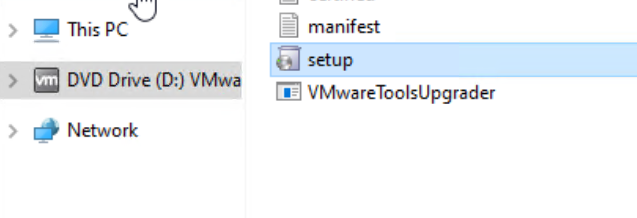
Run setup
Select Next
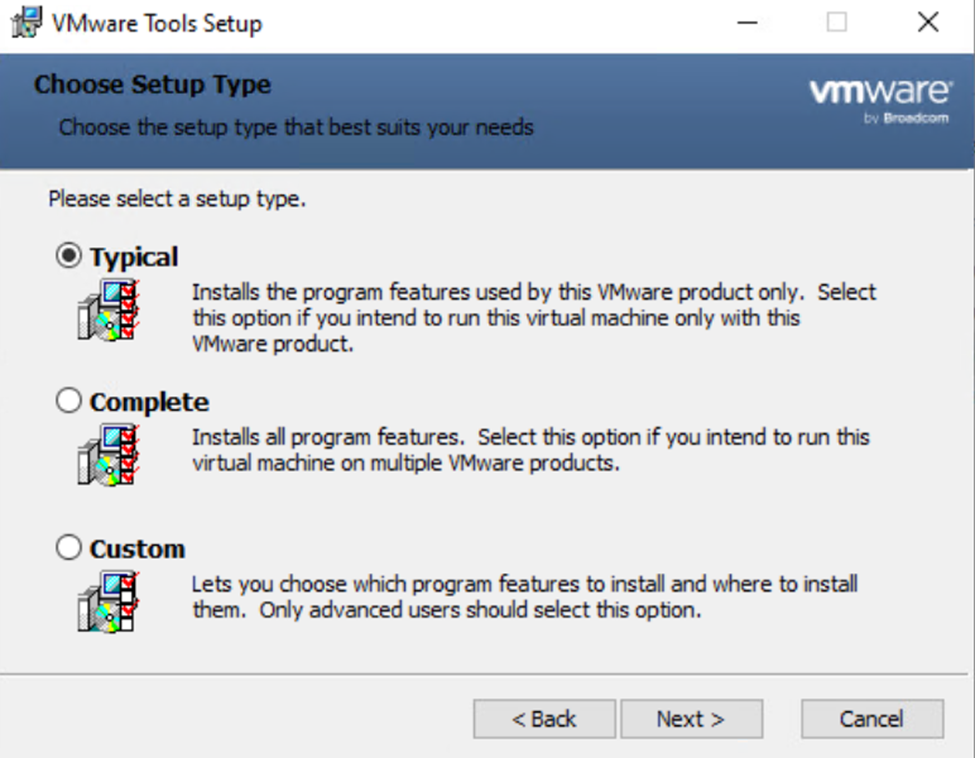
Select Typical unless you have specific parts you want to install or deselect
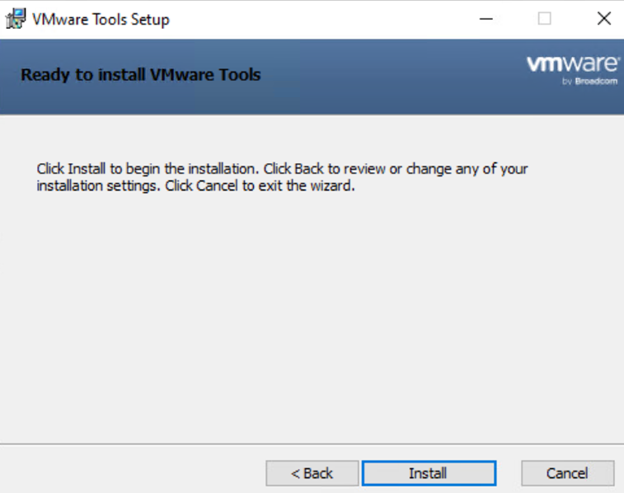
Select Install
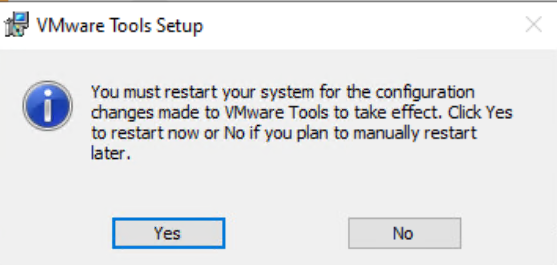
When complete, select restart
Login after reboot
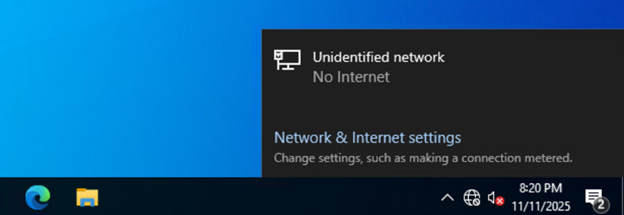
Configure IP Information
Right click the Internet icon (the wire globe in this case) and select Network & Internet settings
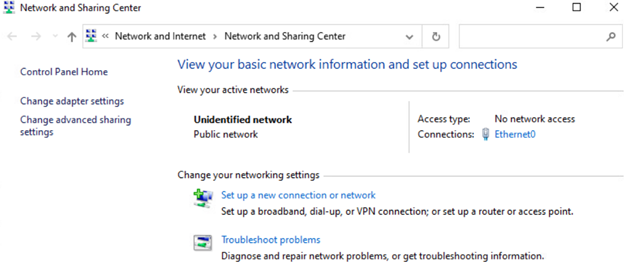
I prefer the old control panel so I will select Network and Sharing Center

Select Ethernet0 on the right side of the window
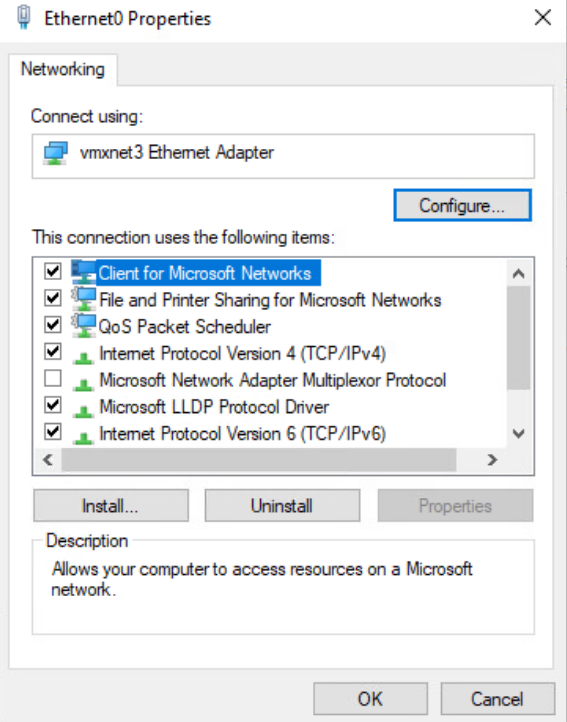
Select Properties

Select Internet Protocol Version 4 (TCP/IPv4) and select Properties
Enter your information for the IP and DNS, for now use an actual DNS. This will change later when this is promoted to being a Domain Controller, but that is not yet.
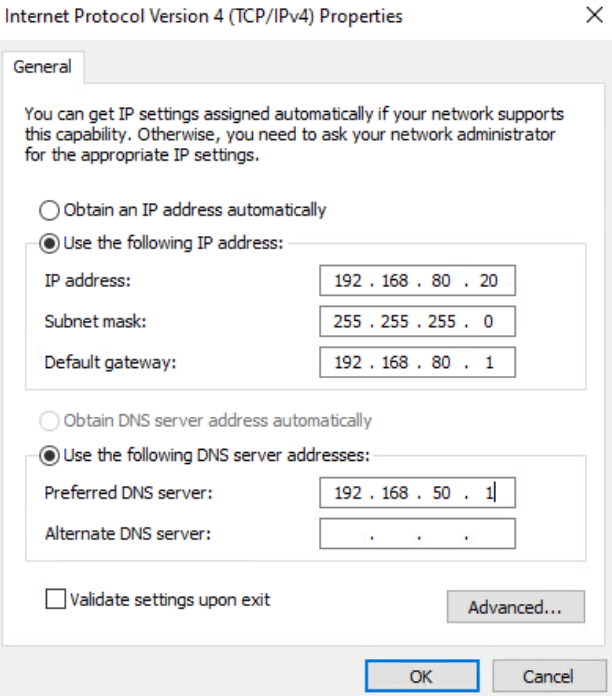
Select OK
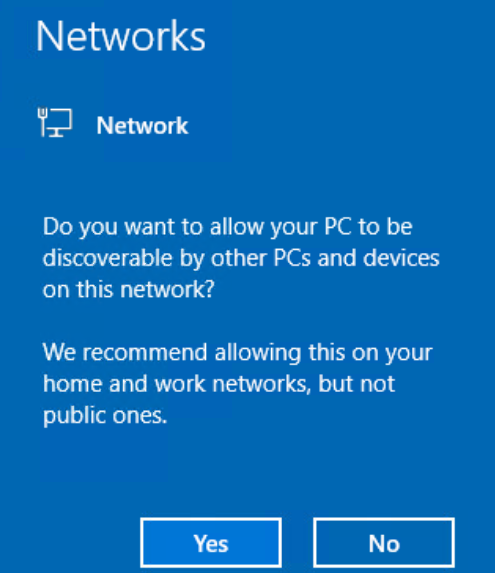
You will be asked if you want the PC to be discoverable by other devices, make the appropriate choice for your environment
Windows Updates
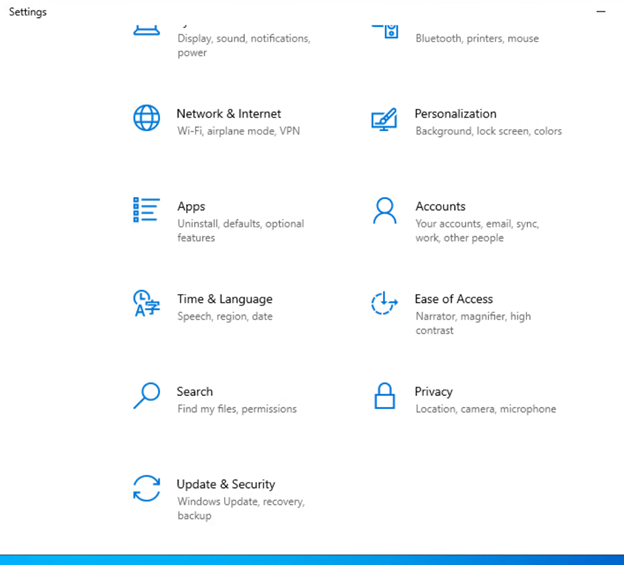
Select the start menu in the lower left and then settings

Scroll down and select Update & Security
It should have automatically started checking and downloading updates, if not, select the Check for Updates option
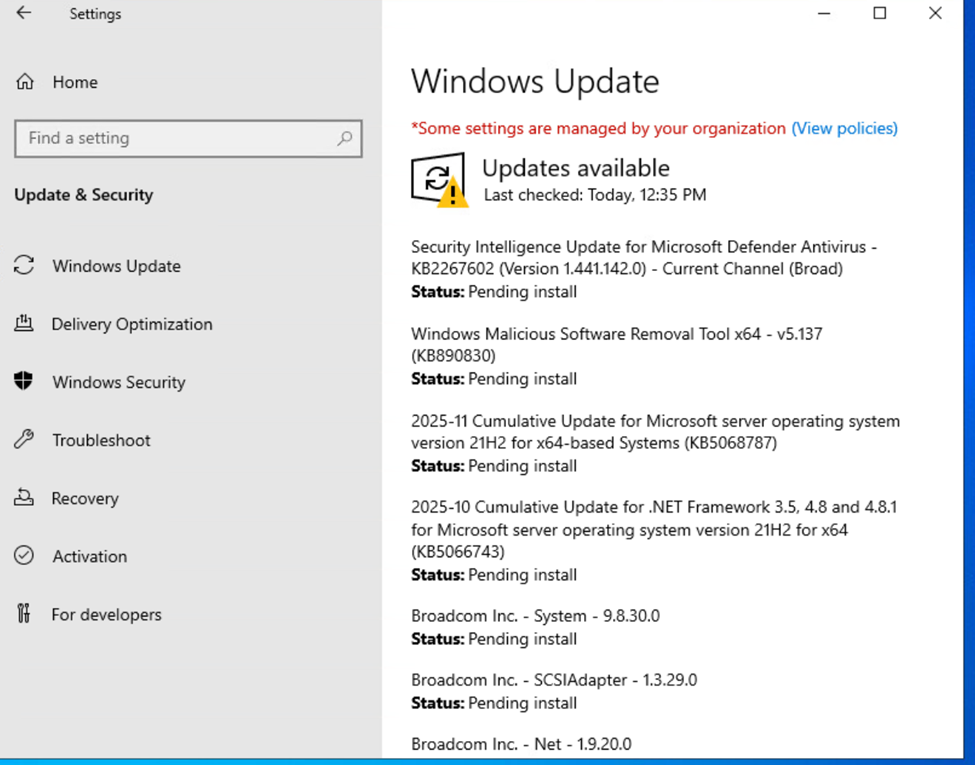
These downloads can take a while depending on your internet.
Once everything is at Status: Pending install, select Install now

Now you get to wait for Updates.
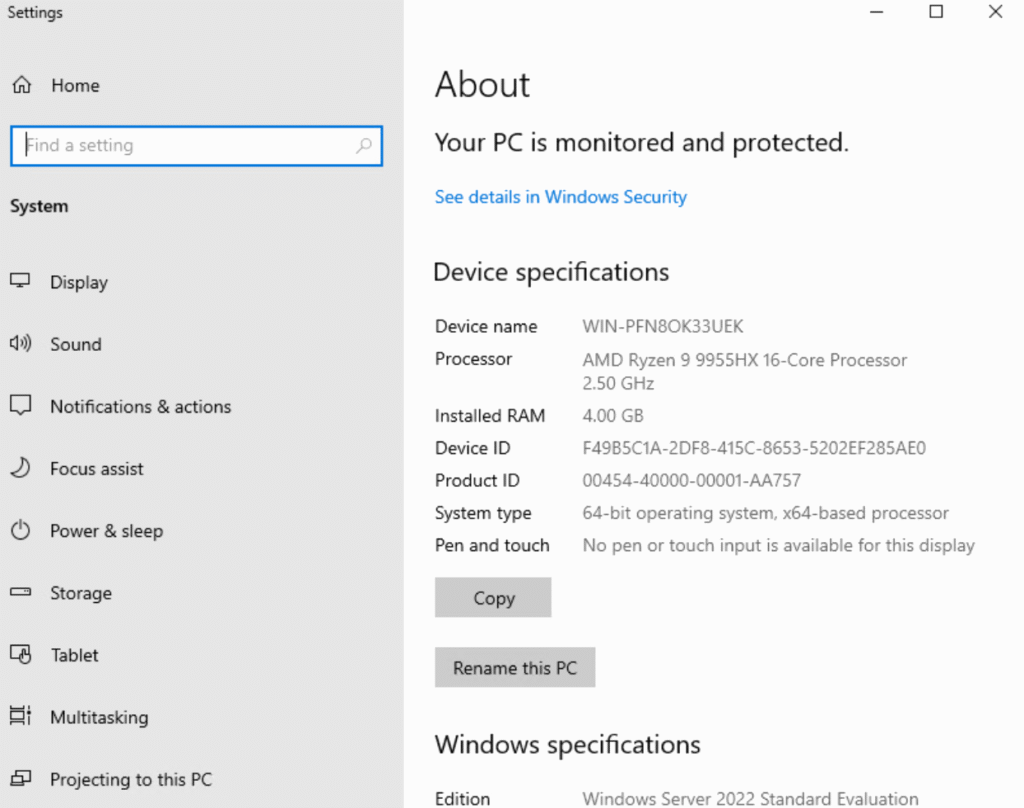
Go to system and select Rename this PC
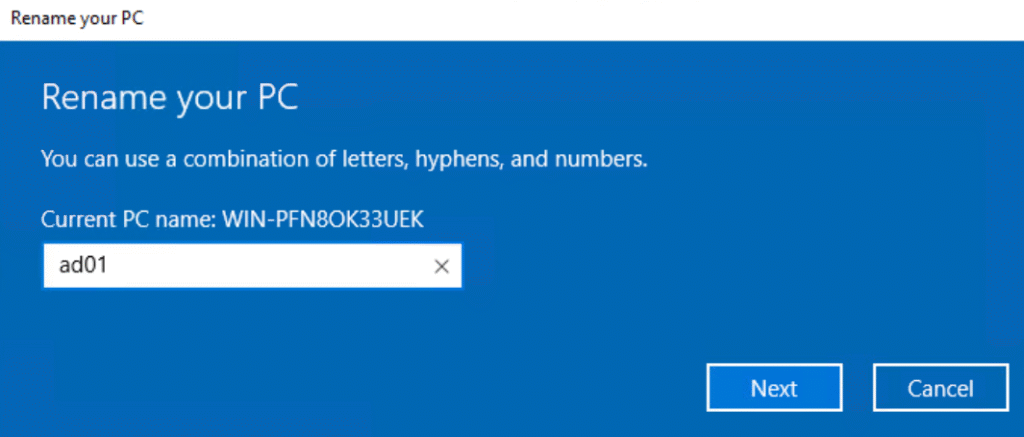
Enter the desired name
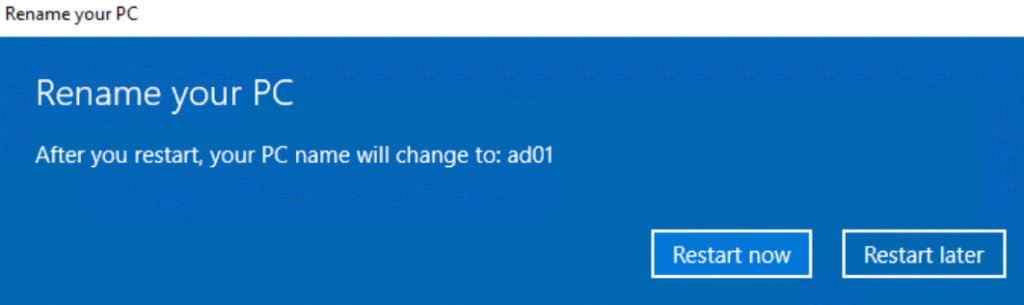
select Restart now
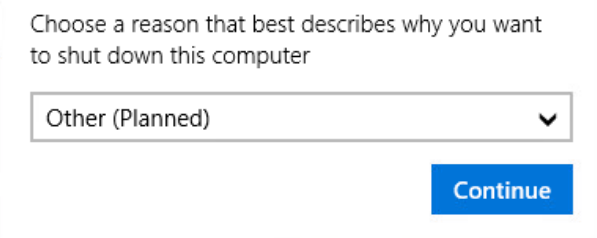
Provide the reason for the restart, I went with Other (Planned)
Once complete, run through these steps again to build a second server that will become the secondary Domain Controller for redundancy.
Make sure to go back into ESX, edit settings on the VM and set CD/DVD Drive back to Client Device so the ISO doesn’t cause problems later.
This will be the end of Part 1 of deploying Active Directory, building the Servers.
Home Lab, Homelab, Microsoft, Windows, WIndows Server, Windows Server 2022 Build