vCenter 8 Deployment: The OVA Method
March 30, 2026 | Homelab, vCenter 8, VMware, vSphere 8 | No Comments
Greetings! This article is specifically for those working in higher-security environments where running the standard executable installer from the vCenter ISO may be restricted by policy. In this scenario, we will deploy the appliance using the OVA file directly.
Preparing the Installation Media
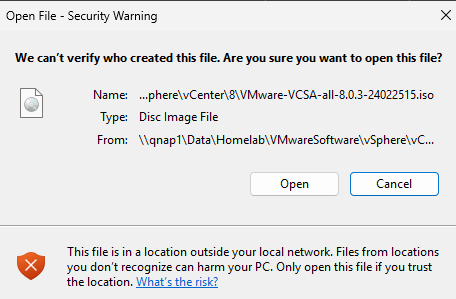
Begin by navigating to your vCenter ISO. Right-click the file and select Mount.

Confirm the mount request by selecting Open.
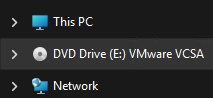
Observe the ISO is now attached
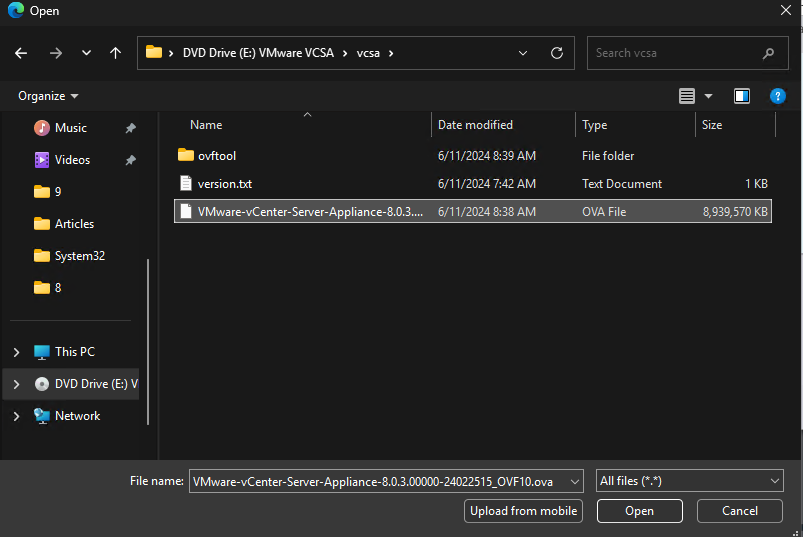
Open the vcsa folder within the mounted drive.
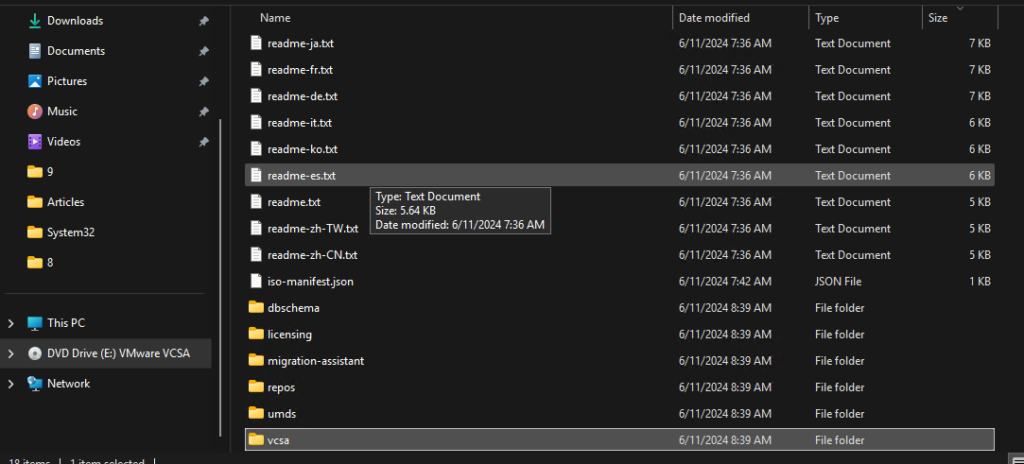
This directory contains the raw OVF and OVA files required for manual deployment.

Initializing the Appliance Deployment
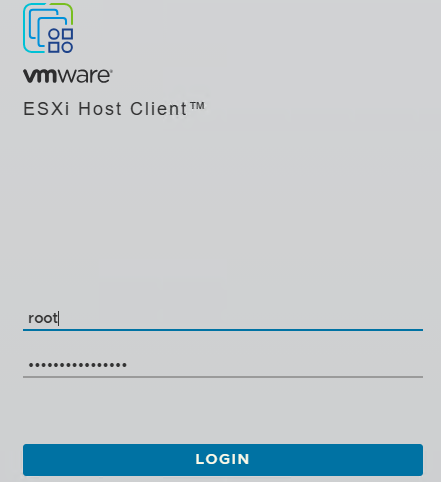
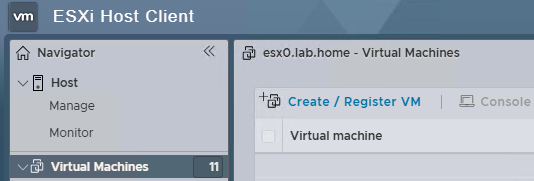
Log in to the ESXi host that will manage the new appliance.
Navigate to Virtual Machines in the left pane and select Create/Register VM.
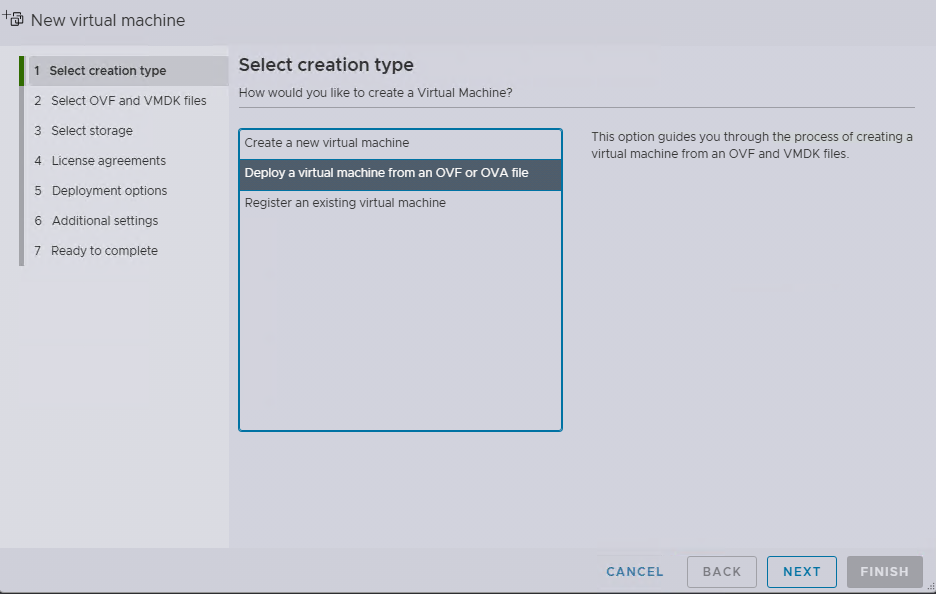
Select Deploy a virtual machine from an OVF or OVA file and click Next.
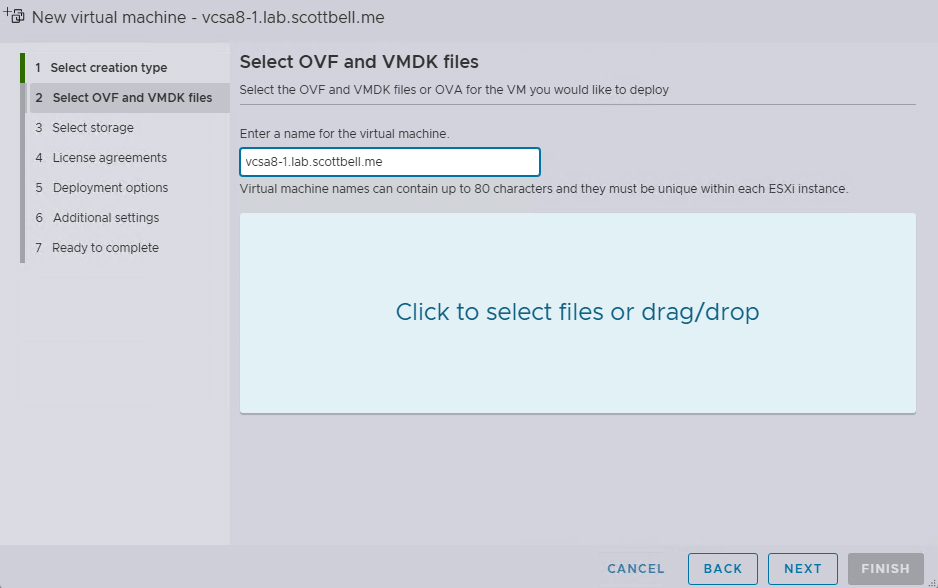
Provide a name for the virtual machine.
Click the file upload area (or drag and drop) and navigate to the vcsa folder in your mounted ISO to select the OVA file.
Click Open.
Defining Deployment Parameters
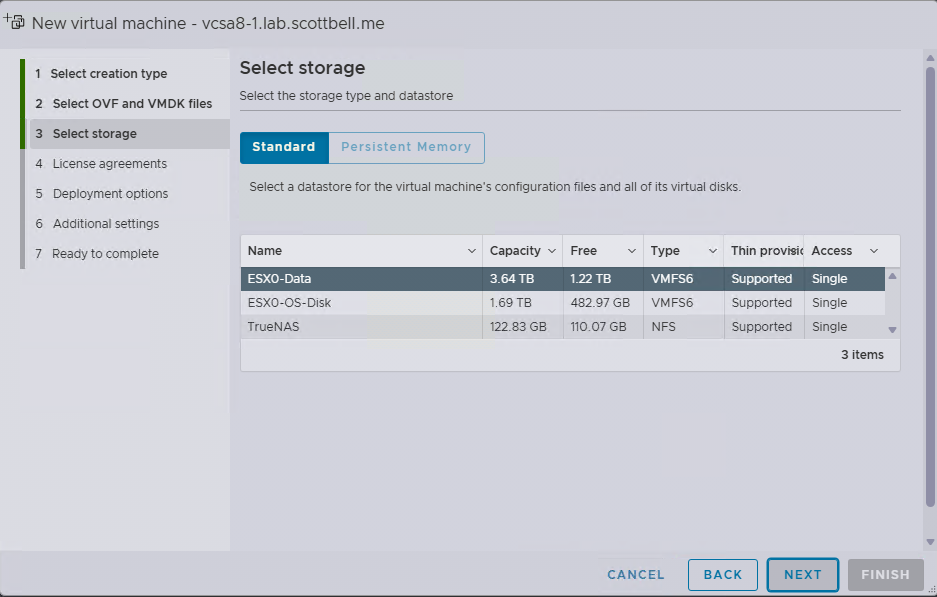
Storage Selection: Choose the datastore where the appliance will reside and click Next.

Storage Selection: Choose the datastore where the appliance will reside and click Next.
Agreements: Review the End User License Agreement and if you agree, select I agree.
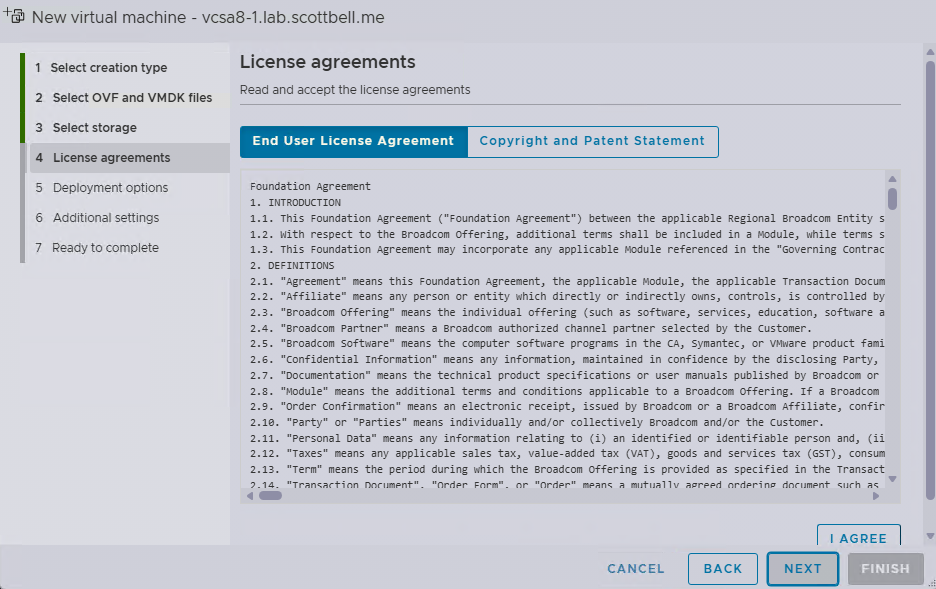
Copyright: Review the copyright statement, select I Agree, and click Next.

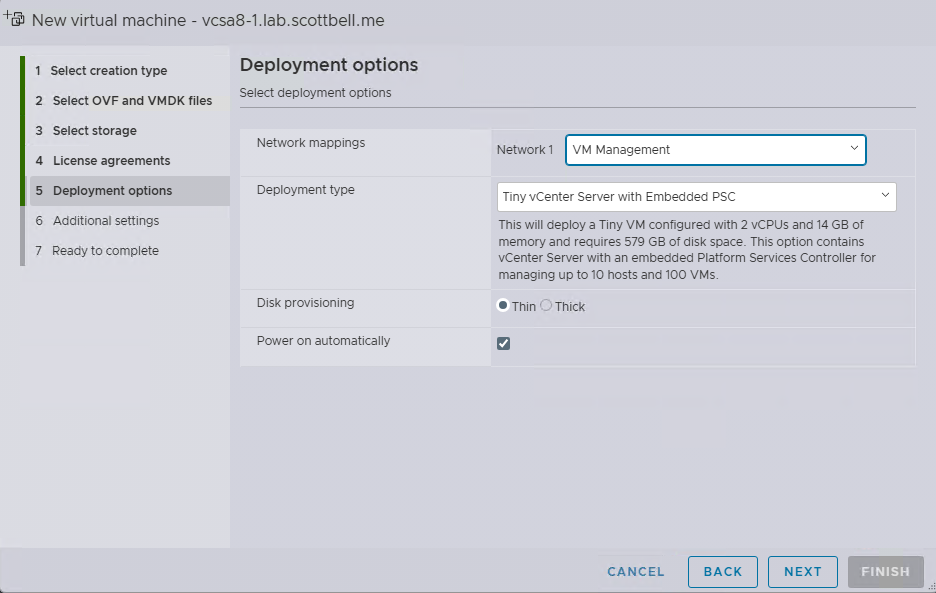
Deployment Configuration: Choose your Network, Deployment Size (e.g., Tiny for POCs), and Disk Provisioning.
Technical Note: I recommend using Thin Provisioning in unless you have a specific performance requirements.
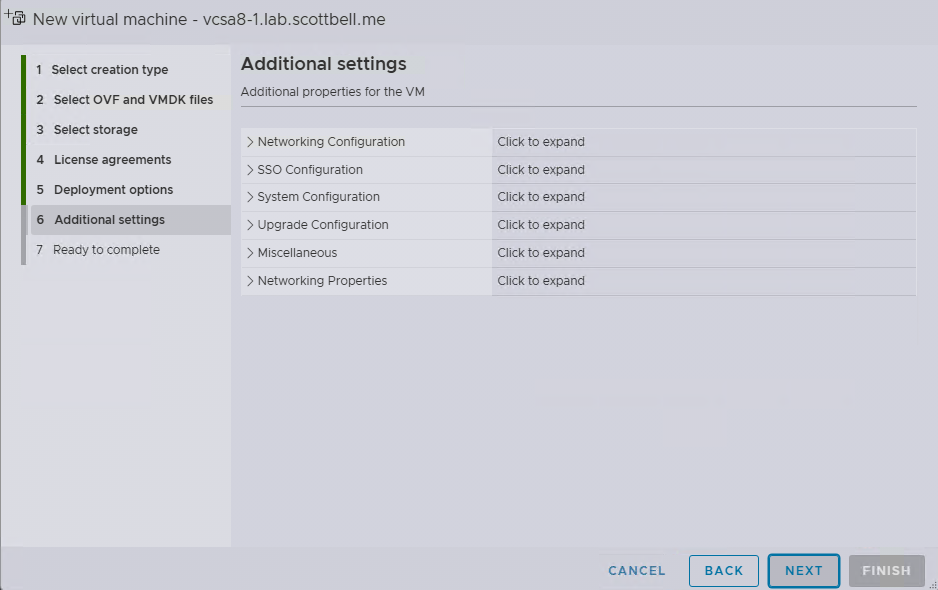
Customization: Expand each section to provide system credentials and networking details.
Best Practice: In the Networking Configuration section, ensure you use the FQDN (Fully Qualified Domain Name) for the Host Network Identity line. Using an IP address here can cause significant issues during future SSO configurations or certificate replacements.
Finalizing Stage 1
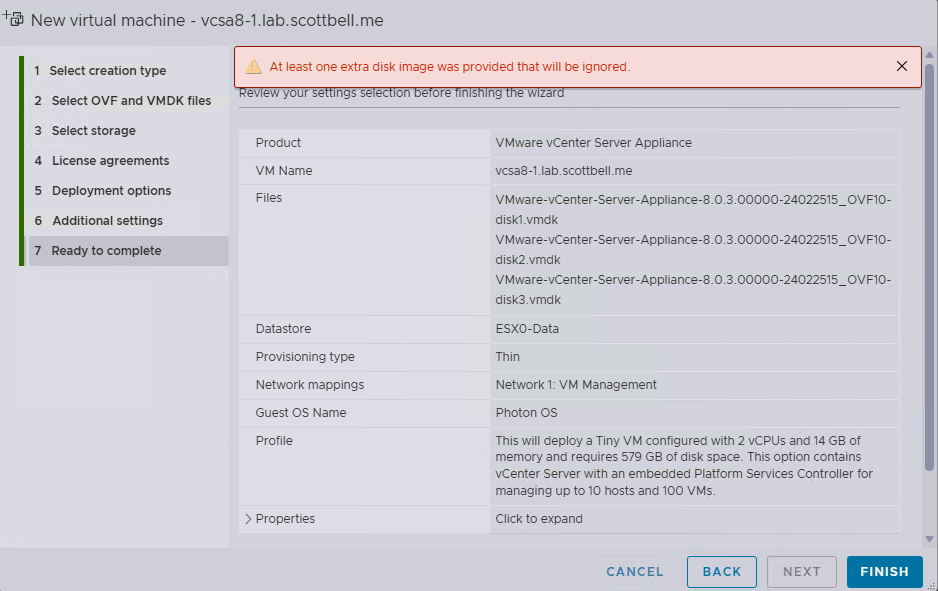
Review the summary information. You may see a notice that extra disk images are being ignored; this is normal for this deployment method. Select Finish.
Monitor the progress in the Recent Tasks list of your ESXi host.

Stage 2: Appliance Configuration (VAMI)
Once the deployment tasks are marked as Completed Successfully, allow the VM a few minutes to initialize its services.

Open your browser and navigate to the vCenter Appliance Management Interface (VAMI) at: https://<FQDN>:5480
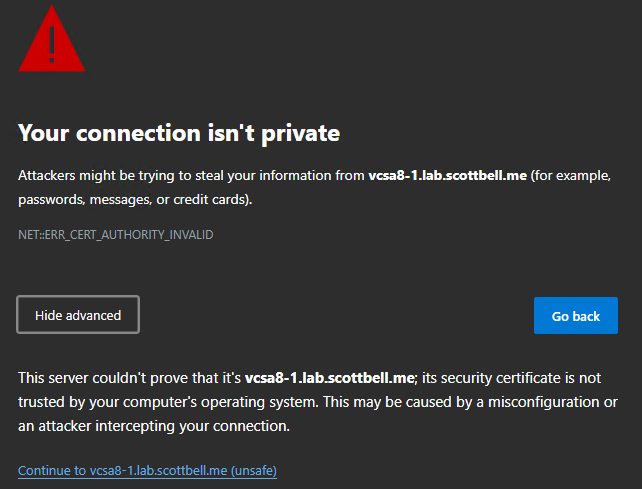
Security Notice: You will receive a certificate warning because the appliance uses a self-signed certificate. Select Continue to proceed.
Login: Use the root password you defined during the OVA deployment.

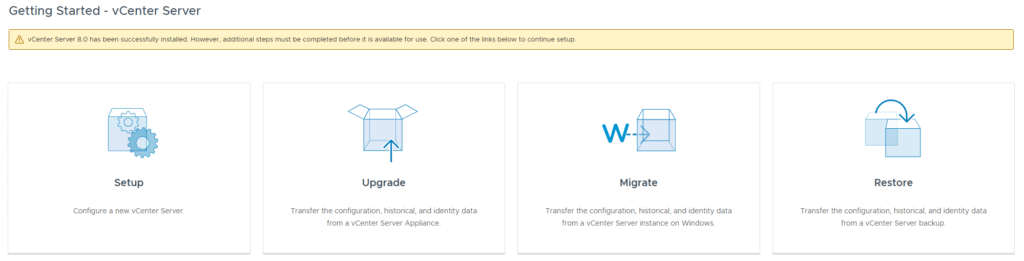
Setup: On the landing page, select Setup to begin the final configuration.
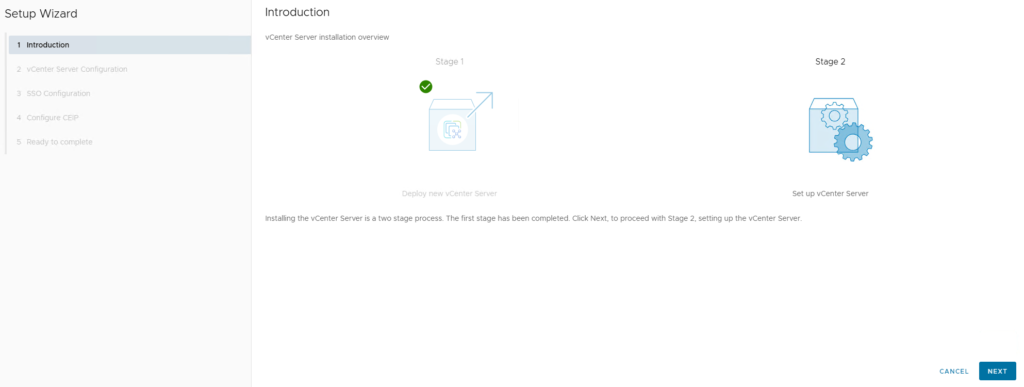
Introduction: Review the overview of Stage 2 and select Next.
Appliance Configuration: Verify your network details. You can configure NTP synchronization here; you may choose to sync with the ESXi host or point to an external NTP provider. Select Next.

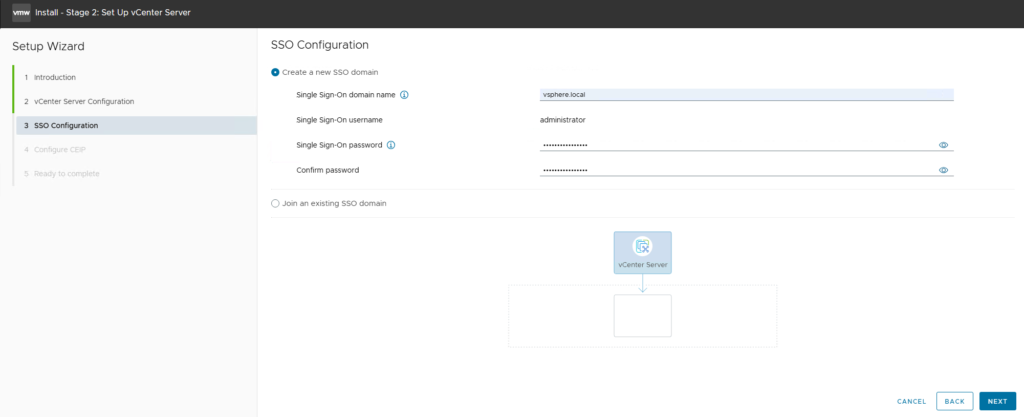
SSO Configuration: Define your Single Sign-On domain.
Note: You must manually type out the domain name (e.g., vsphere.local). I recommend staying with the default unless your organization’s architectural requirements mandate a custom domain.
Administrator Credentials: Set the password for the administrator@vsphere.local account. Select Next.
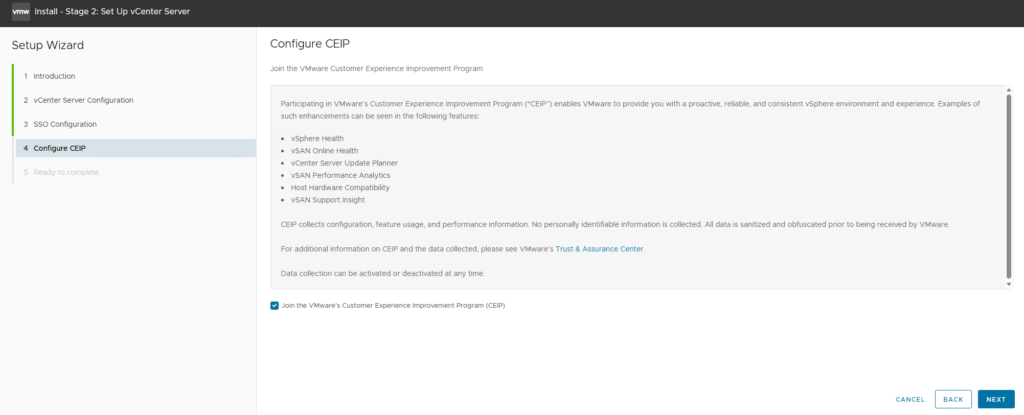
CEIP: Choose whether to join the Customer Experience Improvement Program and select Next.
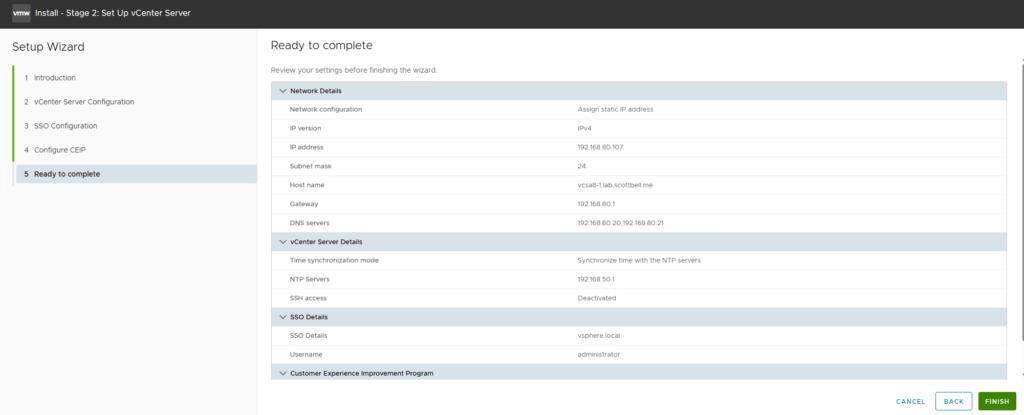
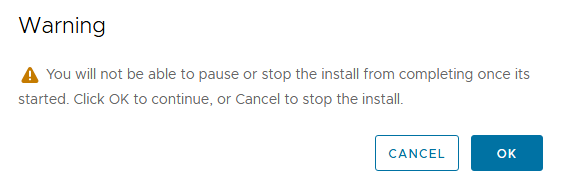
Review and Finish: Confirm the configuration is correct and click Finish. A warning will appear stating that the process cannot be halted once it starts; click OK.
A warning will appear stating that the process cannot be halted once it starts; click OK.
Verification and Login
A progress window will track the final initialization of vCenter services.

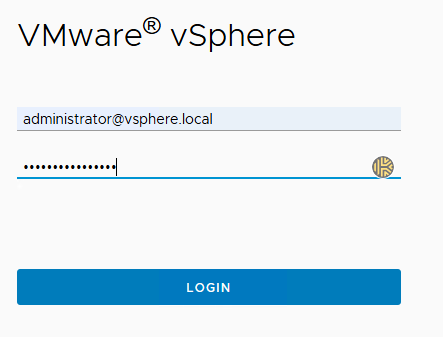
Once complete, navigate to your new vCenter UI: https://<FQDN>/ui
Log in using your administrator@vsphere.local credentials.
You are now ready to begin managing your environment through your new vCenter 8 instance.
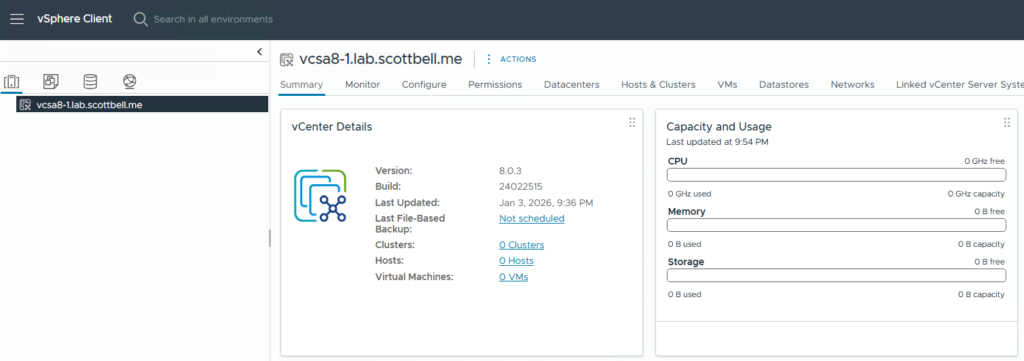
Congrats on your new vCenter. Have a good one.
Home Lab, Homelab, vCenter 8, VMware, vSphere 8