Deploy vCenter 8 (ISO-Executable)
March 2, 2026 | Homelab, vCenter 8, VMware, vSphere 8 | No Comments
Greetings! Today we will be deploying vCenter Server Appliance (VCSA) 8. This is the first of two articles covering VCSA installation:The UI Installer Method (This Article): Using the standard executable launcher from the ISO.The OVA Method: For environments where security policies prevent running external executables.
Phase 1: Mounting the Installation Media

To begin, navigate to the directory containing your VCSA ISO. Right-click the file and select Mount.
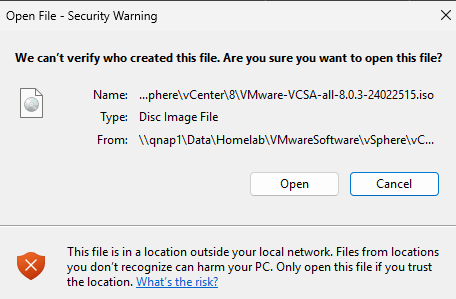
You may receive a security confirmation window; select Open to proceed.
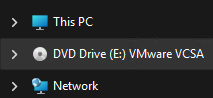
File Explorer will now display the mounted ISO as a DVD Drive.
Phase 2: Launching the Installer
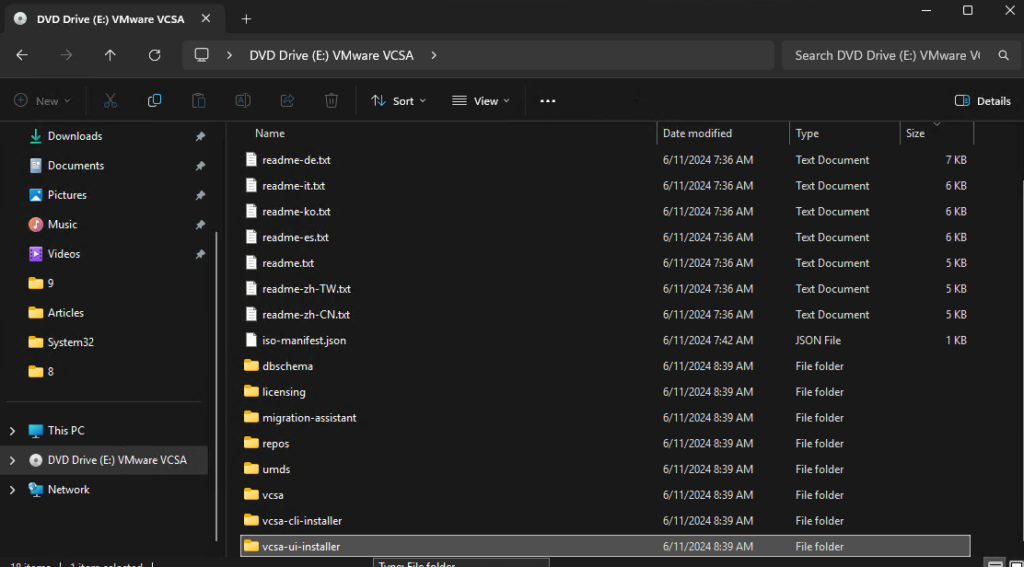
Open the vcsa-ui-installer folder.
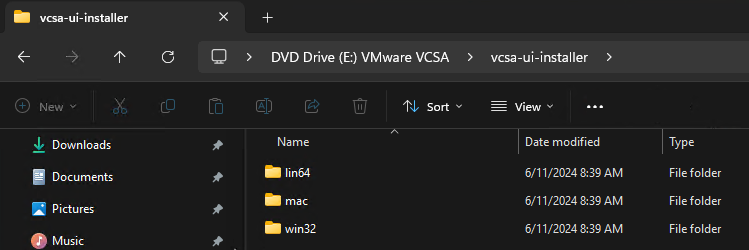
Navigate to the folder corresponding to your OS. In this example, we are using Windows, so we will enter the win32 directory.
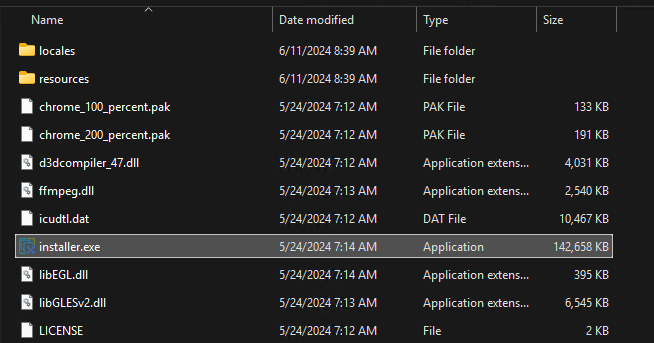
Locate and double-click installer.exe to start the wizard.
Phase 3: Stage 1 – Appliance Deployment
Stage 1 deploys the VCSA virtual machine to your target ESXi host.
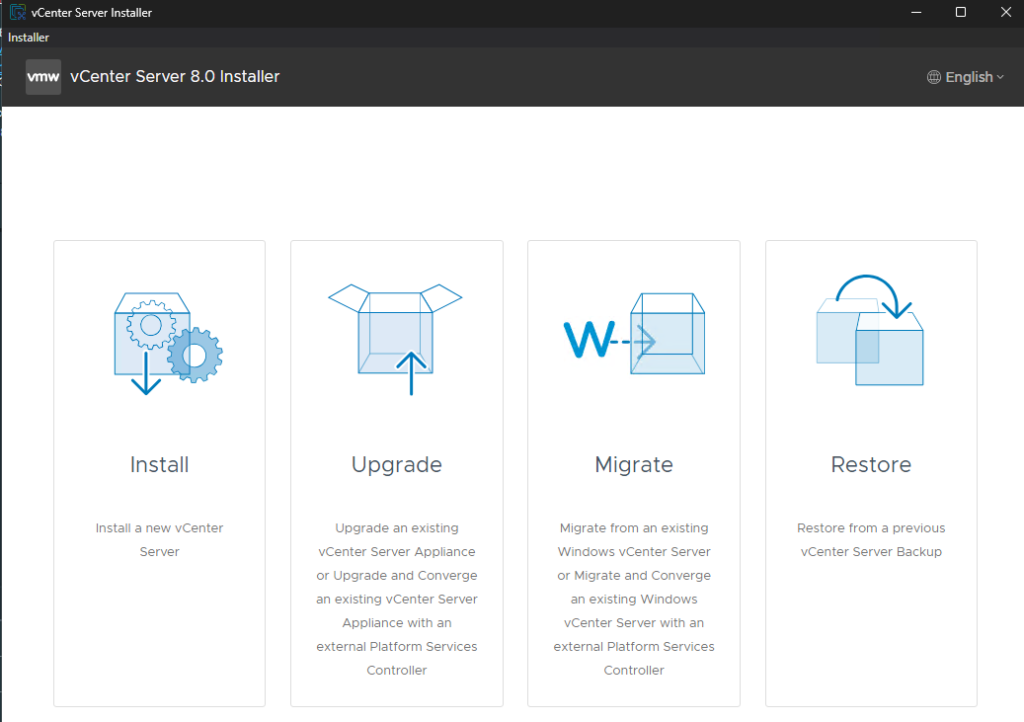
On the introduction screen, select Install.
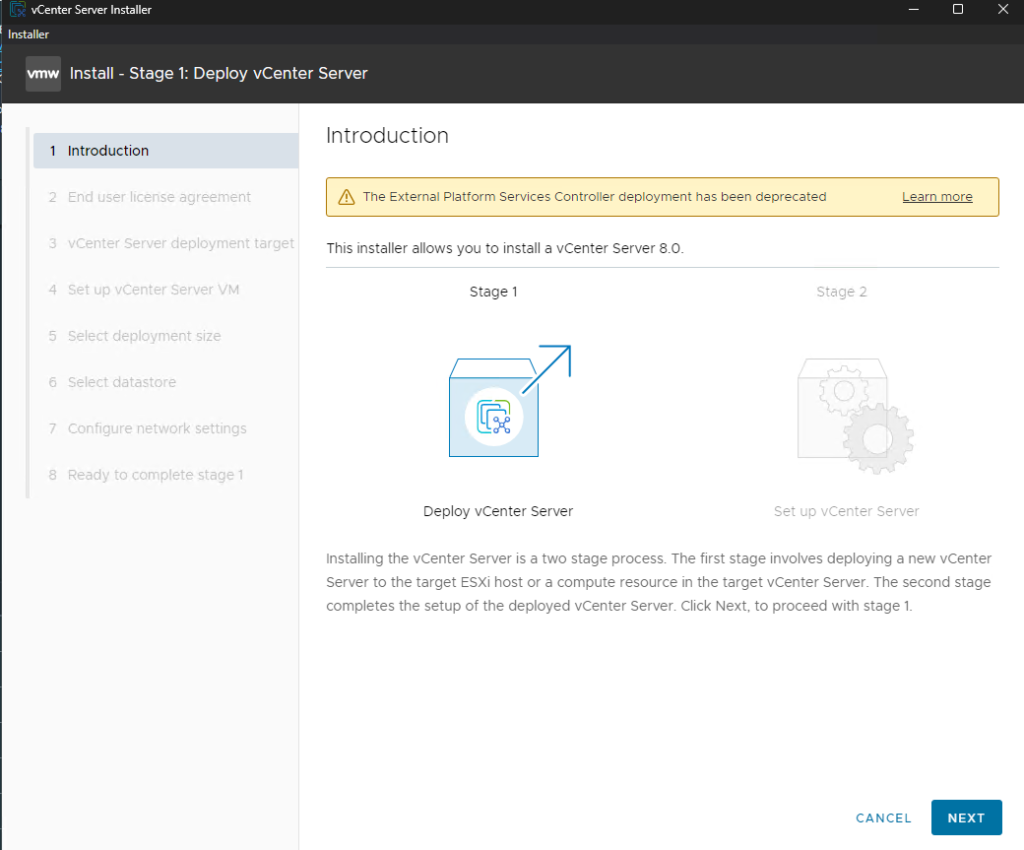
Review the deployment process overview and click Next.
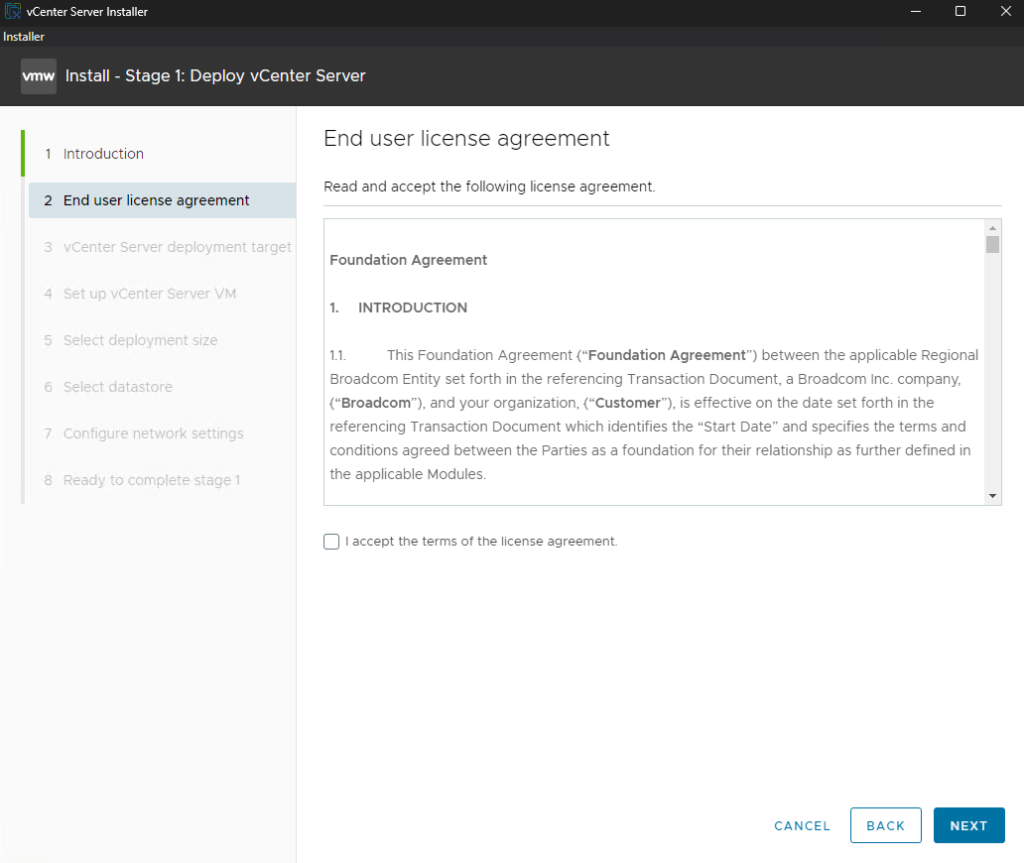
Review the license agreement and accept if you agree. Then Select Next

Target Selection: Enter the FQDN or IP of the ESXi host where the vCenter VM will reside.
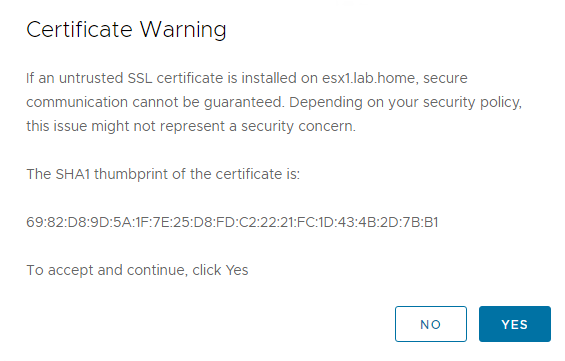
Certificate Warning: You will likely see an SSL thumbprint warning. Verify it matches your host and select Yes.
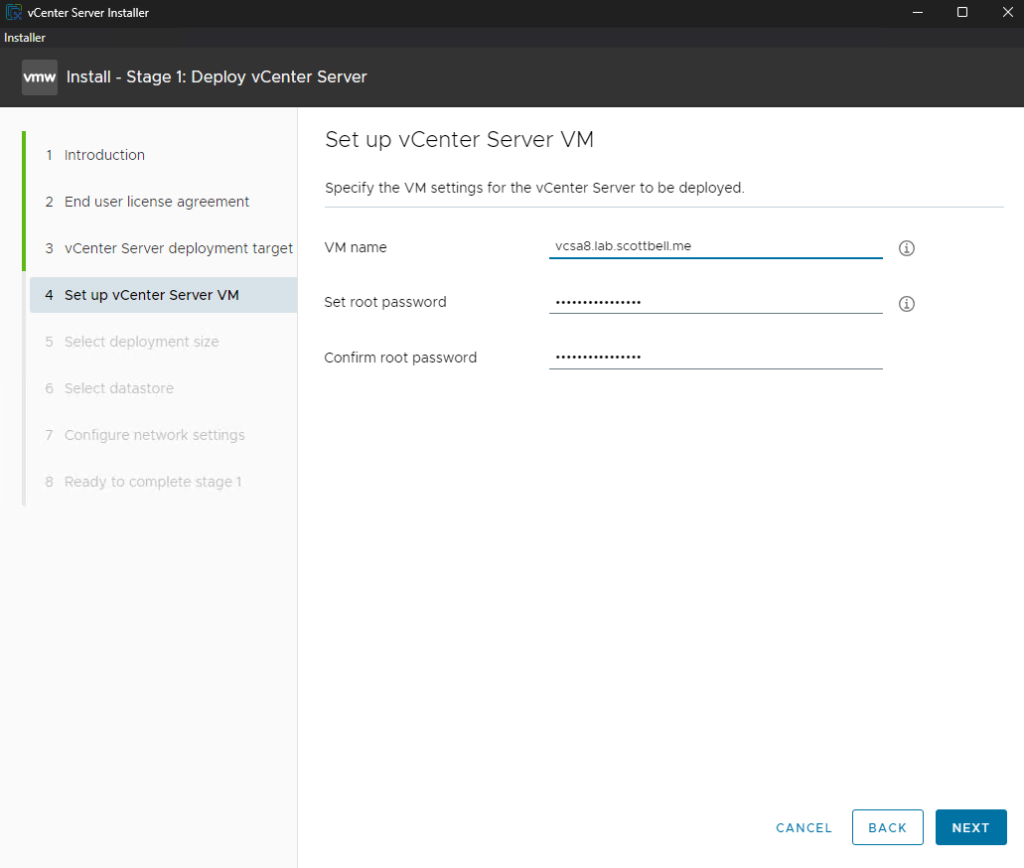
Appliance Naming: Enter the VM name for the vCenter and set a secure root password.
Note: Always use the FQDN for the system name. Avoid using short names or IPs here, as doing so often causes issues later when replacing SSL certificates or configuring SSO.
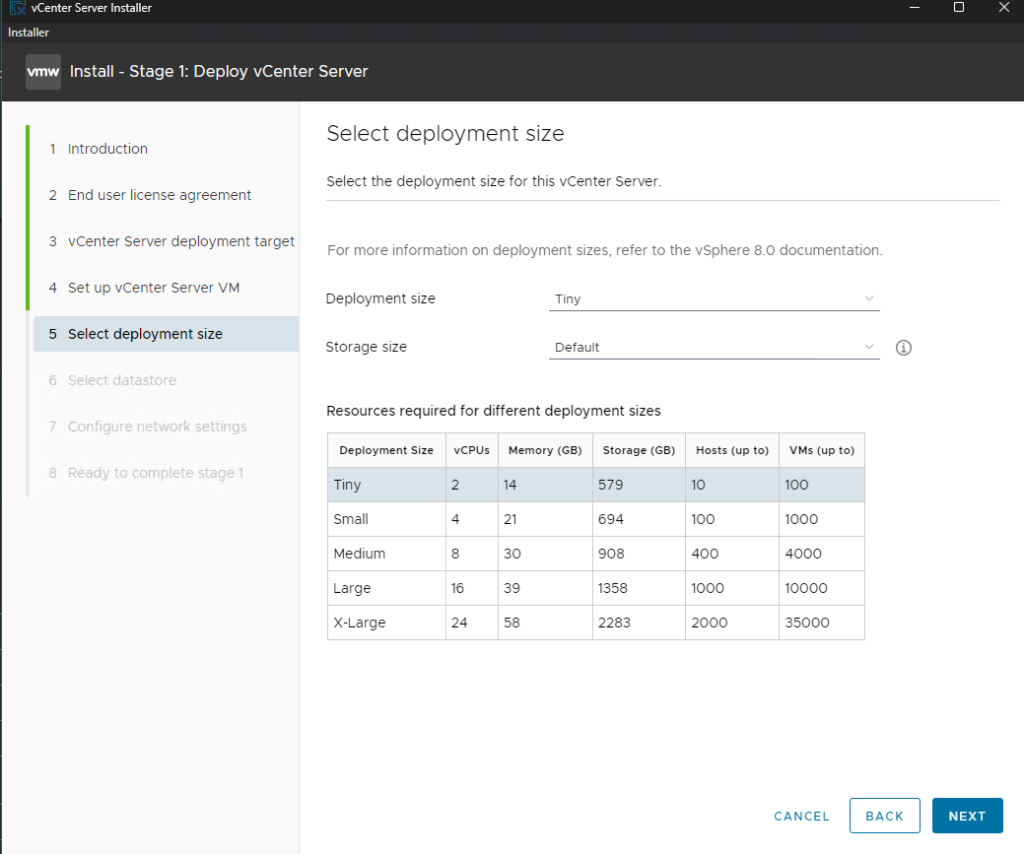
Sizing: Select the deployment size that fits your environment. For this POC, we are using Tiny for the deployment size and Default for storage.
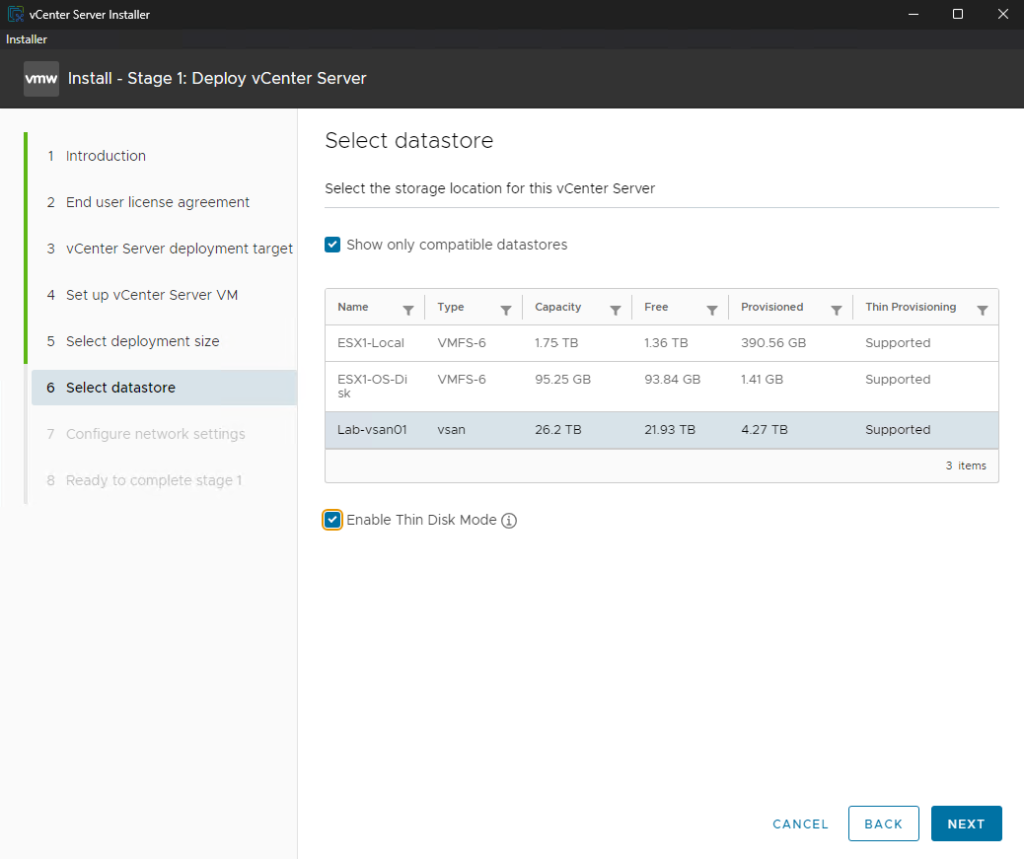
Storage: Select your target datastore. I recommend checking the Enable Thin Disk Mode box to save space in your environment.
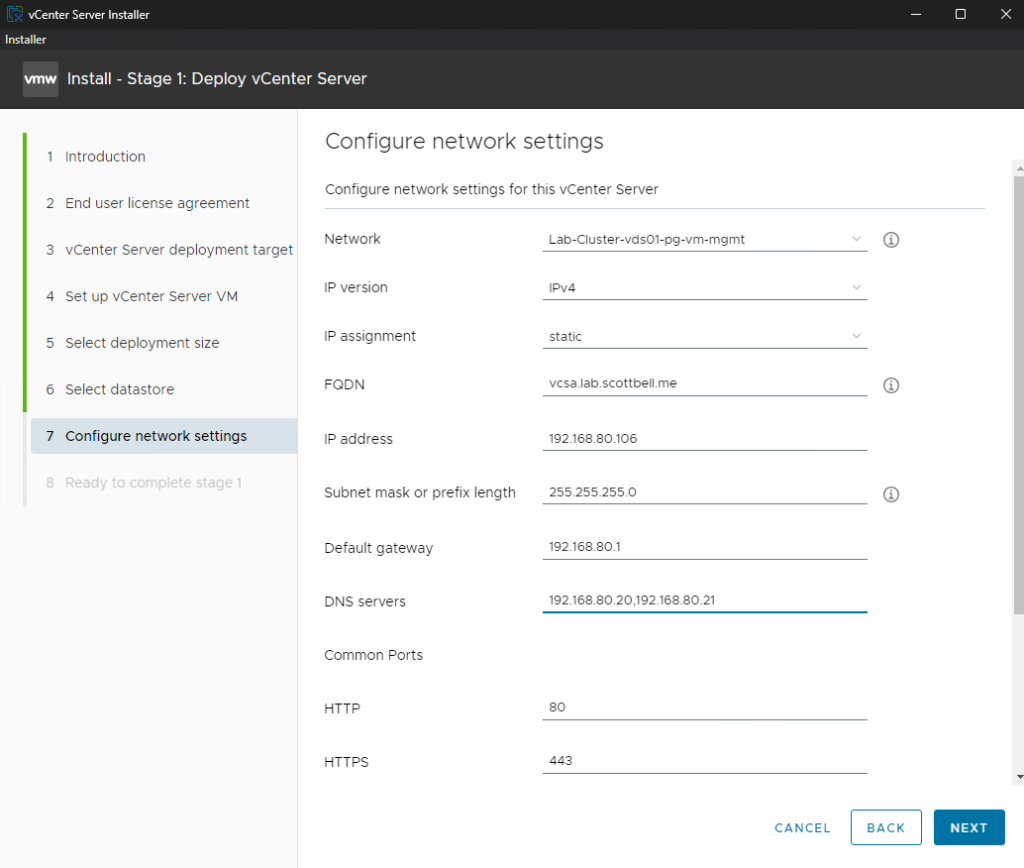
Network Settings: Enter your static IP information, Subnet, Gateway, and DNS.

Review: Confirm your settings and click Finish.
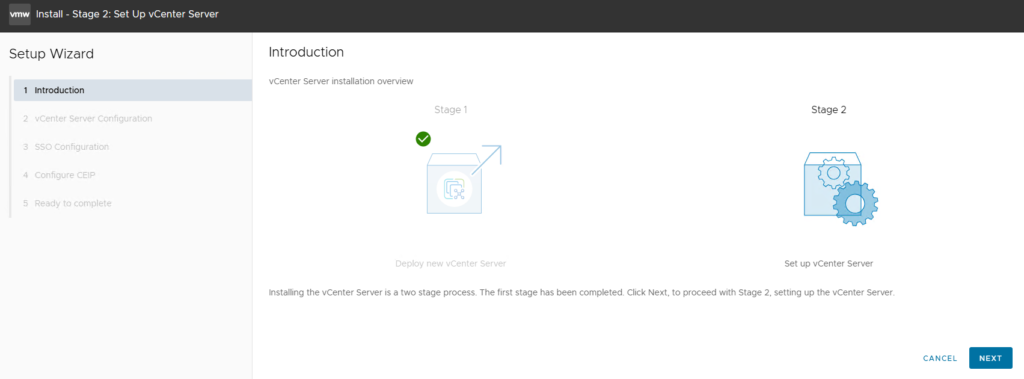
Phase 4: Stage 2 – Instance Configuration
Once Stage 1 completes, the VM is deployed and powered on. Now we must configure the internal vCenter services.
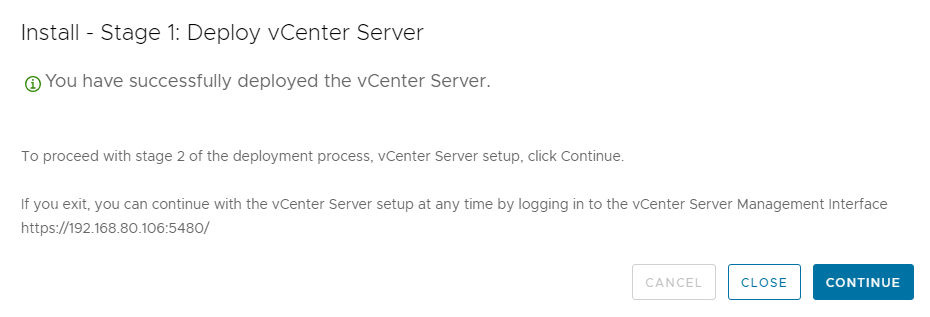
You can proceed directly from the installer by clicking Continue, or you can navigate to the VAMI (vCenter Appliance Management Interface) via your browser (https://appliance-IP:5480). I will use the VAMI for this guide.
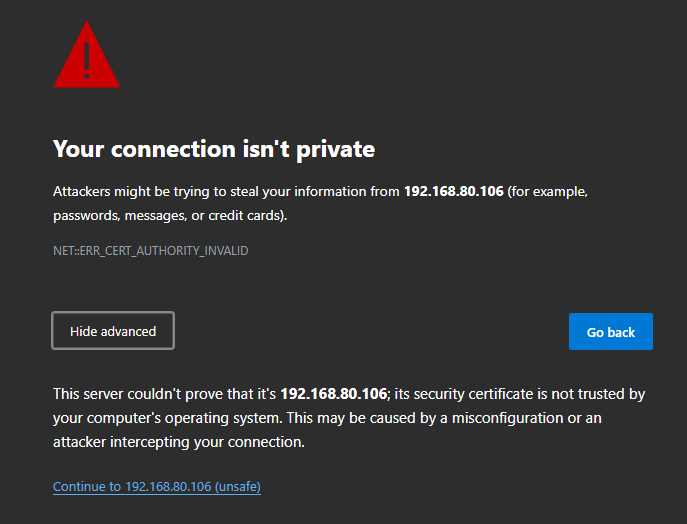
You may receive a security confirmation window; select Continue to proceed.
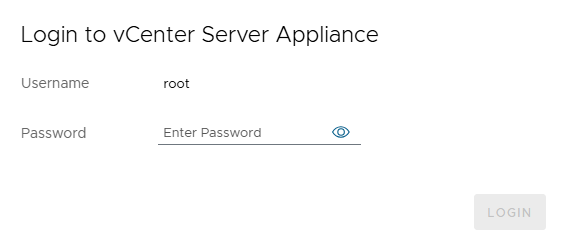
Login: Access the VAMI and log in using the root credentials created in Stage 1.
Setup: On the main landing page, select Setup.
Review the information and then select Next
Appliance Configuration: Review the networking settings. Here, you can also configure NTP synchronization. While some prefer to do this post-install, I recommend setting it now to ensure SSO tokens don’t fail due to time drift. Select Next
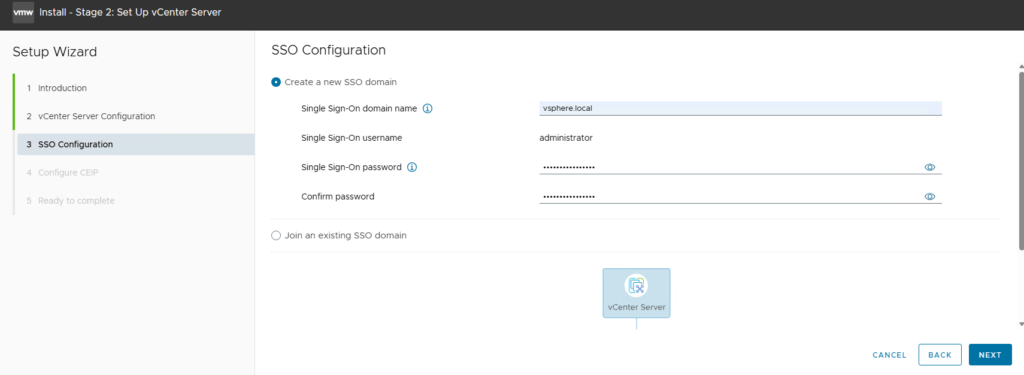
SSO Configuration: Set your SSO Domain (default is vsphere.local) and create the administrator password.
Pro-Tip: You must explicitly type out vsphere.local in the domain field, even if it appears as “grayed out” filler text.
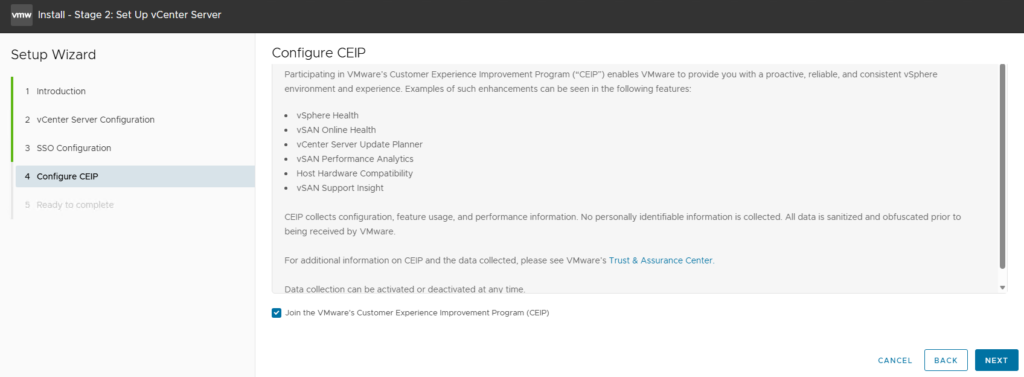
CEIP: Choose whether to join the Customer Experience Improvement Program and click Next.
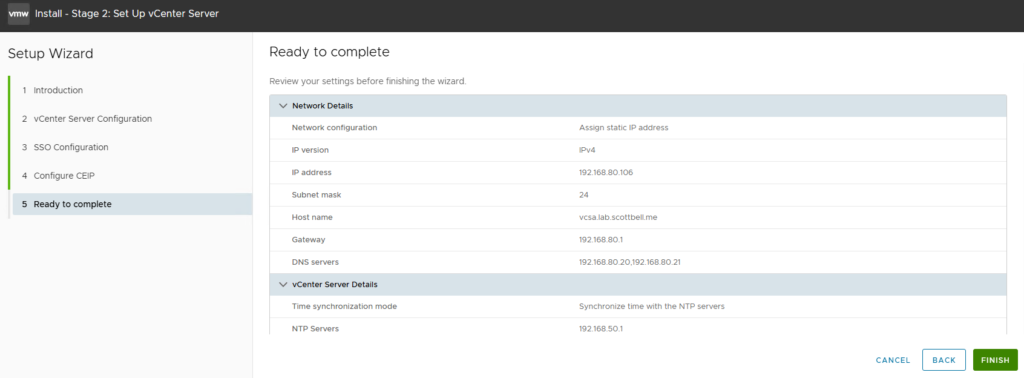
Finalize: Review the summary. Once you click Finish, the configuration cannot be stopped.
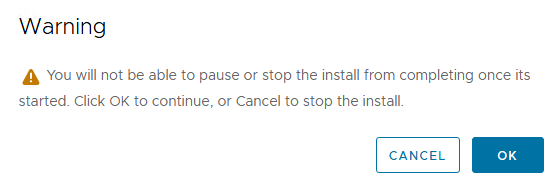
You will get a warning that its final and not able to be stopped. If your ok with that, select OK
Phase 5: Verification

The installer will now configure the SSO domain and start the vCenter services.
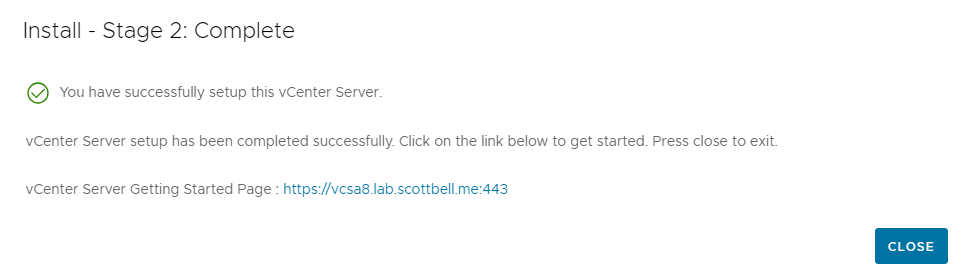
Once completed, you will see a success message. You can now access the vSphere Client.
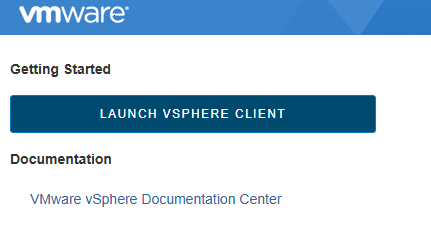
Click Launch vSphere Client.
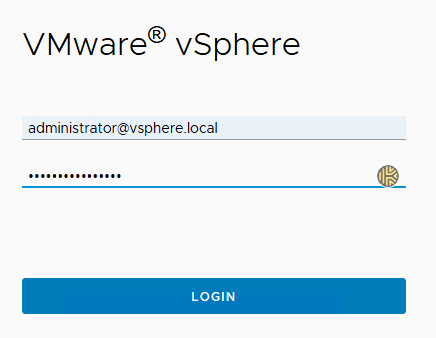
Login with administrator@vsphere.local and your new SSO password.
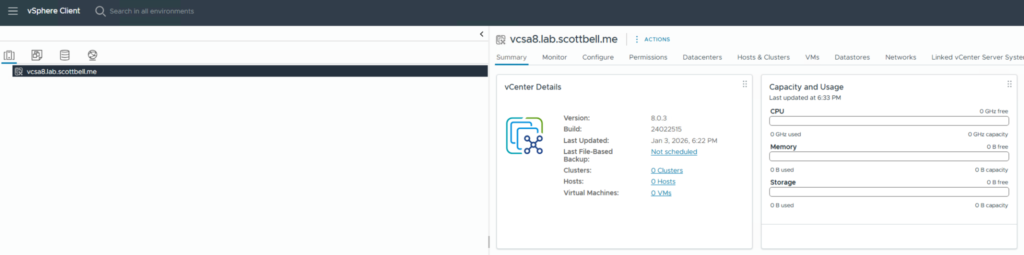
Success: You are now logged into your new vCenter 8 instance.
Congrats and have a good one.
Home Lab, Homelab, vCenter 8, VMware, vSphere 8