Deploy vCenter 7 (ISO)
March 16, 2026 | Homelab, vCenter 7, VMware, vSphere 7 | No Comments
Greetings! Today we will be deploying vCenter Server Appliance (VCSA) 7. This is part of a series covering vCenter installation; this article focuses on using the standard ISO and its built-in executable launcher.
Mounting the Installation Media

Begin by navigating to the folder containing your VCSA ISO. Right-click the file and select Mount.
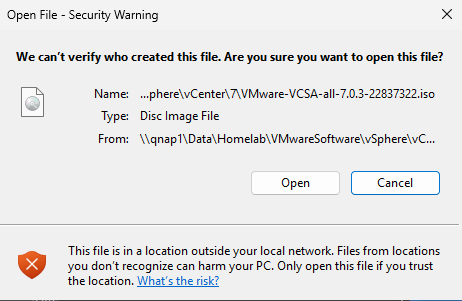
A confirmation window will appear before mounting. Select Open to proceed.
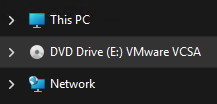
File Explorer will now display a new DVD Drive containing the mounted ISO contents.
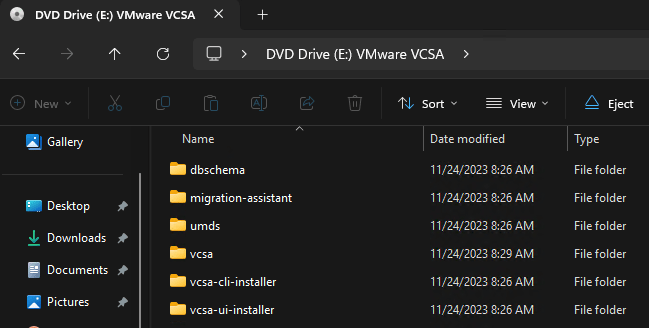
Open the vcsa-ui-installer folder.
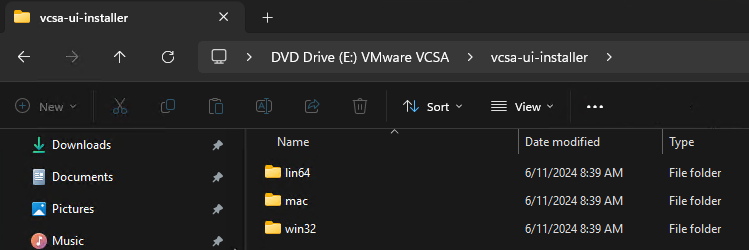
Enter the folder corresponding to your operating system. For a Windows environment, navigate into the win32 directory.
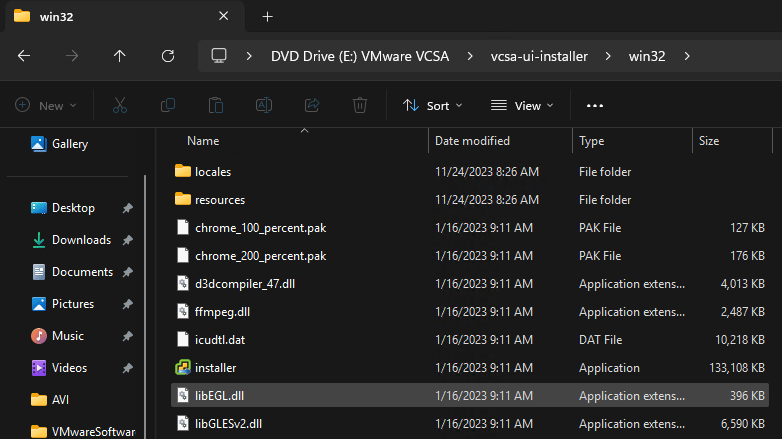
Locate and double-click installer.exe to launch the deployment wizard.
Stage 1: Deploying the Appliance
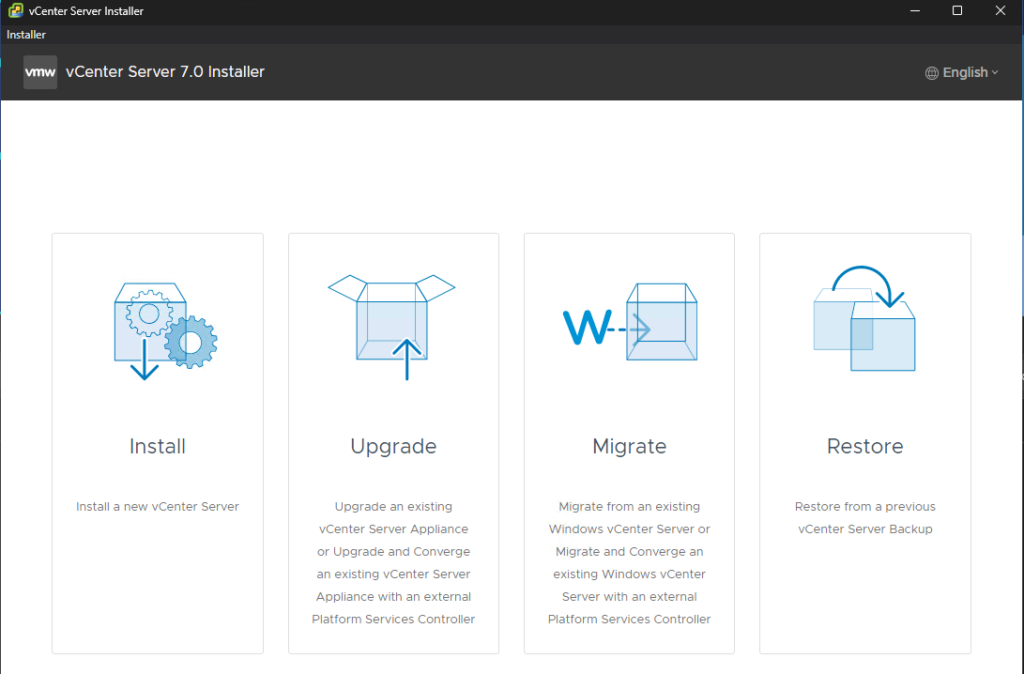
Since this is a fresh deployment, select the Install option.
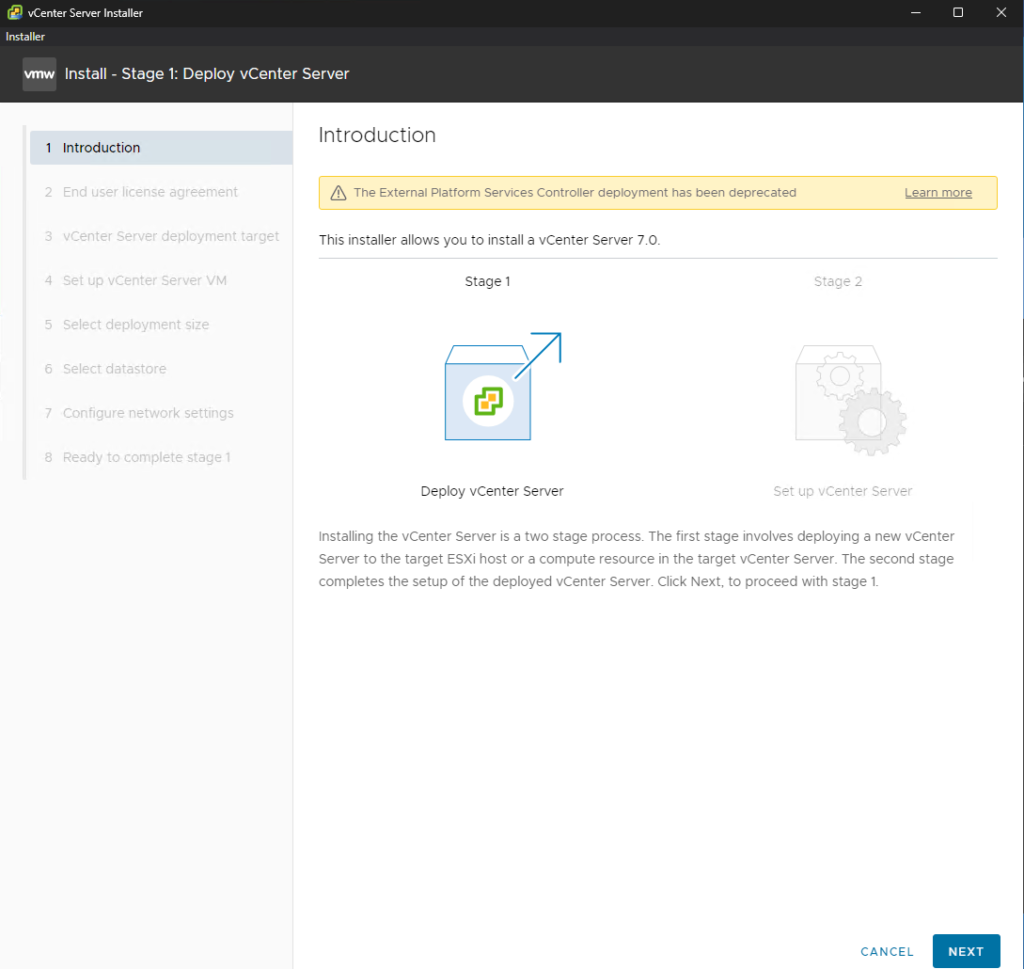
Introduction: Review the overview of the two-stage installation process and select Next.
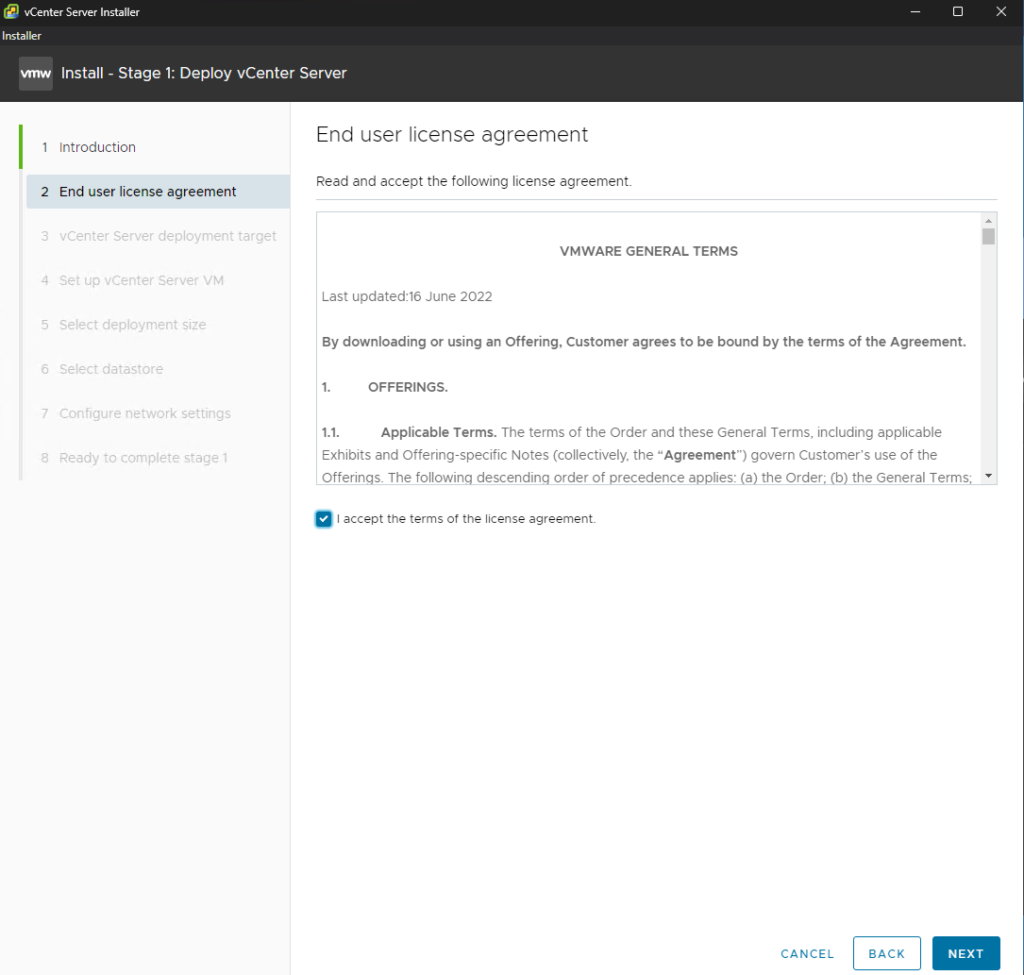
EULA: Review the license agreement, check the box to accept the terms, and select Next.
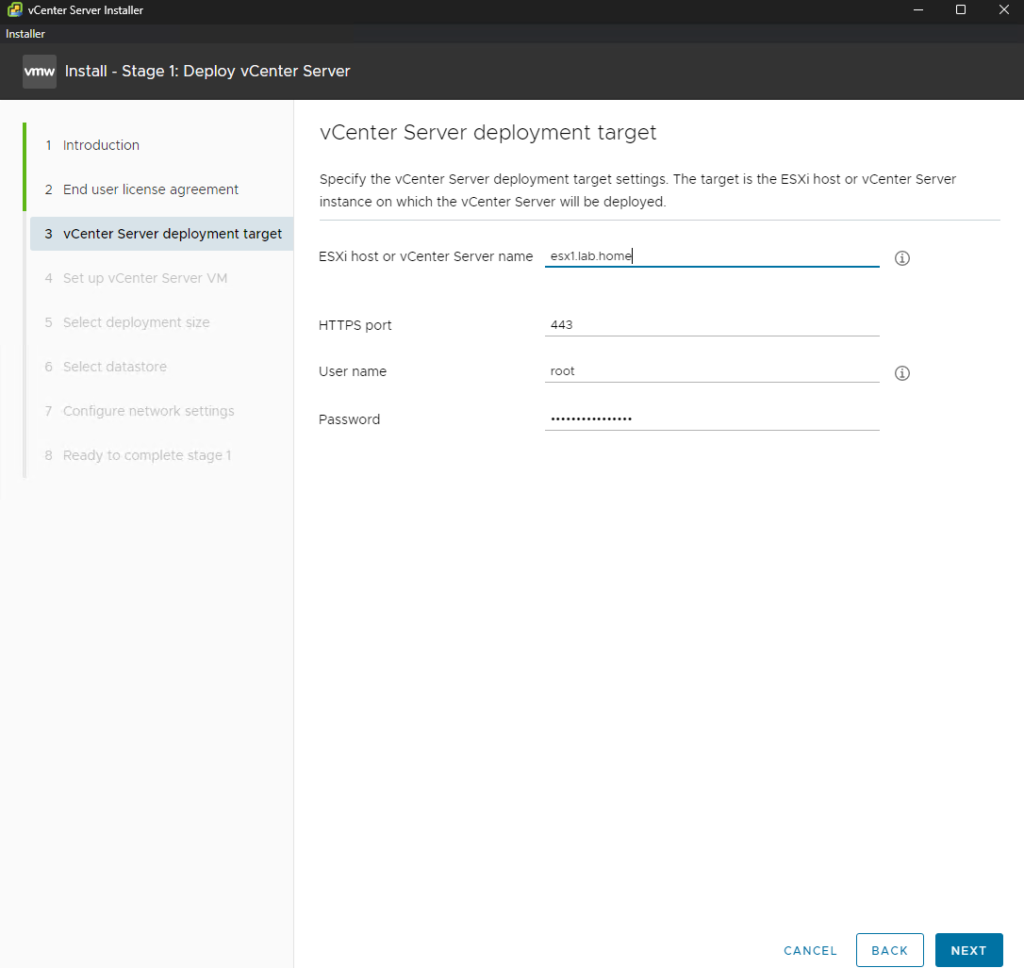
Appliance Deployment Target: Enter the FQDN or IP address of the ESXi host or vCenter Server that will manage the new appliance.
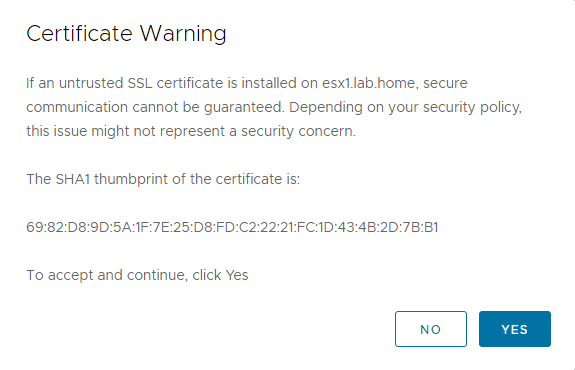
Certificate Verification: You will be prompted to verify the host’s SSL thumbprint. Confirm it is the correct host and select Yes.
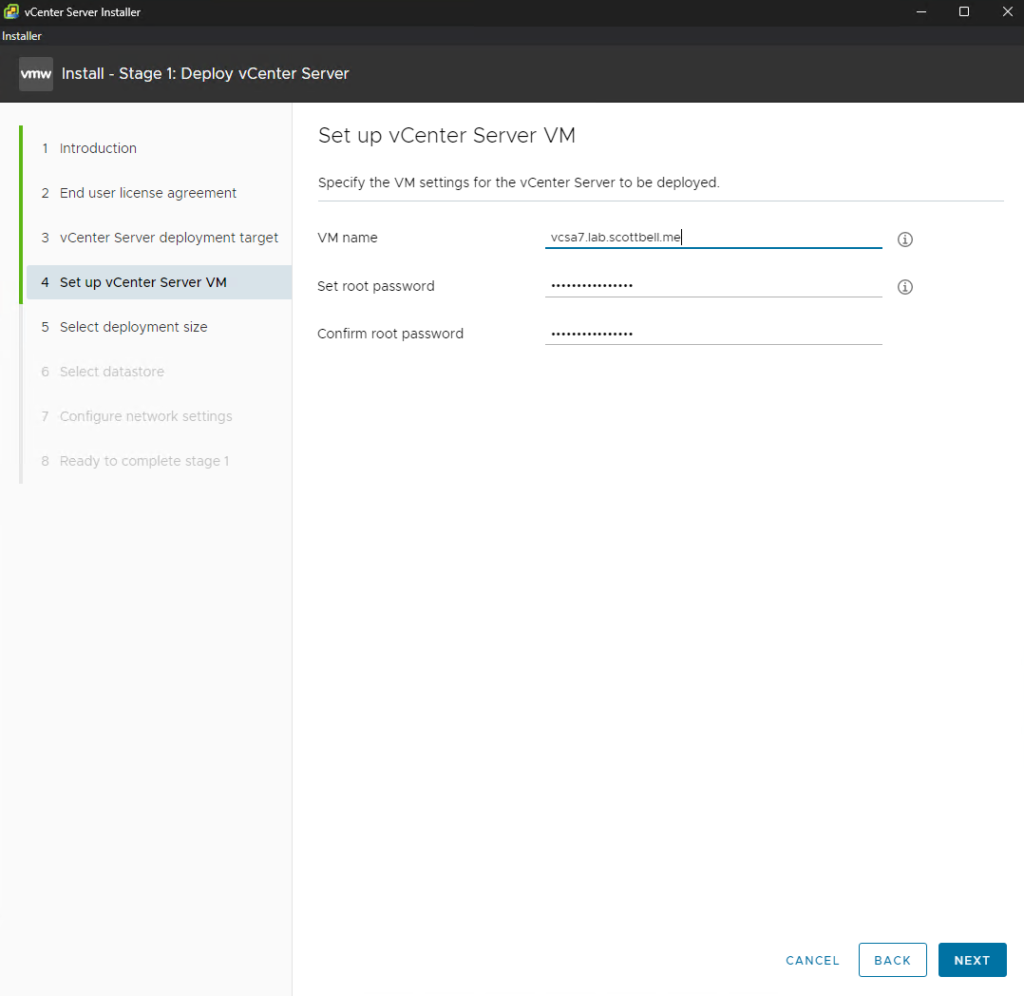
Appliance VM Settings: Provide a VM name for the appliance and set a secure root password.
Technical Note: Always use the FQDN (Fully Qualified Domain Name) here. Using a shortname or IP address can lead to significant issues later, particularly when installing custom SSL certificates or configuring SSO identity sources.
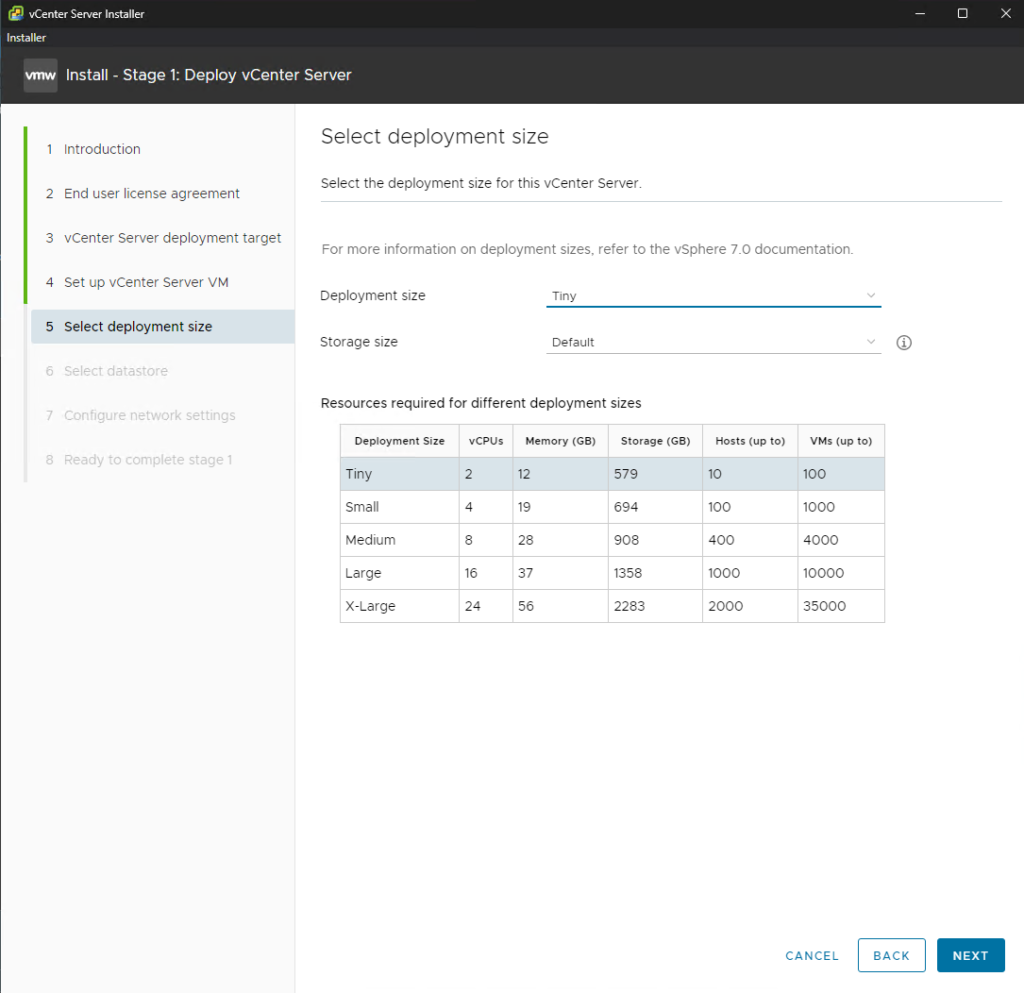
Deployment Size: Choose the size appropriate for your environment. For this POC, we are using Tiny for the deployment size and Default for storage.
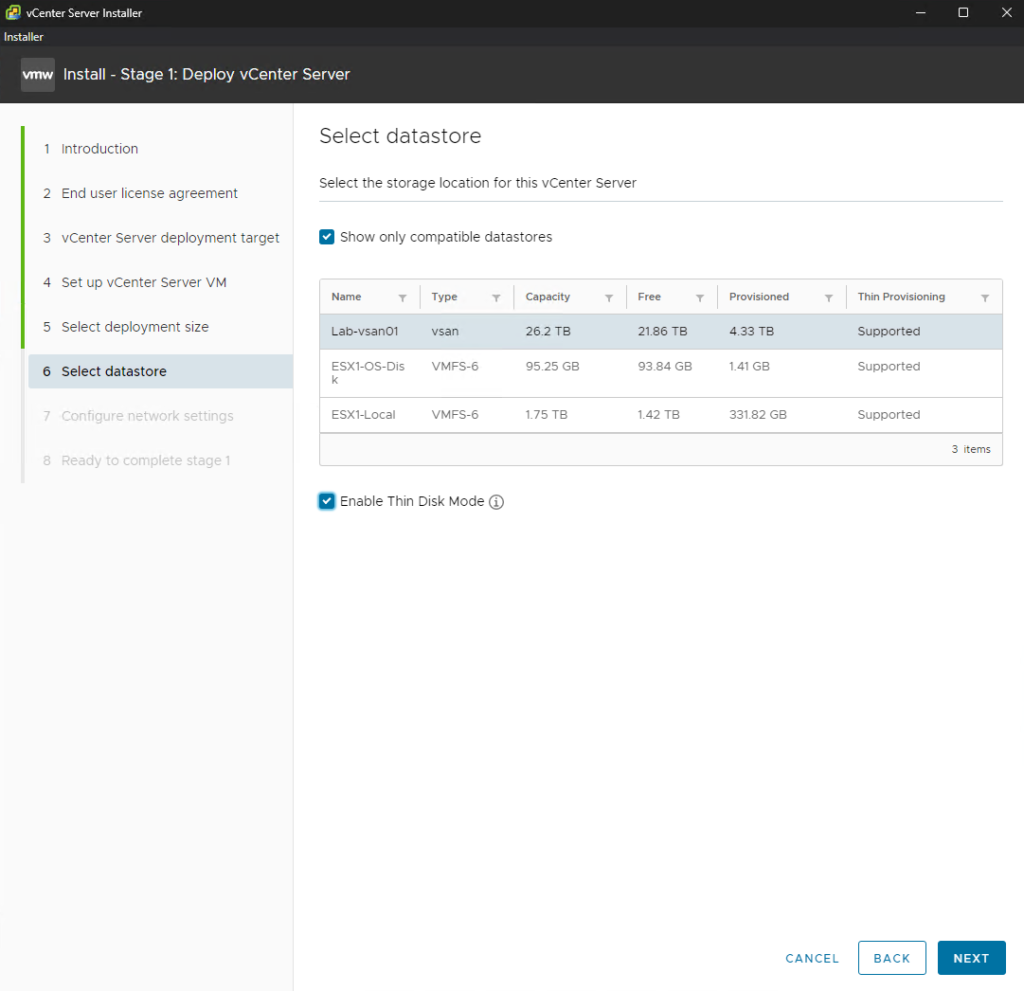
Select Datastore: Choose the storage where the VM will reside. If you are using an existing VCF 9 infrastructure, select that vSAN instance.
Best Practice: Enable Thin Disk Mode unless you have a specific performance requirement for thick provisioning.
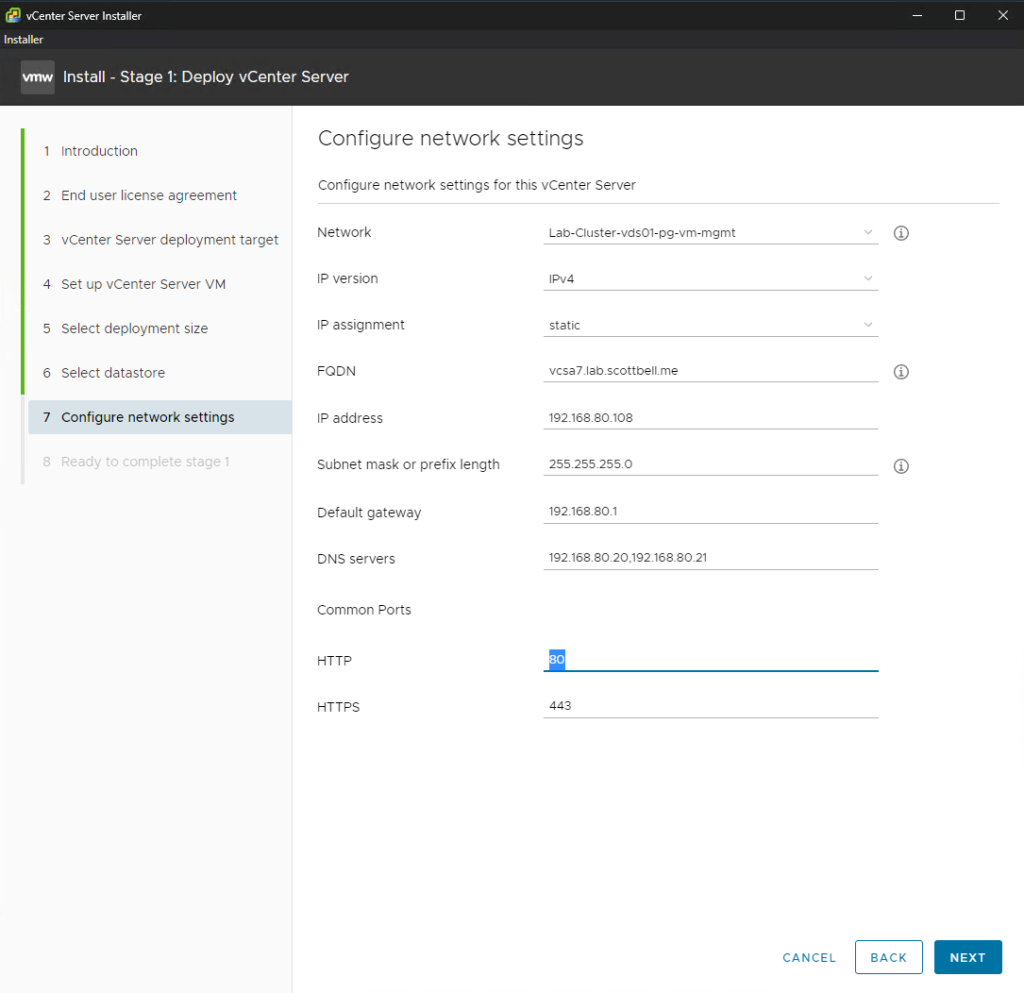
Network Settings: Input your static networking information, including the IP address, subnet mask, gateway, and DNS servers.
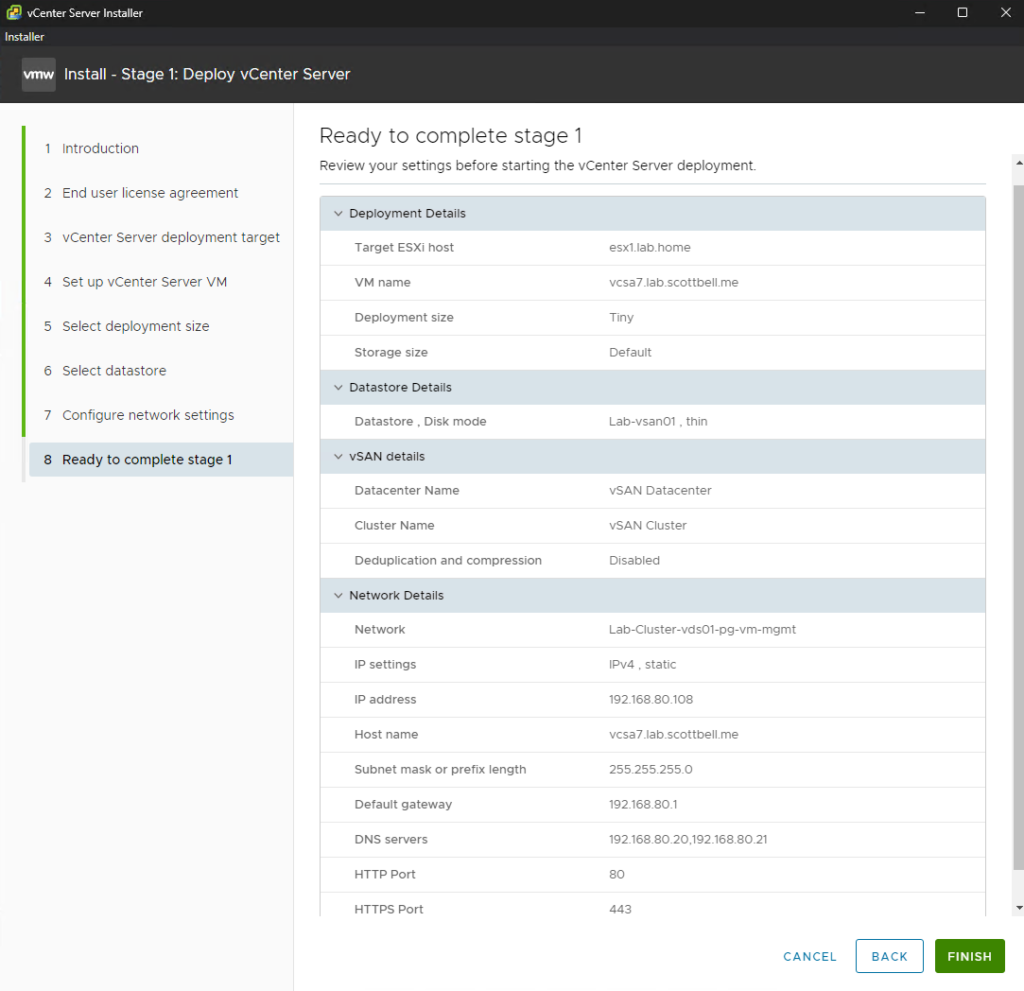
Review: Verify all summary information and select Finish.
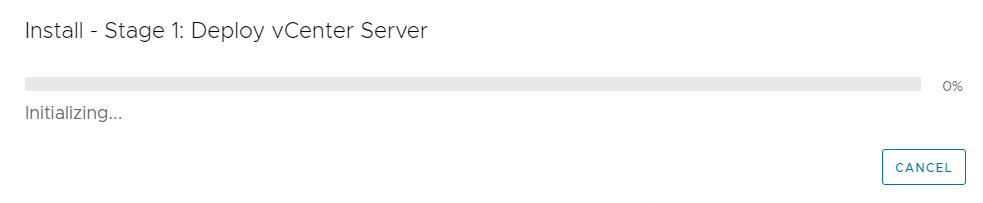
The installer will now begin Stage 1 and deploy the virtual machine to your target host.
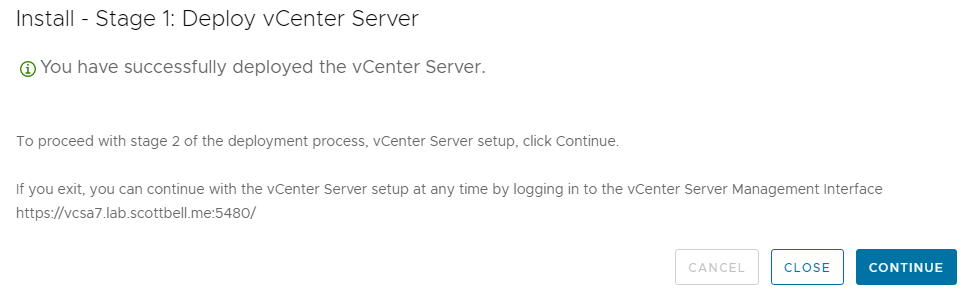
Once Stage 1 is complete, you will see a success screen. You can proceed directly from the installer app by selecting Continue.
Stage 2: Appliance Configuration
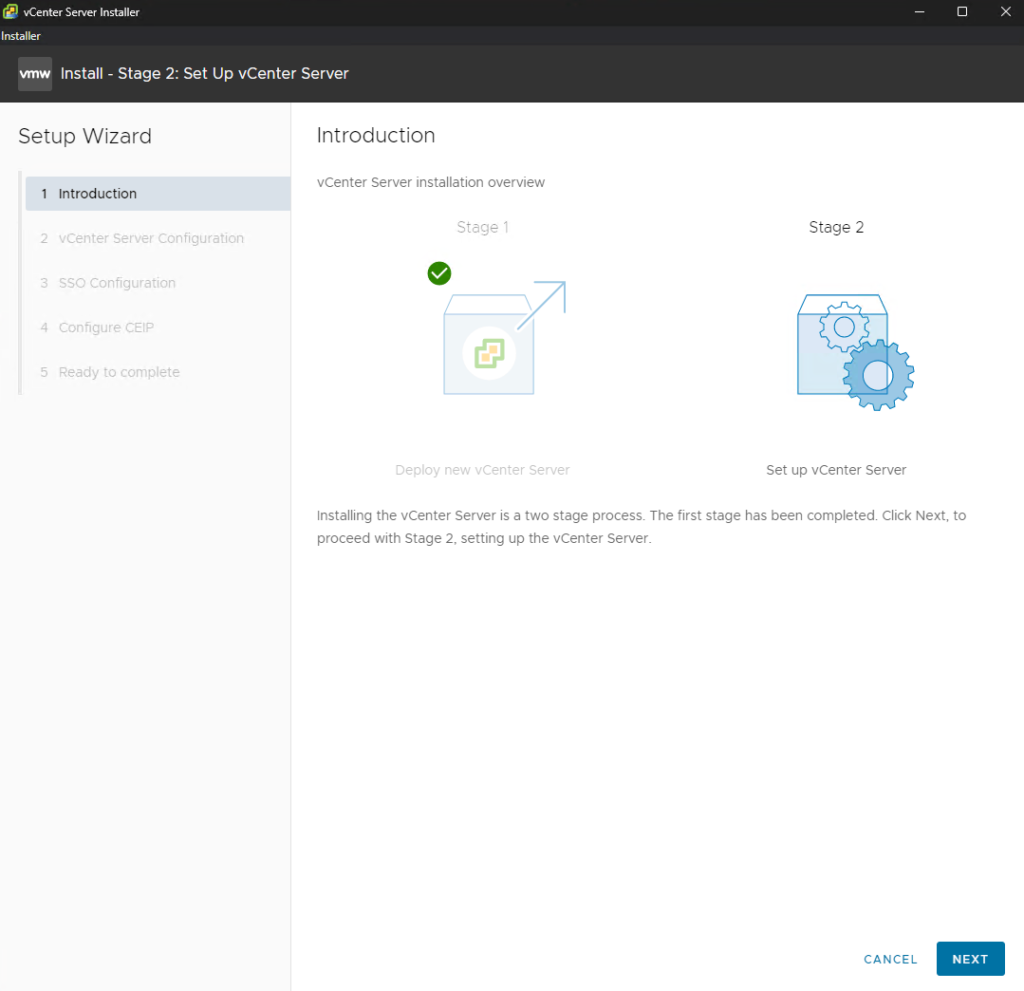
Introduction: Review the Stage 2 summary and select Next.
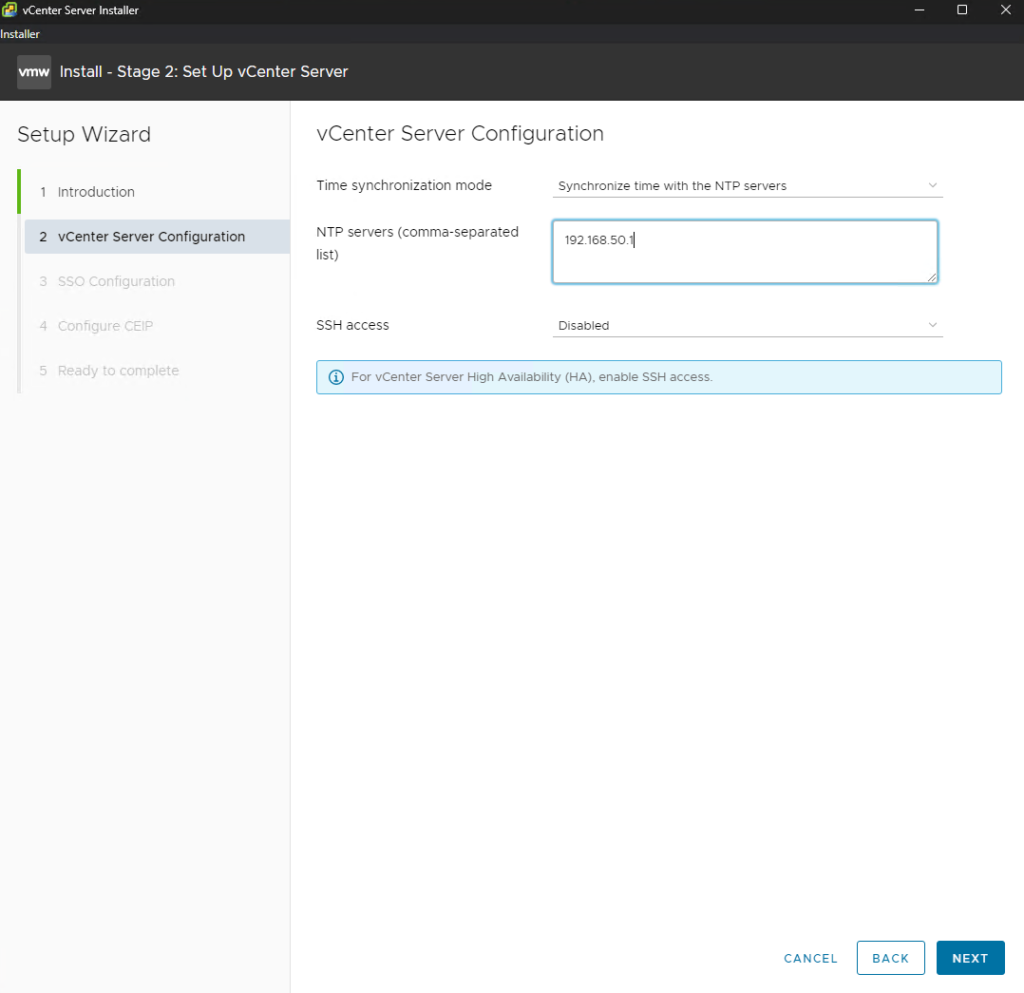
Appliance Configuration: Verify your settings. You have the option to configure NTP synchronization here. While some administrators prefer to set this post-install, it is recommended to enable it now to ensure there is no time drift during the SSO configuration.
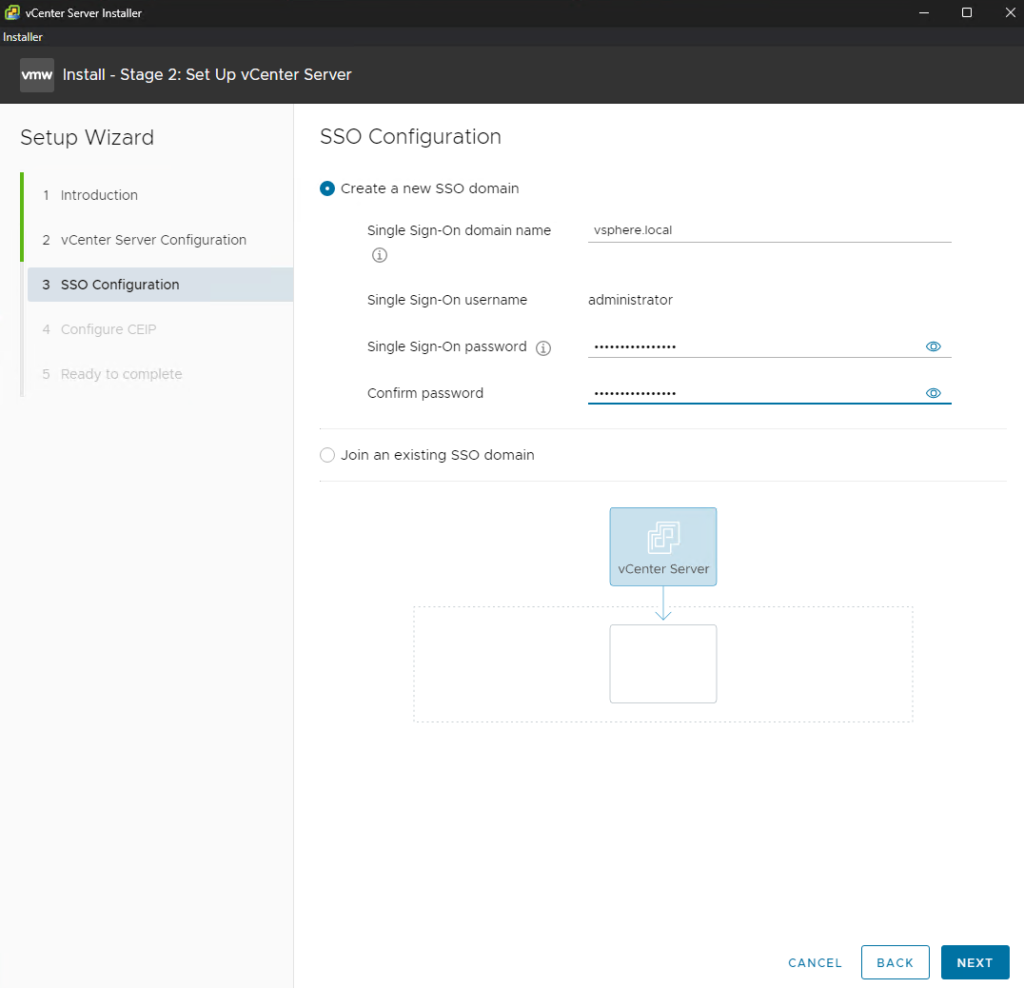
SSO Settings: Create your SSO password for the administrator@vsphere.local account.
Note: You must manually type out the Single Sign-On domain name (vsphere.local). The field may show it as an example, but it is not filled in by default.
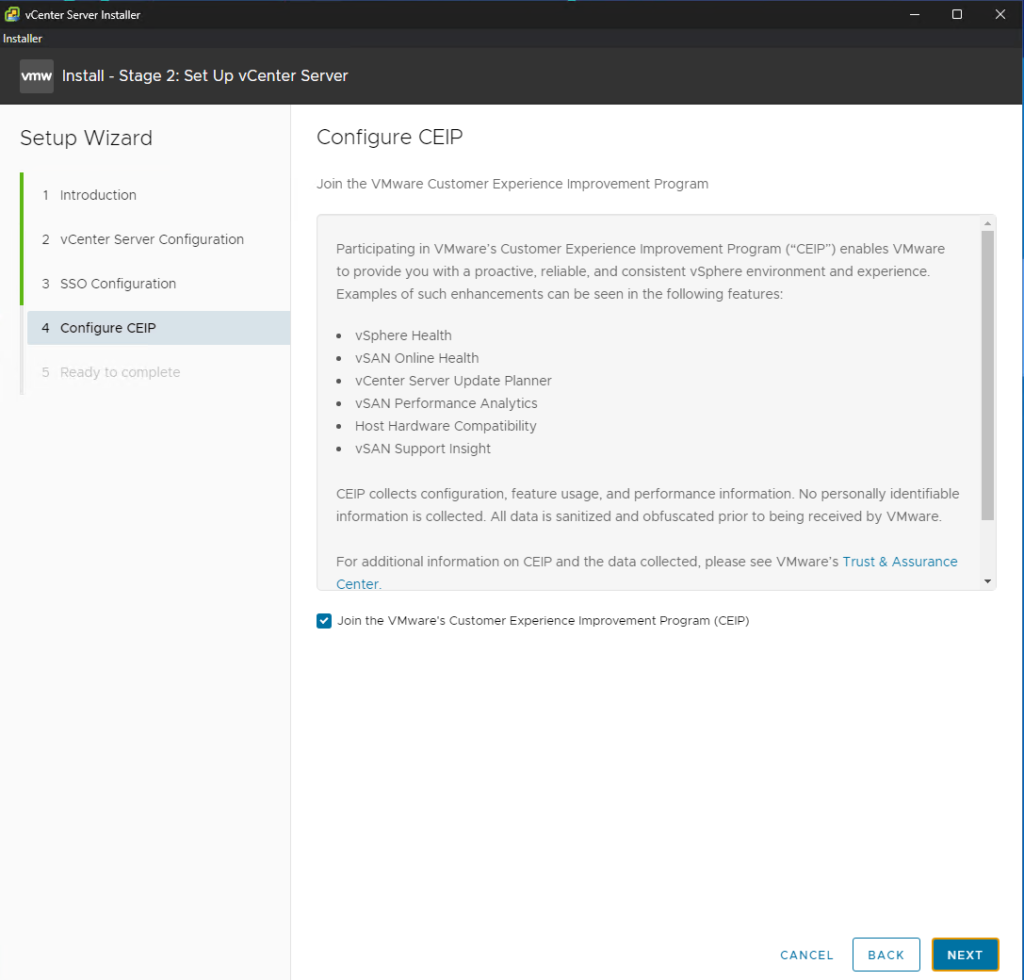
CEIP: Choose whether to participate in the Customer Experience Improvement Program and select Next.

Ready to Complete: Review your configuration. Select Finish to apply the settings.
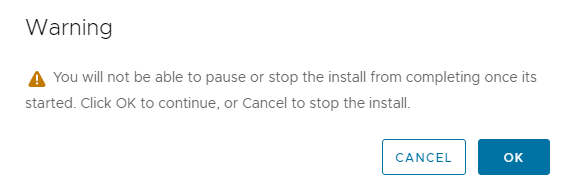
A warning will appear stating that the process cannot be stopped once it begins. Select OK to proceed.

A progress window will track the final setup of the vCenter services.
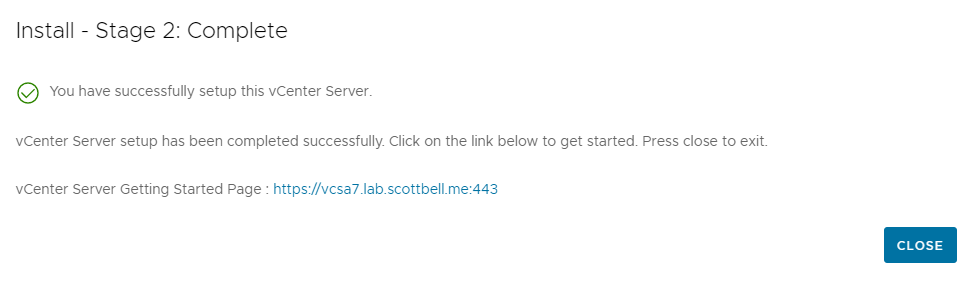
Once the process finishes, you will see a final success screen. You can now access your vCenter instance via your web browser.
Final Verification
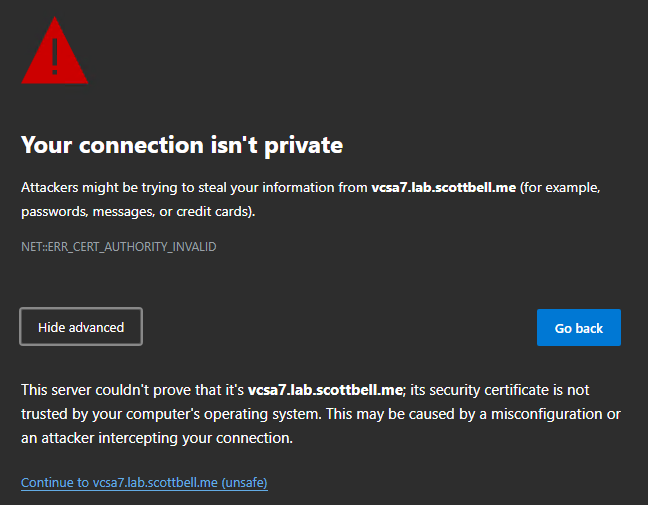
SSL Warning: Because the vCenter is using a default self-signed certificate, your browser will display a security warning. Verify the address is correct and select Continue.
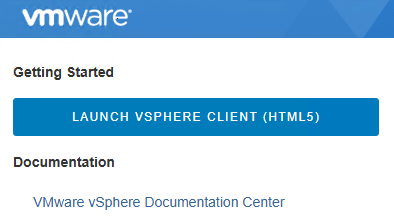
Launch Client: Select Launch vSphere Client (HTML5).
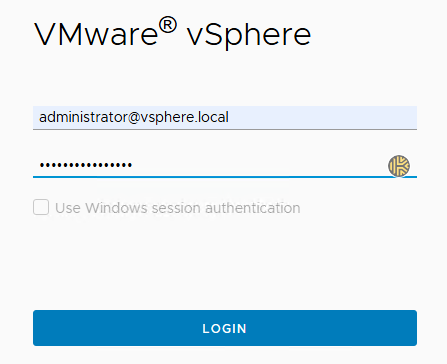
Login: Use the administrator@vsphere.local account and the password you created in Stage 2.
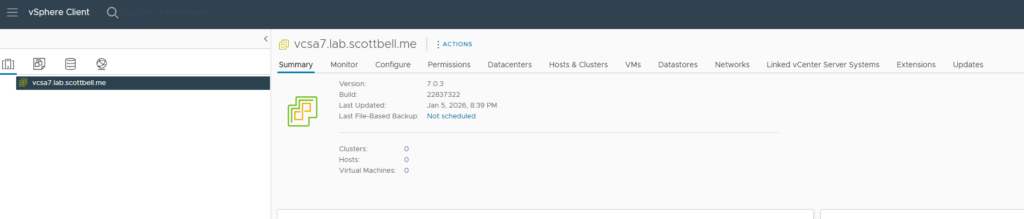
You are now logged in and ready to use your vCenter 8 environment.
Congrats and have a good one.
Home Lab, Homelab, vCenter 7, VMware, vSphere 7