Building an VCF Offline Depot in Windows using IIS
December 1, 2025 | Homelab, Microsoft, VCF, VMware | No Comments
Greetings, today we are going to be setting up an Offline Depot using Windows and IIS. This is going to assume you have already deployed an Windows Server.
You will want an additional drive added with 1TB of space for current and future downloads.
You will need:
1TB added drive. If your limited on space, you can probably get away with 200GB, but you will need to more actively manage your space usage with future downloads.
The VCF Download Tool. Instructions will be below for downloading it.
Something that can unzip tar.gz files, I will be using 7zip for this
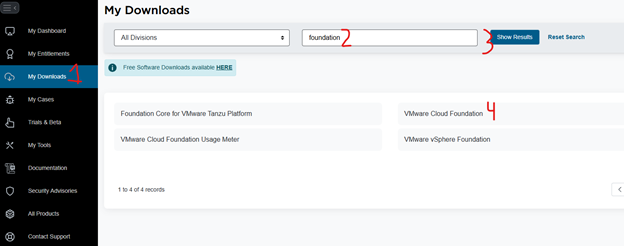
Login, Select My Downloads, then enter “foundation” in the search bar, select Show Results, and then Select VMware Cloud Foundation
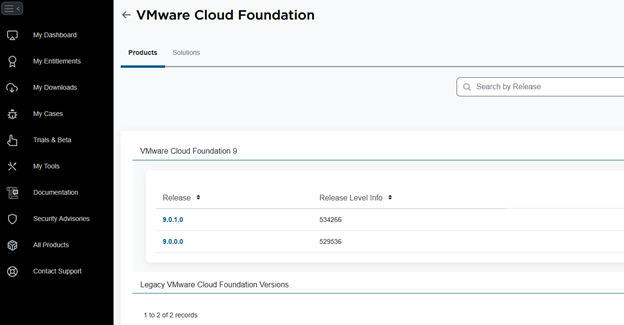
Select VMware Cloud Foundation 9, then select 9.0.1.0

Select Drivers & Tools
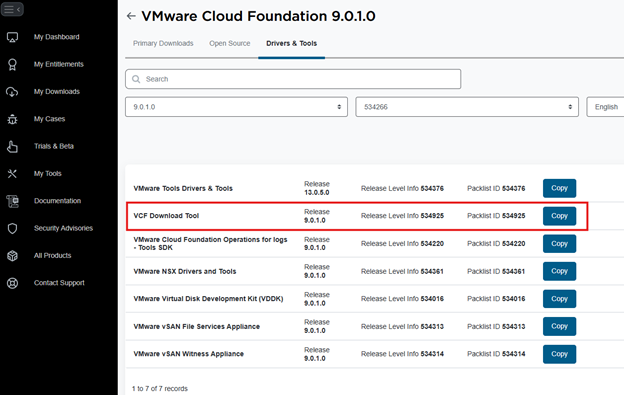
Select VCF Download Tool

Select the Download Icon and save the Download Tool.
From here we will pivot to the Windows Server to setup IIS and get ready for the download tool.
Deployment config

So this will not require extensive compute resources so I’m setting up with 2 CPU, 4GB RAM, 50GB Disk 1, 1TB Disk 2.
Format 1TB Drive
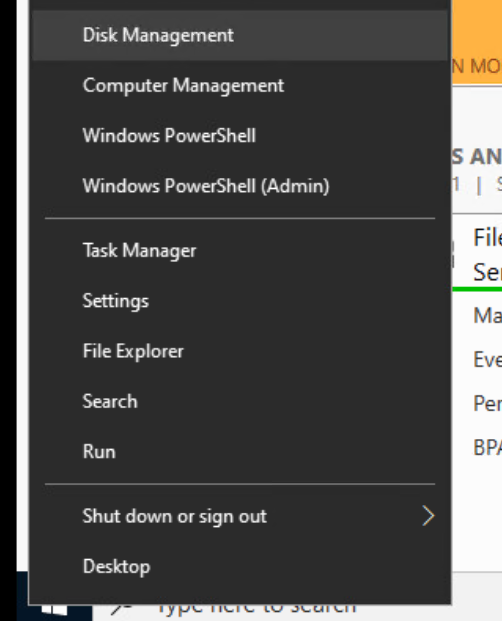
Once your Windows Server is deployed and ready, go to Disk Management

Right-click Disk 1 and select Online
Right-click Disk 1 again and select Initialize Disk

Select ok
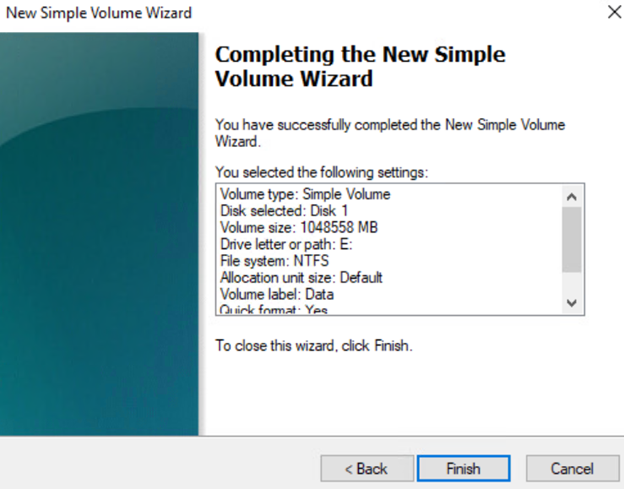
Right-click the lined area next to Disk 1 and select New Simple Volume
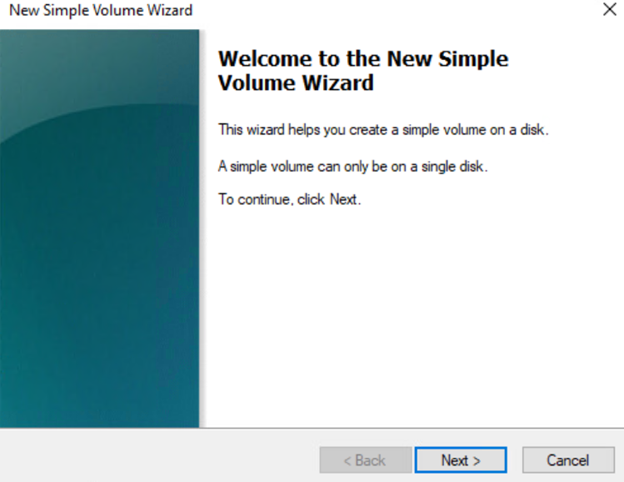
Select Next
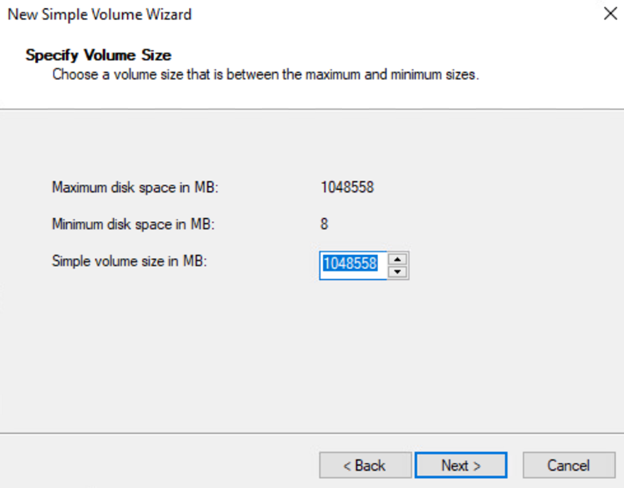
Select Next
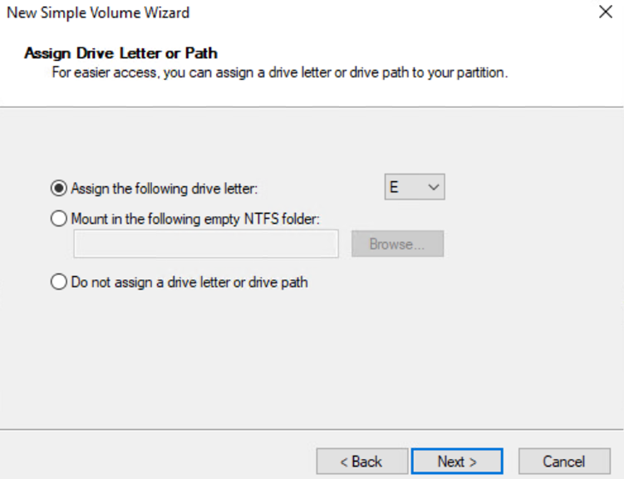
Select your desired drive letter and select Next
Enter your desired Volume Label and select Next
Select Finish
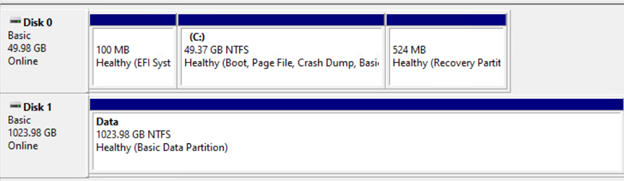
Now we have a formatted drive to store the data on
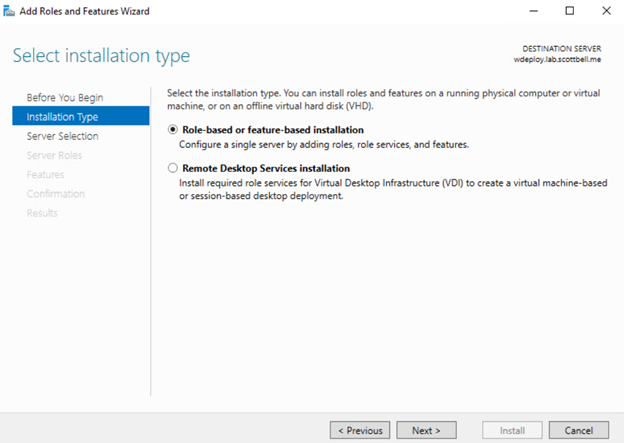
Install IIS Now we will start the process to install IIS.
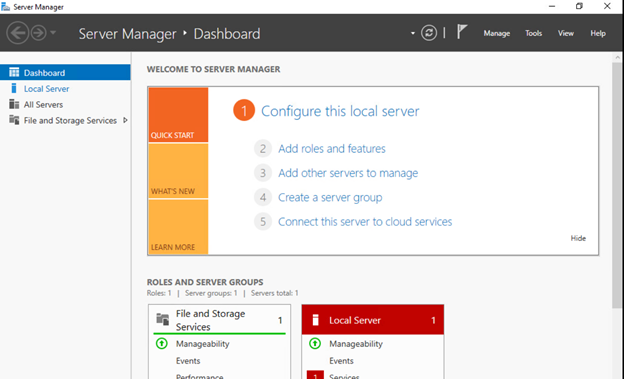
In Server Manager, Select Add roles and features
 Select Next
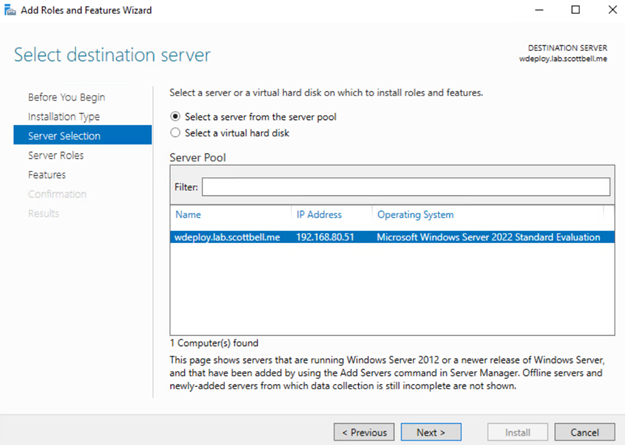
Select Next
Select Next
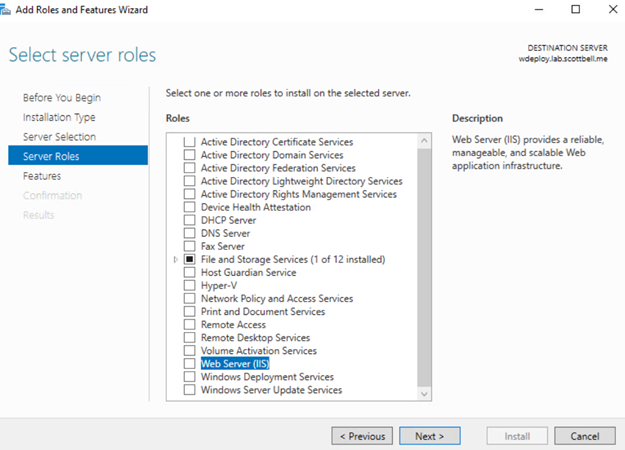
Select Web Server (IIS)
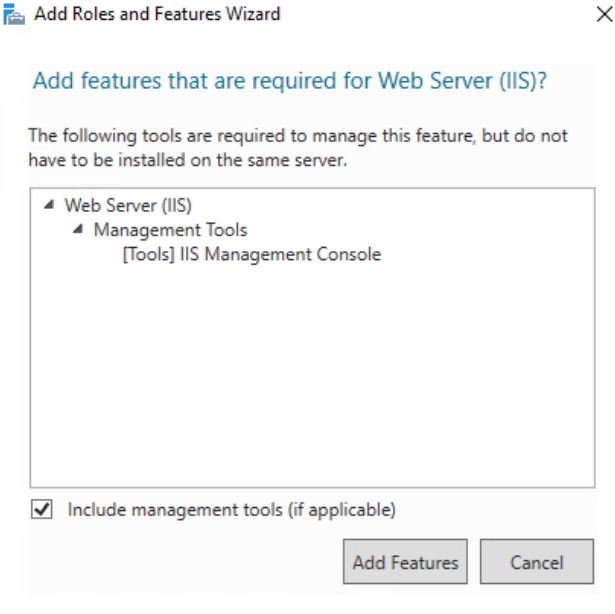
Select Add Features

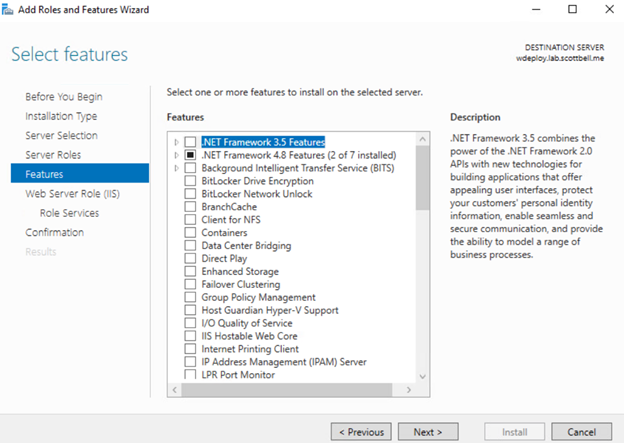
Select Next
Select Next
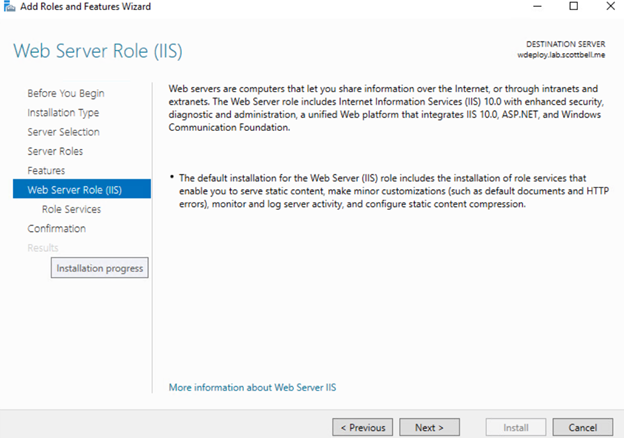
Select Next
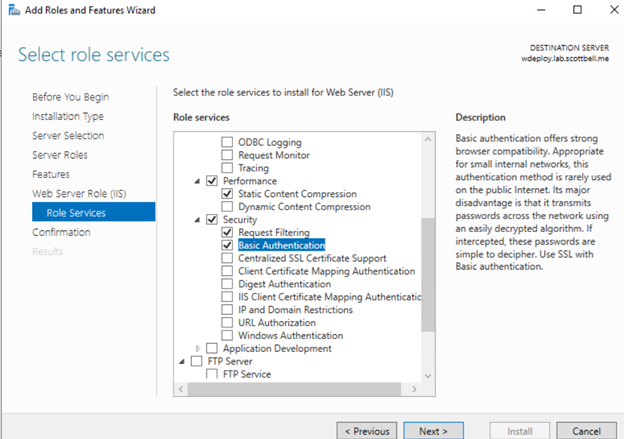
Scroll down to Security and select Basic Authentication and select Next
 Select Install

Once finished, select Close
Configure IIS
Now that we have IIS installed, we will need to provide it an SSL certificate.
Request Certificate
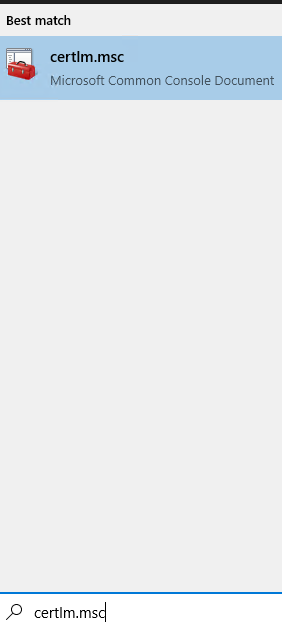
Click start, type certlm.msc, then select certlm.msc
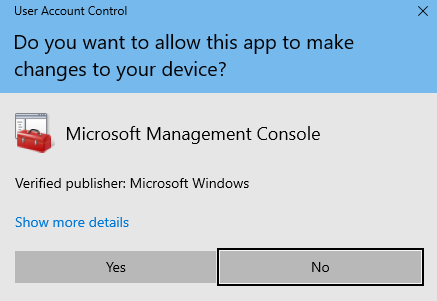
Select Yes
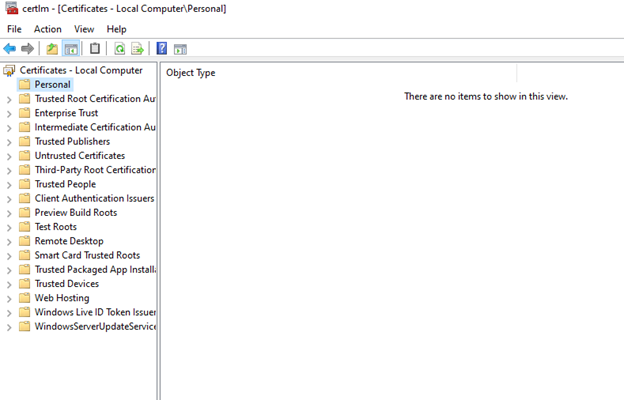
As you can see, we have no certificates at all for this machine.
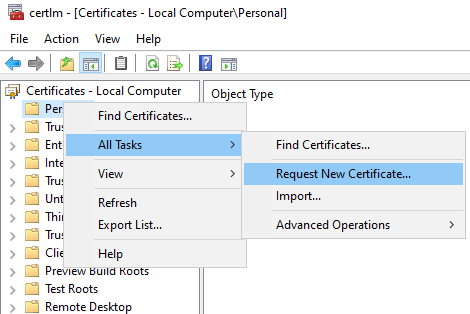
Right-click Personal, hover over All Tasks, then Select Request New Certificate
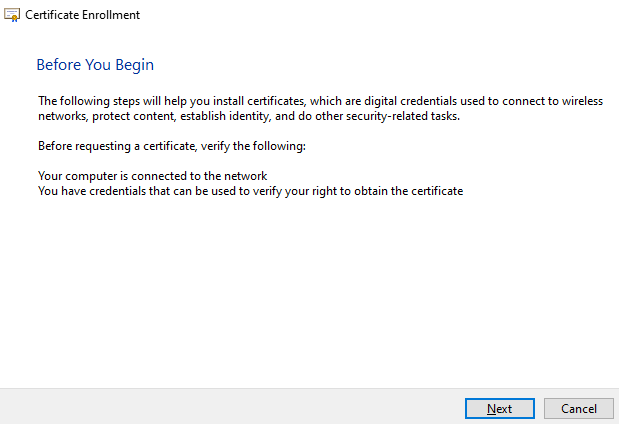
Select Next
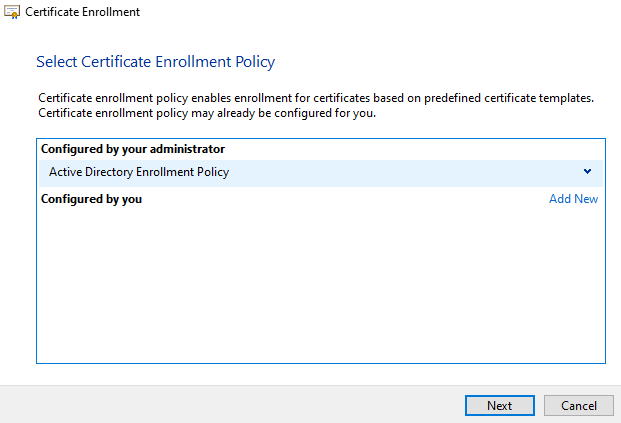
Select Next
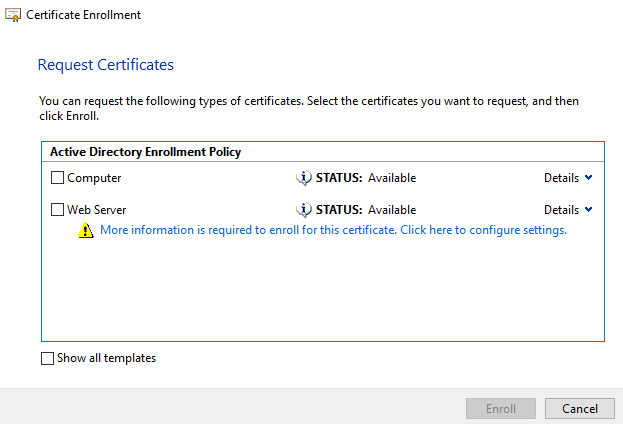
Select the blue line to provide more information for the Web Server Template
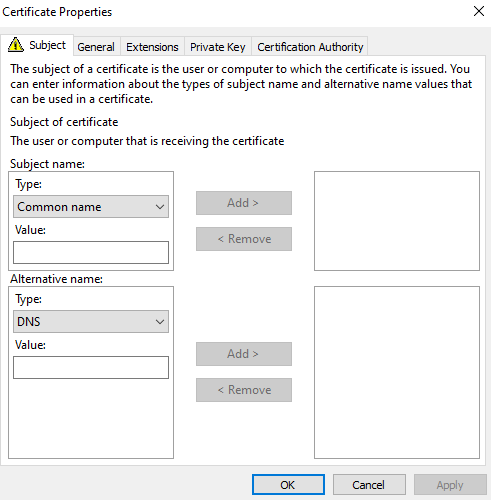
Change the Subject name Type to Common name and Alternative name Type to DNS
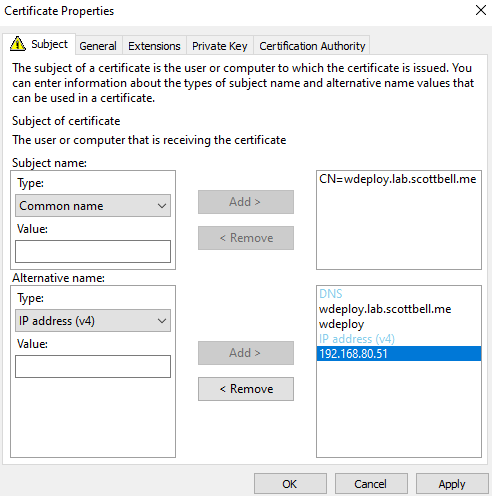
Add your Common name, I prefer to use the Fully Qualified Domain Name (FQDN), and click Add. For DNS I prefer to do FQDN and short names. After adding those, change Alternative name Type to IP address (v4) and add the IP address.
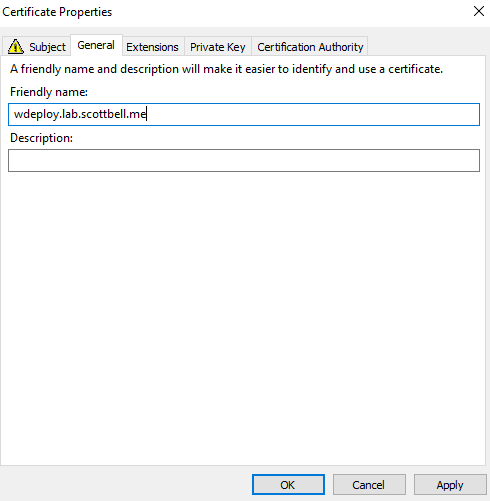
Enter the friendly name, I again prefer the FQDN here, then select OK
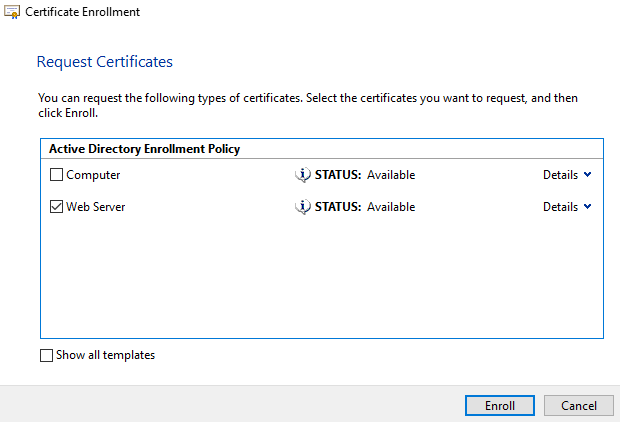
Check the block for Web Server then select Enroll
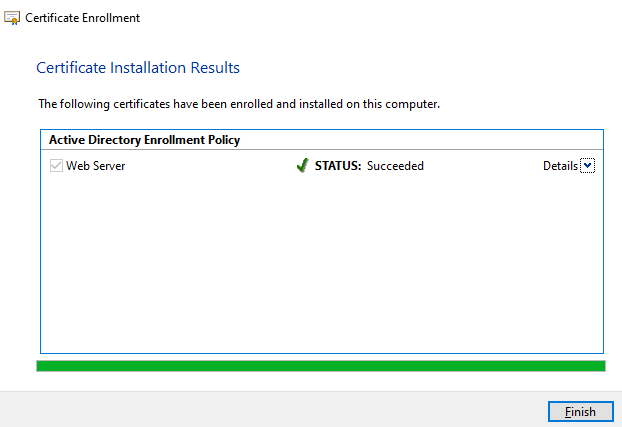
Once completed you should see the above success screen. Select Finish
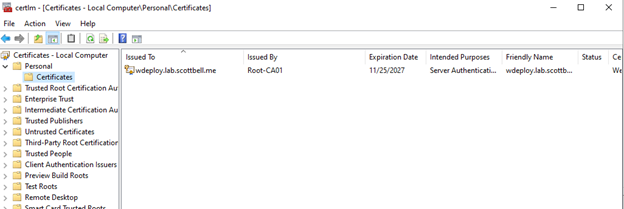
Now we have a certificate
Click Start, type IIS, then select IIS Manager
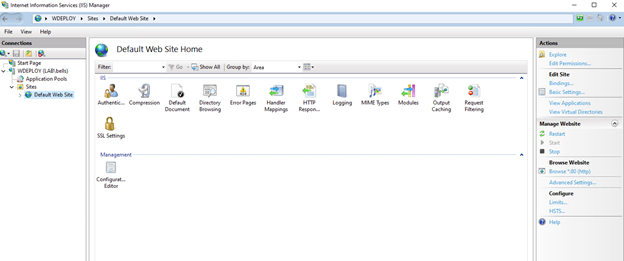
Expand wdeploy, then expand Sites, select Default Web Site then click Bindings on the right side pane

Select Add
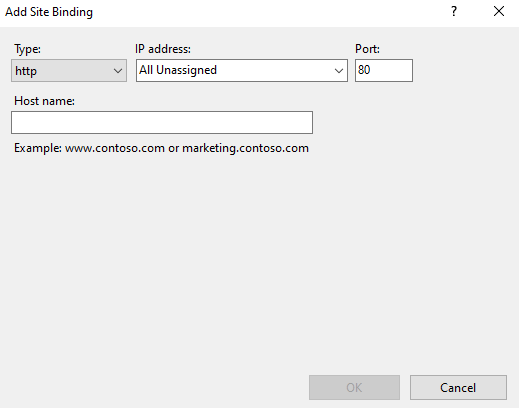
Change Type to https
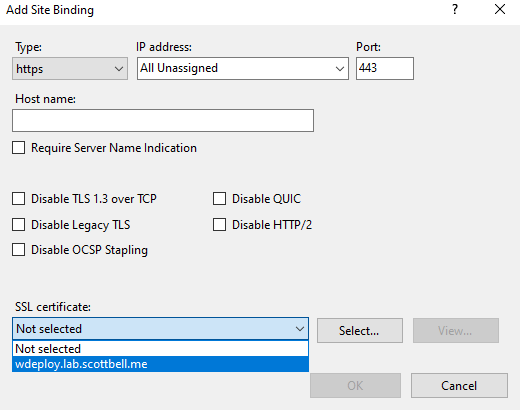
Change SSL certificate to the one we just made
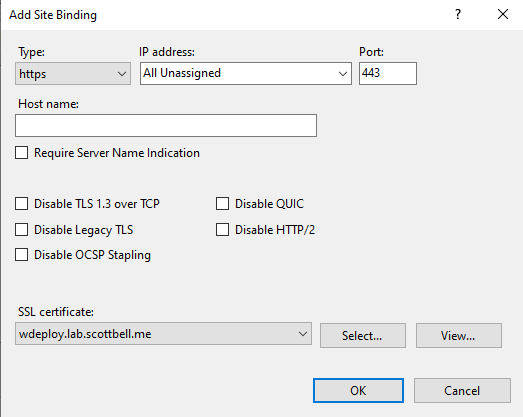
It should look like this. Select OK
Select Close
Setup the web directory
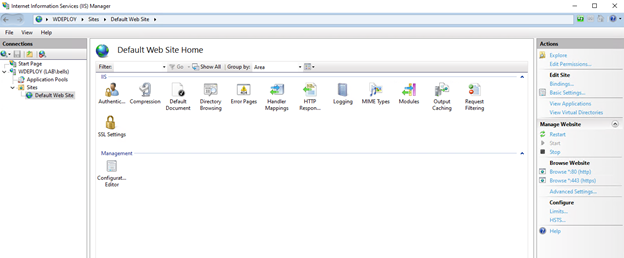
Since were already in IIS, select Basic Settings on the right-side pane
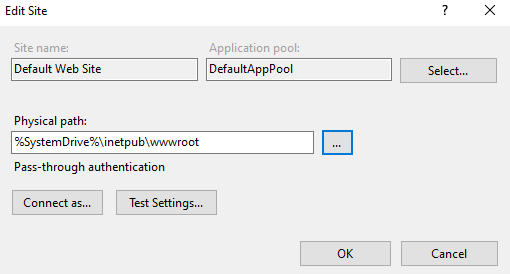
Select the …

Scroll down and select your added drive, then select Make New Folder

Name your folder, I am going with www in this case
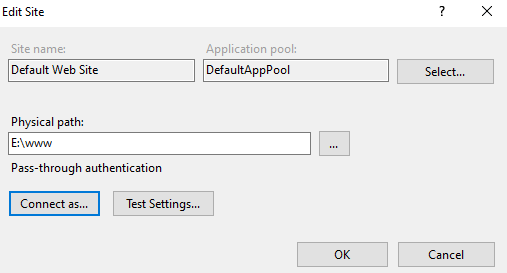
Select OK
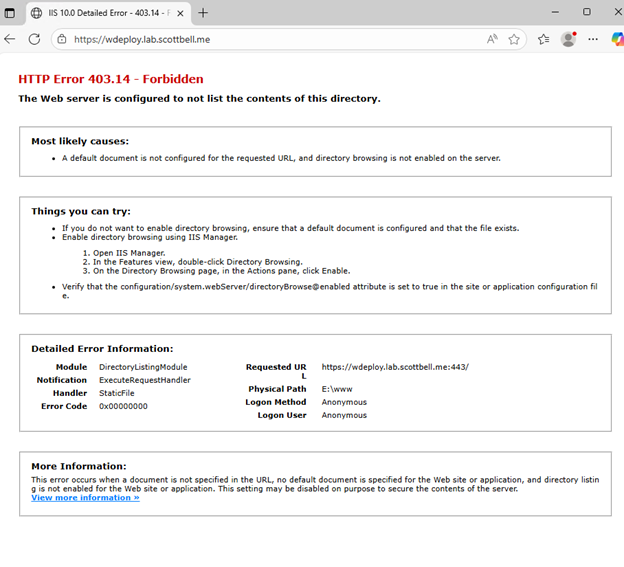
When attempting to access the path, you will get the above error
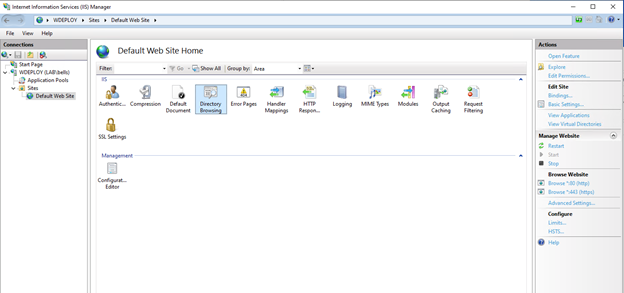
Back in IIS, select Directory Browsing
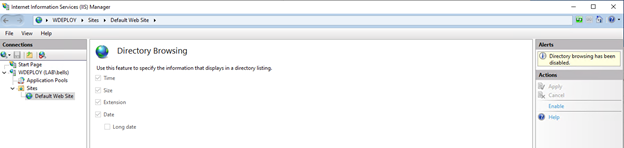
In Directory Browsing, Select Enable on the right-side pane
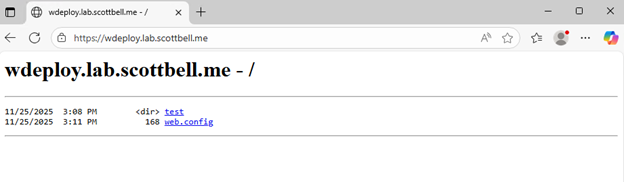
In this case I created a test folder in e:\www to validate it will display
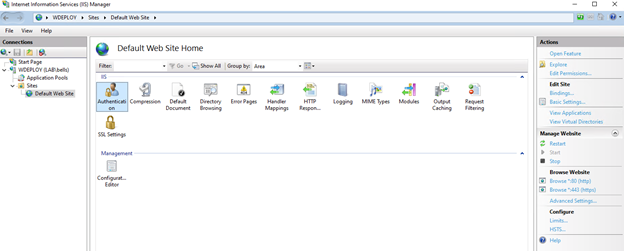
Select Default Web Site again, then double-click Authentication
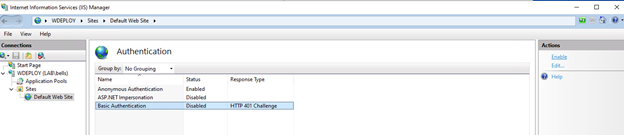
Select Basic Authentication, then click Enable
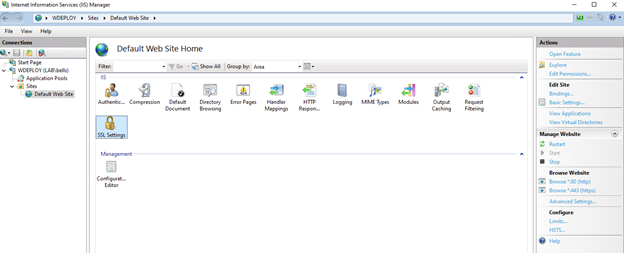
Go back to Default Web Site, then double-click SSL Settings
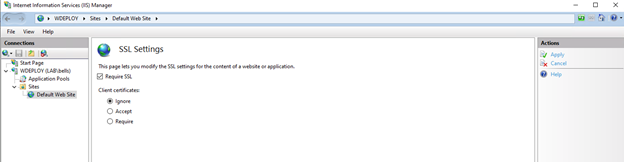
Check the block for Require SSL and then select Apply on the right-side pane
Download the VCF Binaries
Now that we have the structure setup, its time to download the VCF Binaries that we will be hosting for the VCF Installer
So go grab your VCF Download Tool we downloaded earlier and copy it over to this system.
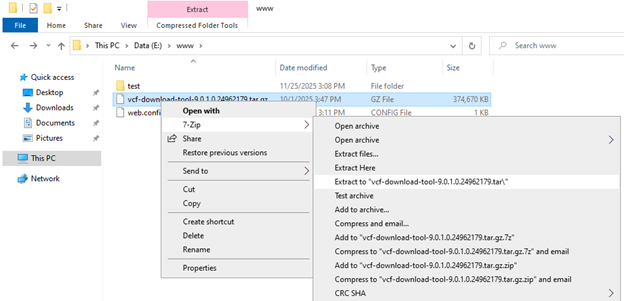
Right-click the VCF Download tool, hover over 7-Zip, then Extract To “path”
Then repeat with the .tar file

In that folder, right-click the open area, hover over New, then select Folder
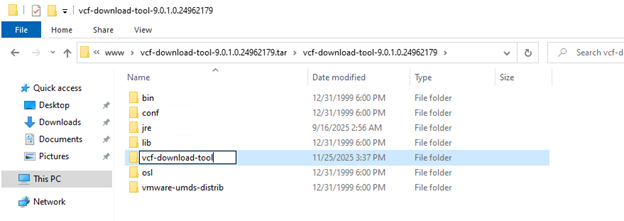
Name it vcf-download-tool
Copy the other folders into vcf-download-tool
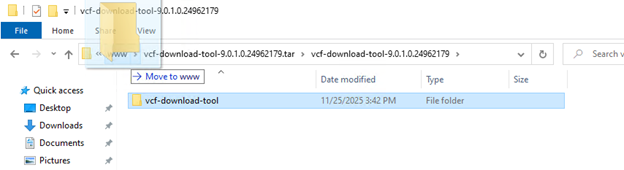
Move the vcf-download-tool folder to e:\www
In the vcf-download-tool folder, right-click the open area, hover over New, and select Text Document

Name the document downloadtoken.txt. I have show file extensions enabled to verify that its .txt for the file type. In this folder you will need to populate only your download token. This is specific to each customer so I will not be showing the file contents.
Note: I’m pretty positive the downloadtoken.txt needs to be named in lowercase.
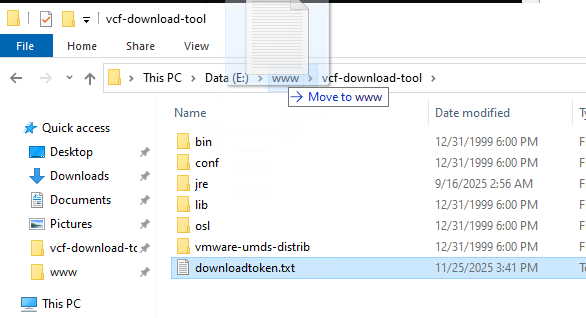
Move the downloadtoken.txt file to www
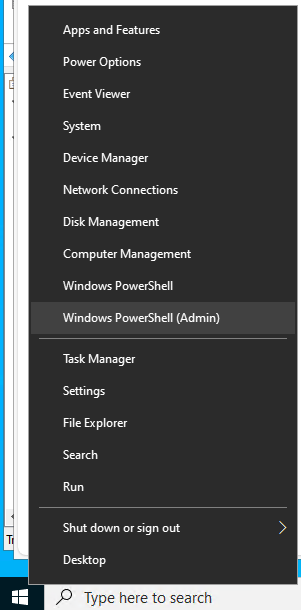
Right-click Start and select Windows PowerShell (Admin)
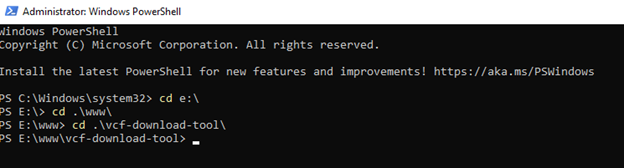
In PowerShell, change directory to e:\www\vcf-download-tool

CD into \bin, since I am downloading for VCF 9.0.1 I am running the command with that specified, I am including the test directly below for easier copying.
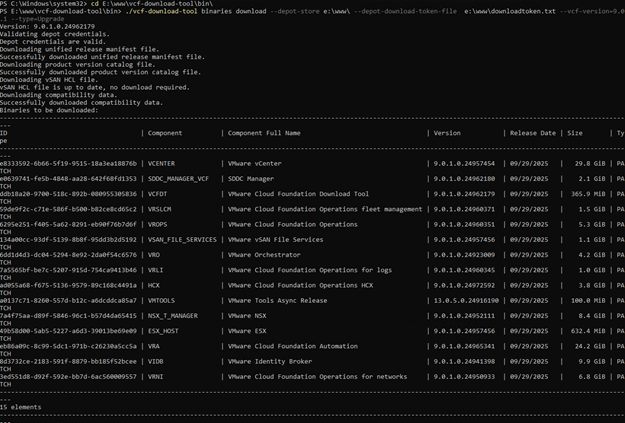
./vcf-download-tool binaries download –depot-store e:\www\ –depot-download-token-file e:\www\downloadtoken.txt –vcf-version=9.0.1 –type=INSTALL

I am ok with my lab being in the Customer Experience Improvement Program, so I will select Y
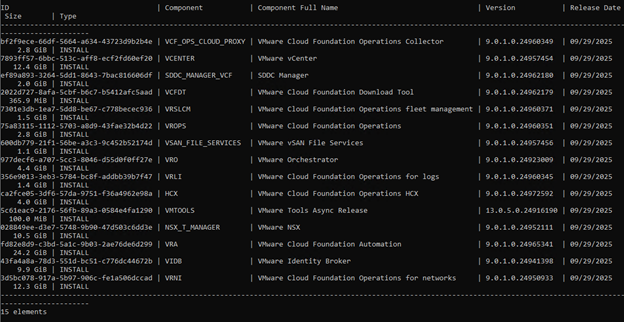
Completed list of files
You can run the same command with –Type=upgrade to get the upgrade files
Versions of the command to get various file types:
Install (both for 9.0 and 9.0.1):
./vcf-download-tool binaries download –depot-store e:\www\ –depot-download-token-file e:\www\downloadtoken.txt –vcf-version=9.0 –type=INSTALL
./vcf-download-tool binaries download –depot-store e:\www\ –depot-download-token-file e:\www\downloadtoken.txt –vcf-version=9.0.1 –type=INSTALL
Upgrade (both for 9.0 and 9.0.1):
./vcf-download-tool binaries download –depot-store e:\www\ –depot-download-token-file e:\www\downloadtoken.txt –vcf-version=9.0 –type=UPGRADE
./vcf-download-tool binaries download –depot-store e:\www\ –depot-download-token-file e:\www\downloadtoken.txt –vcf-version=9.0.1 –type=UPGRADE
Patch (both for 9.0 and 9.0.1):
./vcf-download-tool binaries download –depot-store e:\www\ –depot-download-token-file e:\www\downloadtoken.txt –vcf-version=9.0 –patches-only
./vcf-download-tool binaries download –depot-store e:\www\ –depot-download-token-file e:\www\downloadtoken.txt –vcf-version=9.0.1 –patches-only
That covers getting the files to the system. The next article will cover linking the Offline Depot to the VCF Installer. Have a good day.
Home Lab, Homelab, IIS, Microsoft, VCF, VCF Offline Depot, VMware, Windows, WIndows Server